Today I wanted to take a look at
AEROS v3.5, an AROS (AROS Research Operating System) distribution released on x86 PC's.
![]()
AROS is an Open Source effort to realise AmigaOS on standard x86 laptops and desktops.
Late last year I took a look at Icaros Desktop 2.0 (AROS) running natively on an Acer AspireOne laptop (
here and
here). I also displayed AROS running on the Acer AspireOne at AmiWest 2014.
There are a few variants of AROS around, much like Linux also has many variants. One of these variants is
AEROS, which used to be called
AROS Broadway.
The broad concept of
AEROS (from my understanding) is to accept that the driver support of AROS (currently quite limited) and is not going to improve quickly. It takes a shortcut by using Debian Linux as the base (or Host) for driver support and then run AROS on top of it.
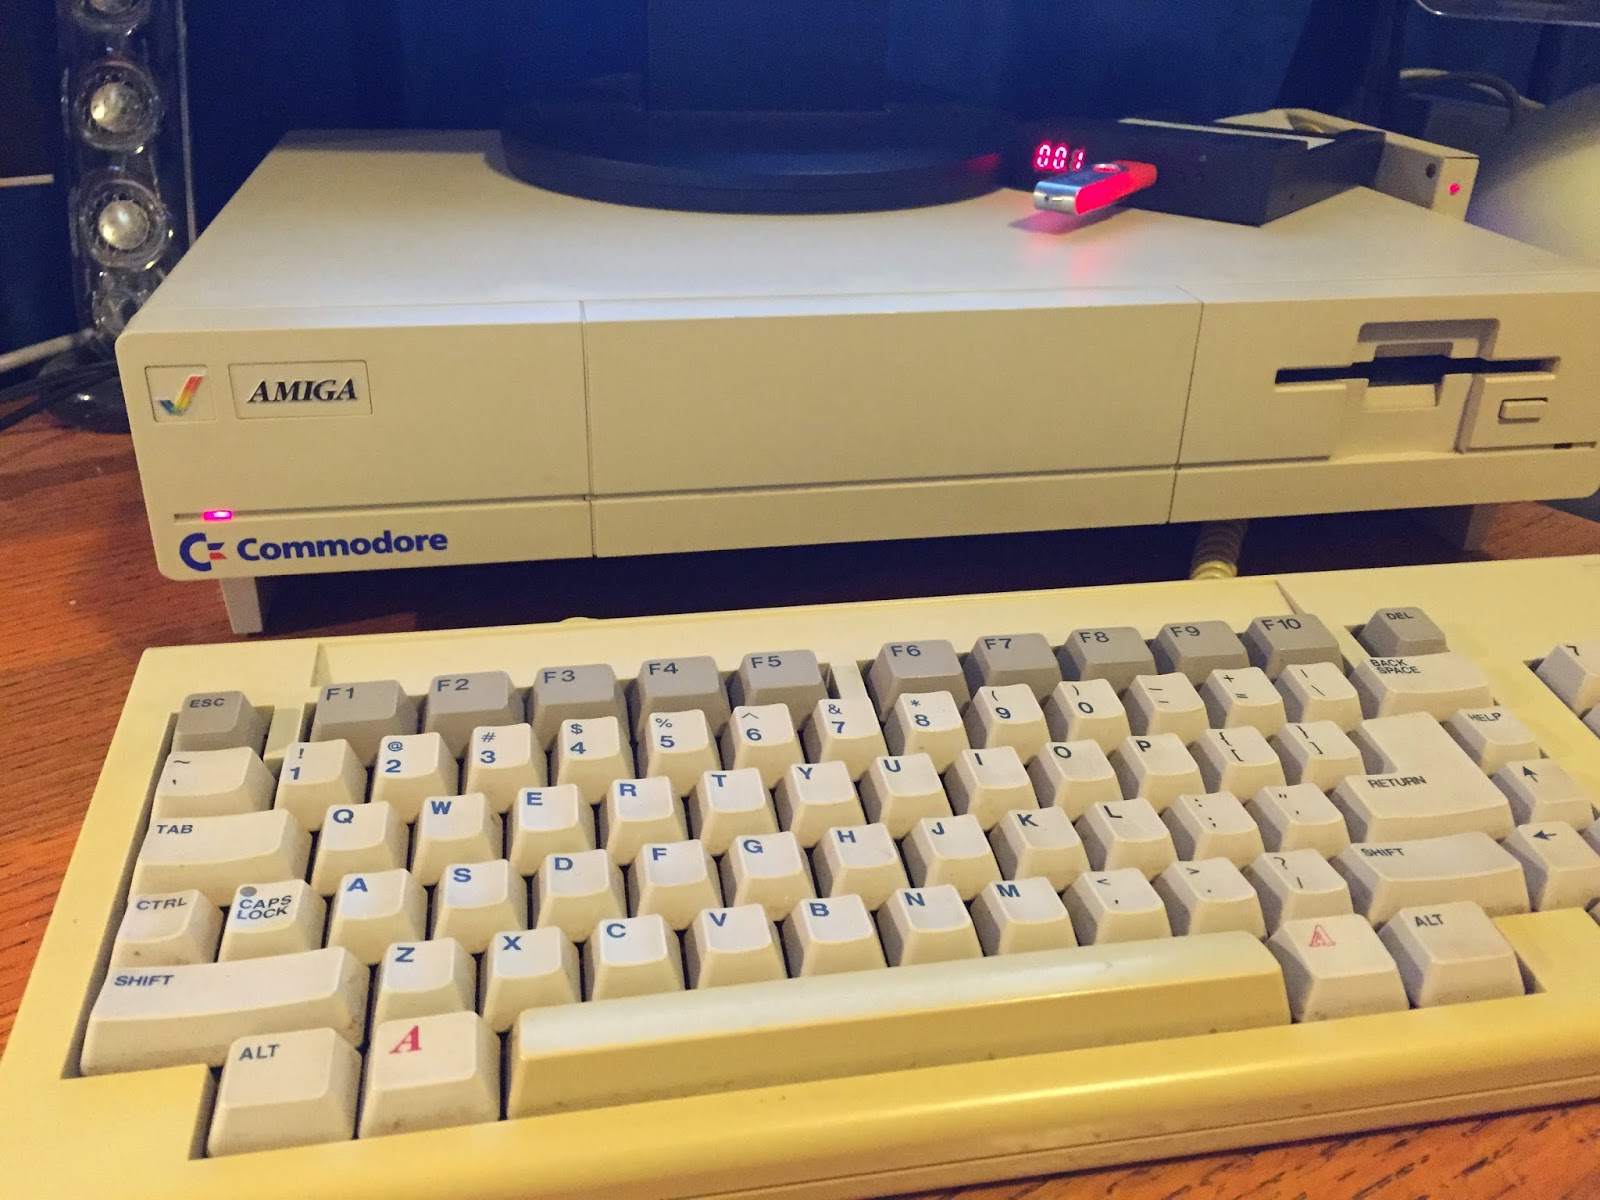
Amikit also works on a similar concept from AmigaOS3.x, except with a much more cutdown version of linux, bootable from a USB stick on any x86 PC. (it needs a copy of
Amiga Forever to get it up and running)
This type of hosted distribution has the benefit of being able to run AROS on more PC hardware, leveraging Linux's greater developer base and much larger driver support for modern PC hardware.
Currently AEROS is distributed as an operating system for
ARES Computer (who sell software and systems running AROS). The developers are numerous and most are listed
here.
There is a
AEROS Plus (for registered users) and standard AEROS available for
free to the public. AEROS Plus is the latest version of AEROS, whilst the
free version is a
few versions behind the latest version.
The current free version of AEROS is
version 3.5, which was released in 2013 and is available to download
here as a torrent only - it quite large at 2.88GB. You will need a BitTorrent client to download it on a PC or Mac - I use Vuze on the Mac, but there are plenty of torrent clients out there!
It is this free 3.5 version of AEROS I will take a look at today.
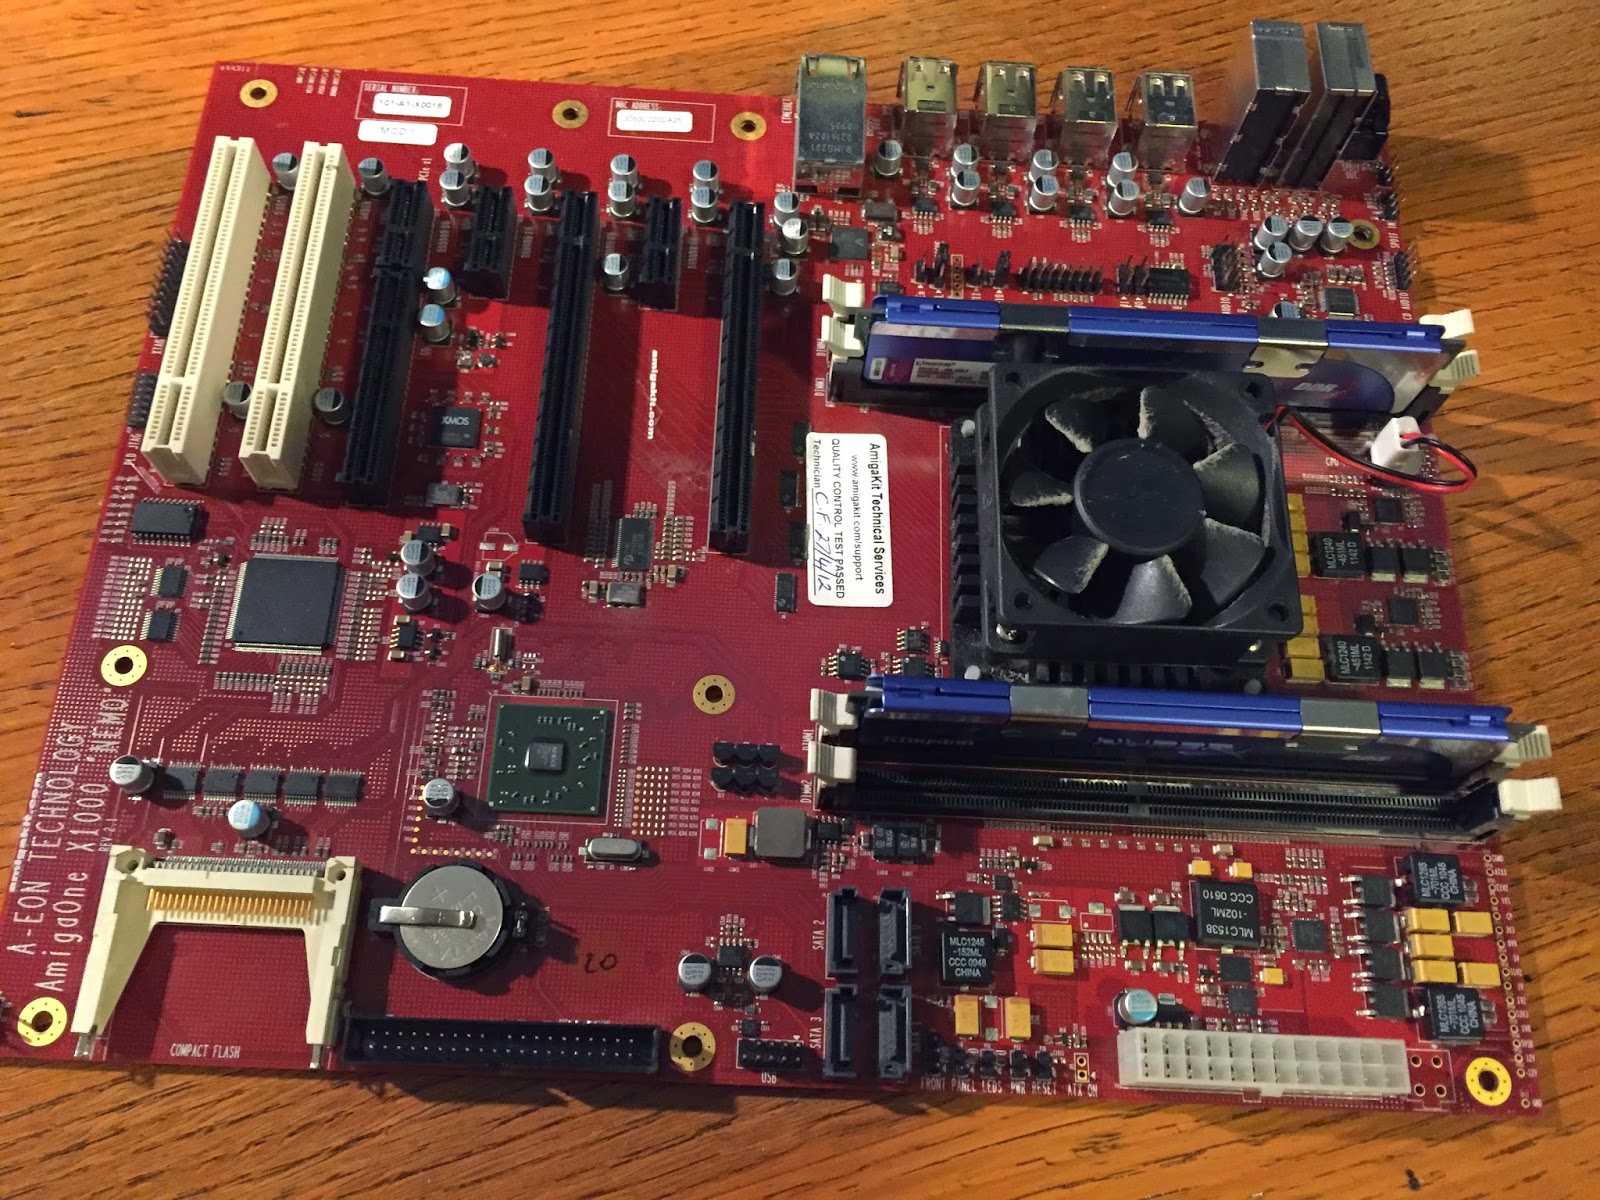
For my testing I brought out my Asus K52F laptop, which is a pretty bog standard PC laptop. I use it to test new Linux distributions since all the hardware normally works with them - most recently I was testing ElementaryOS on it (which is very nice, btw).
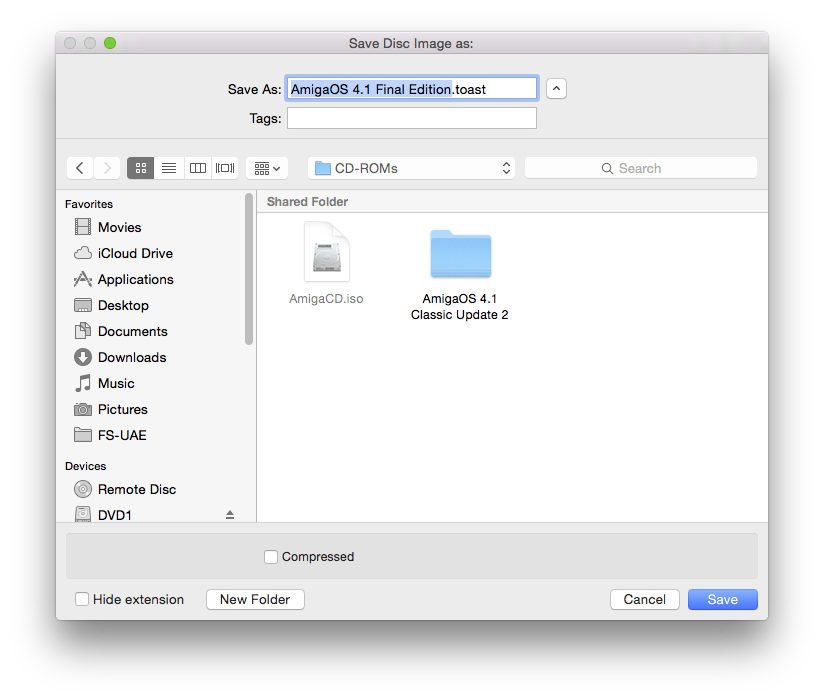
The AEROS package is delivered as a DVD iso, which you will need to burn to DVD-R before you can start the installation. The DVD is bootable Live DVD, so you can test it without installing it on your system if you prefer.
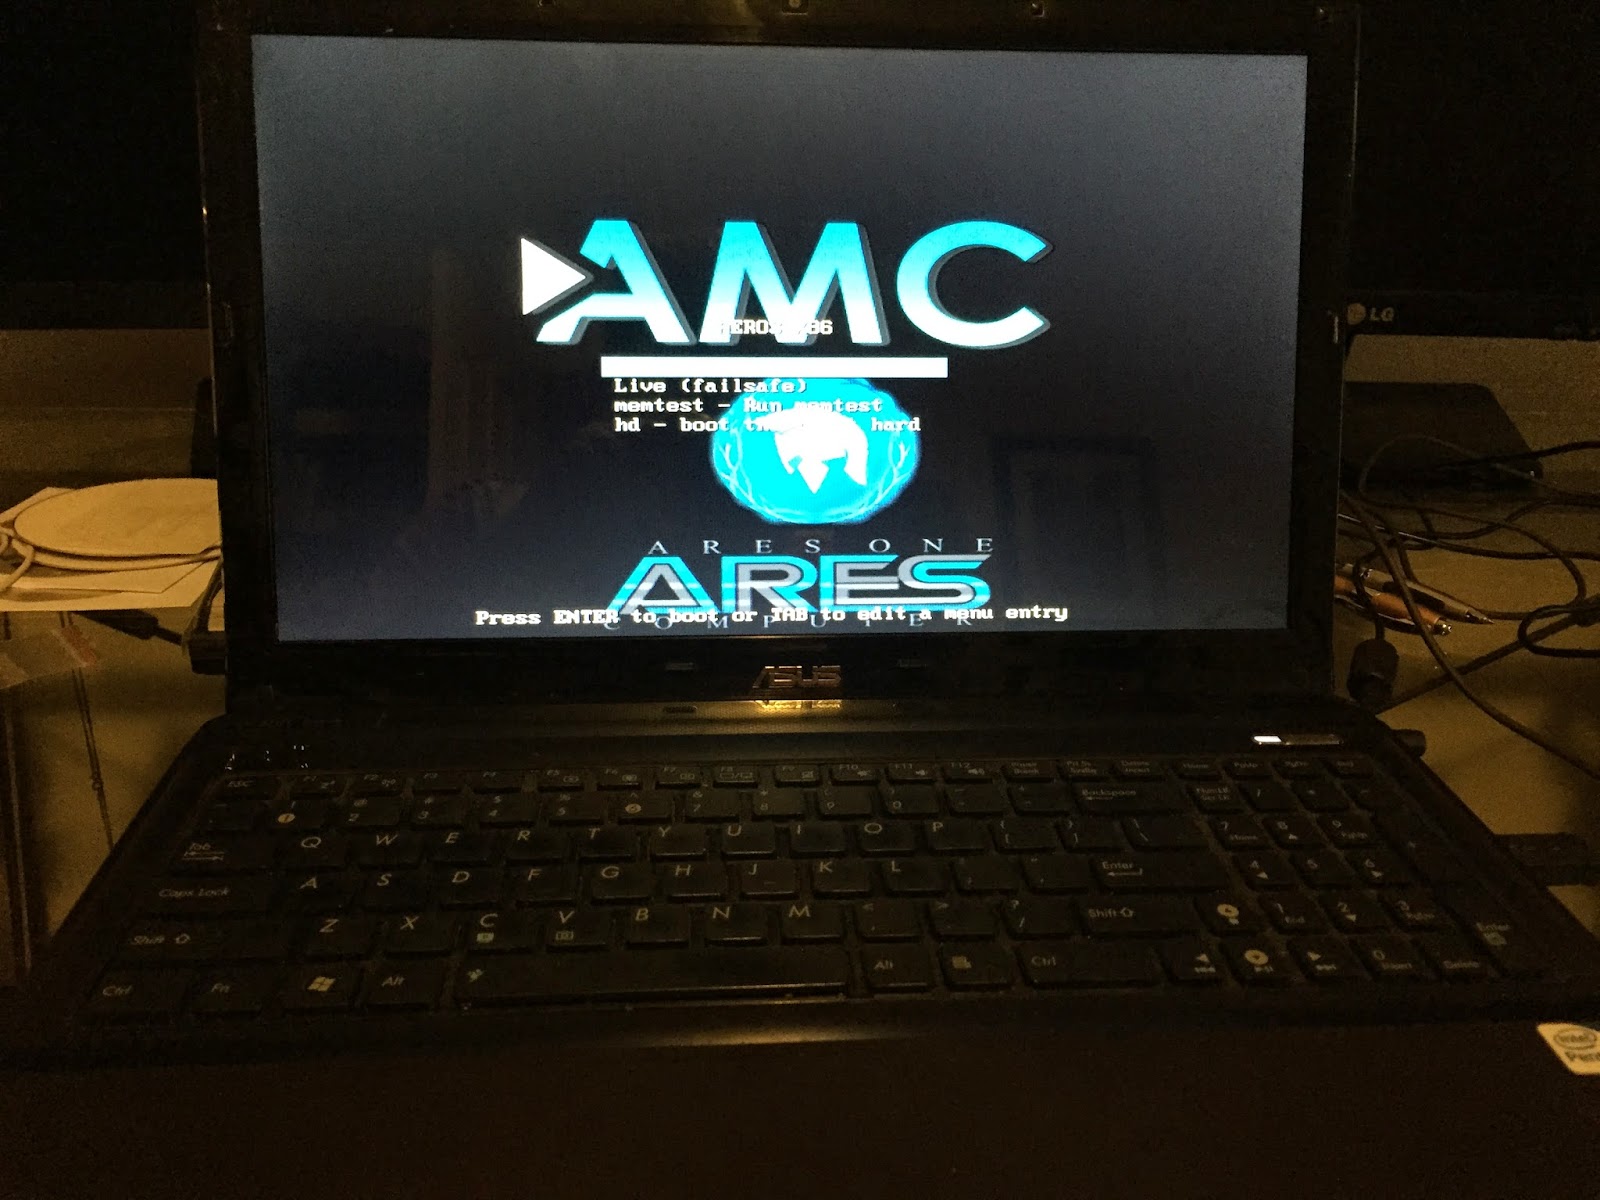
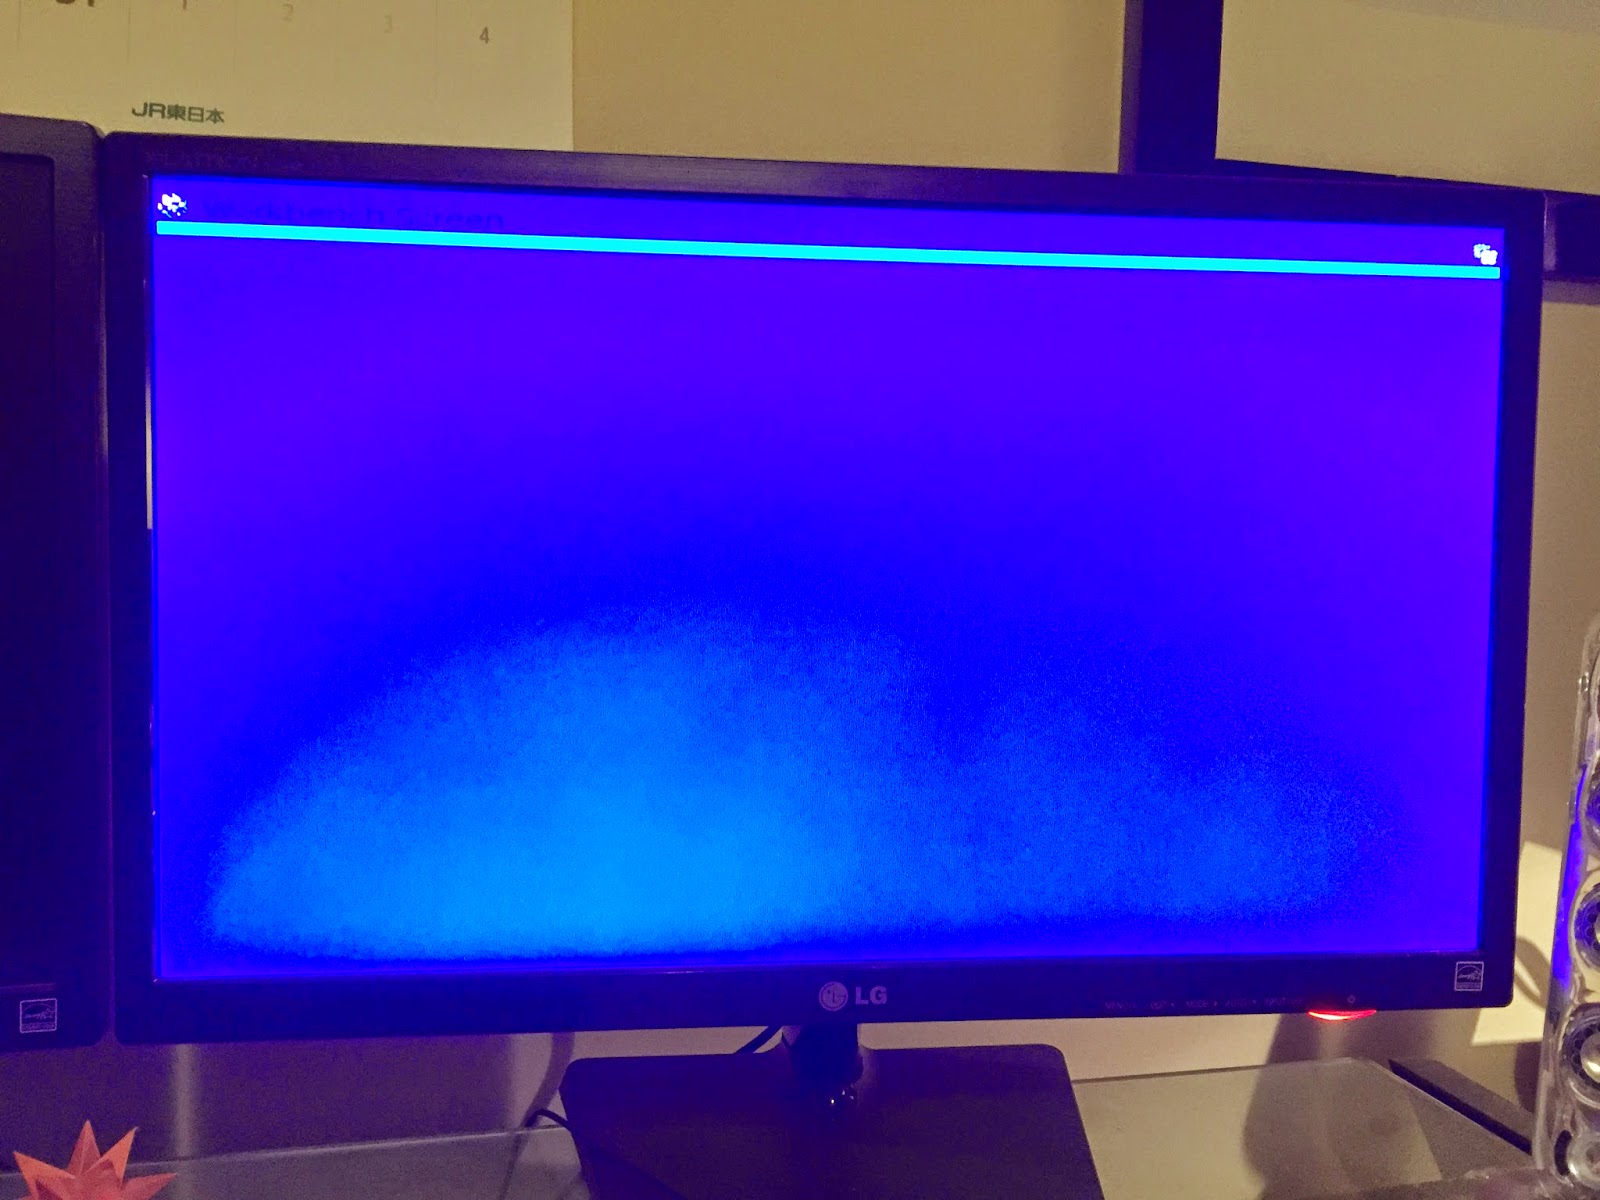
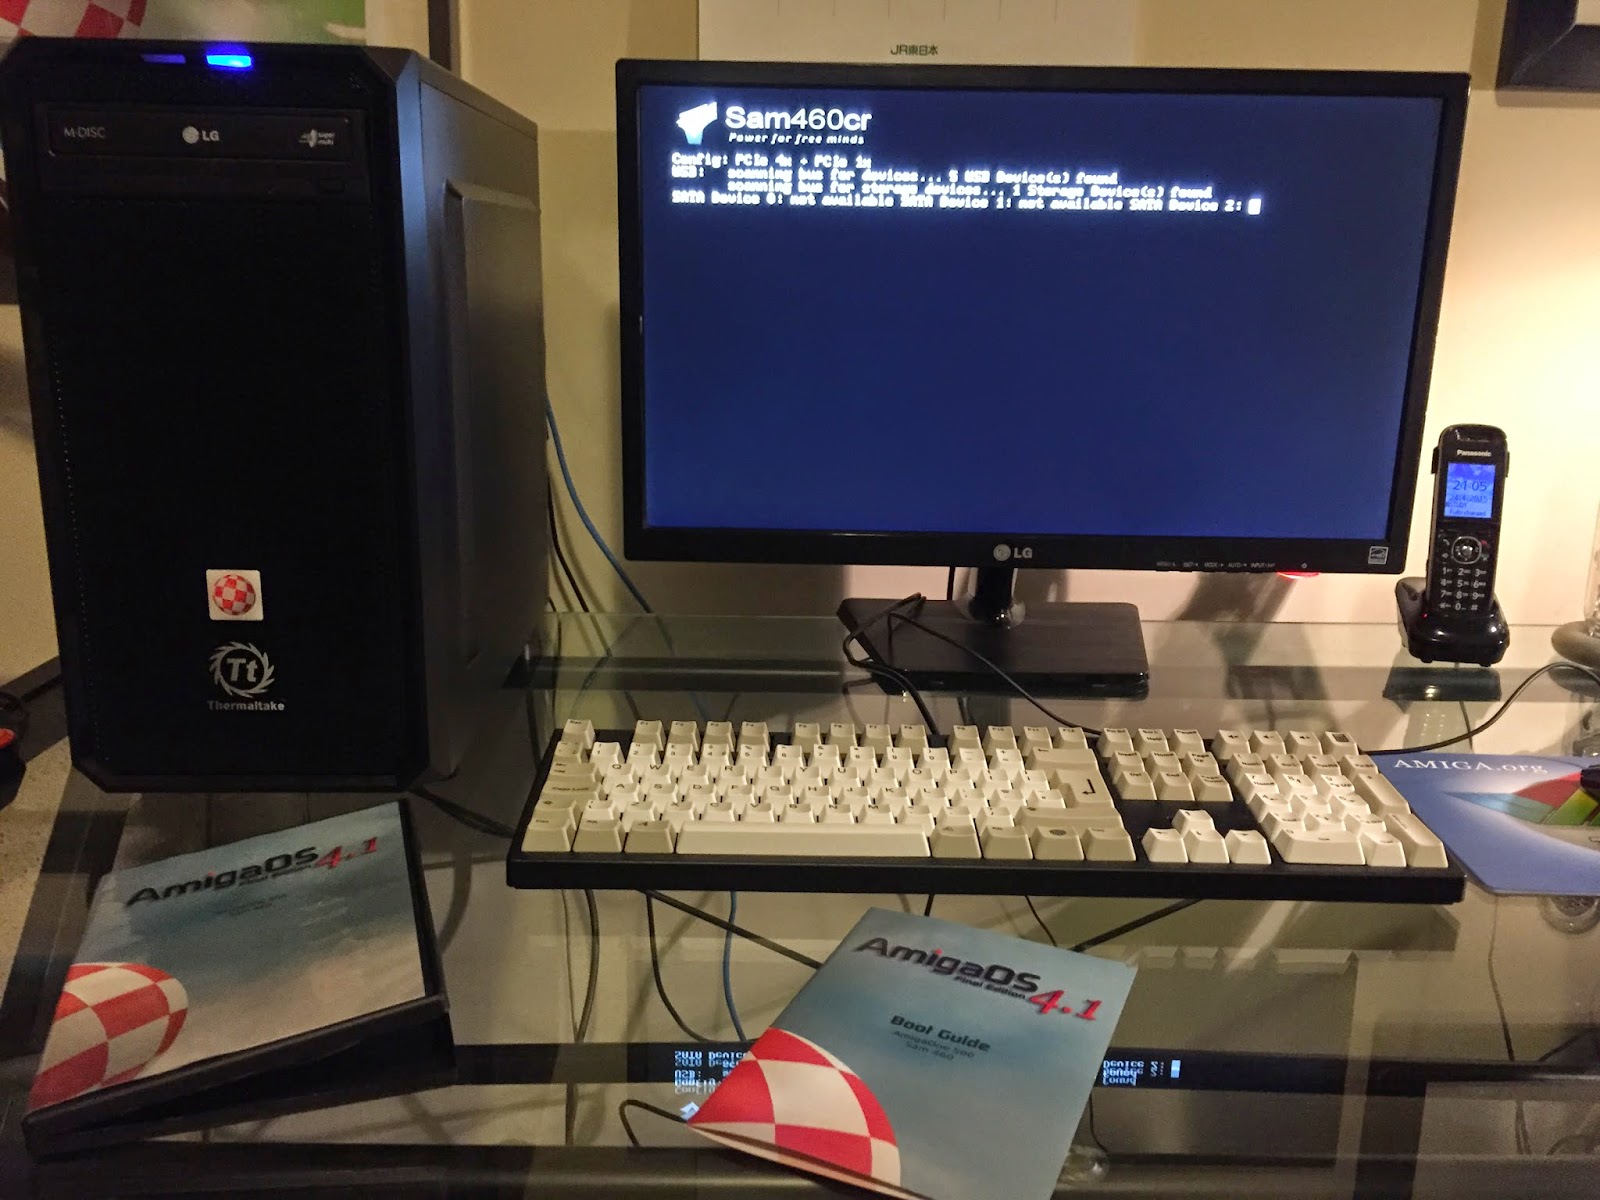
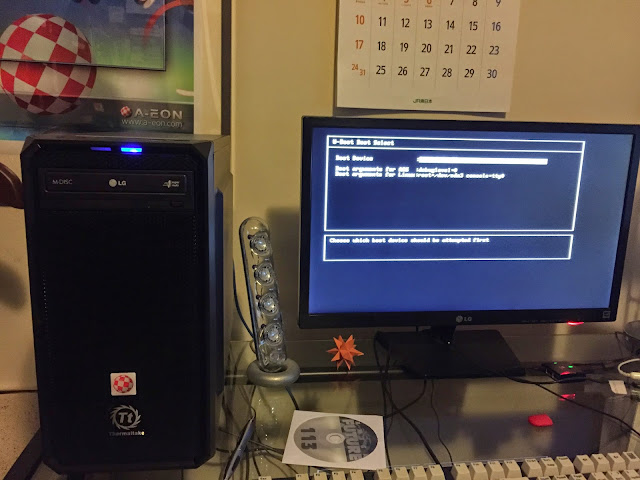
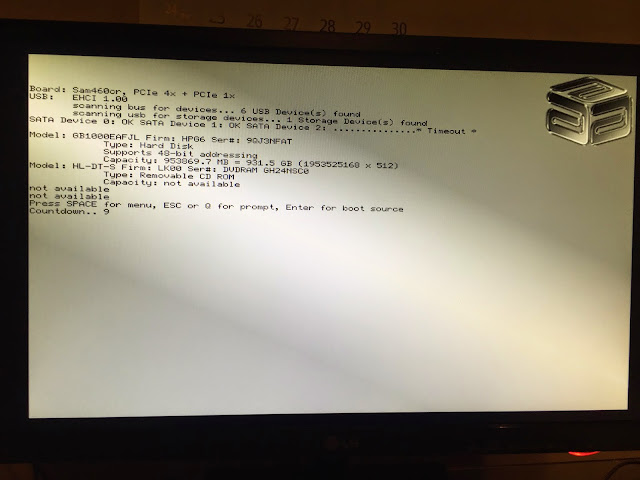
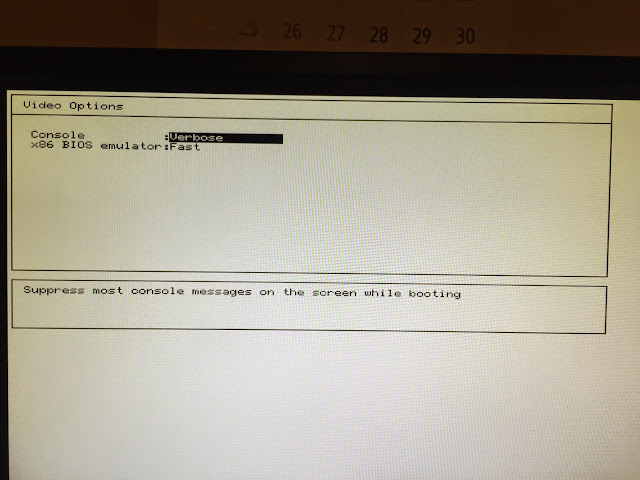
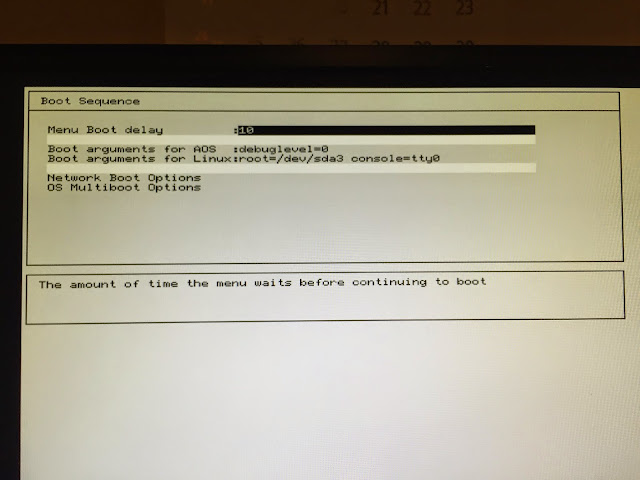
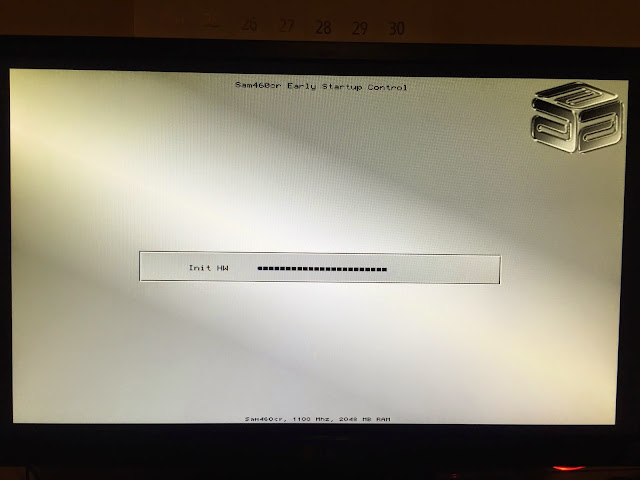
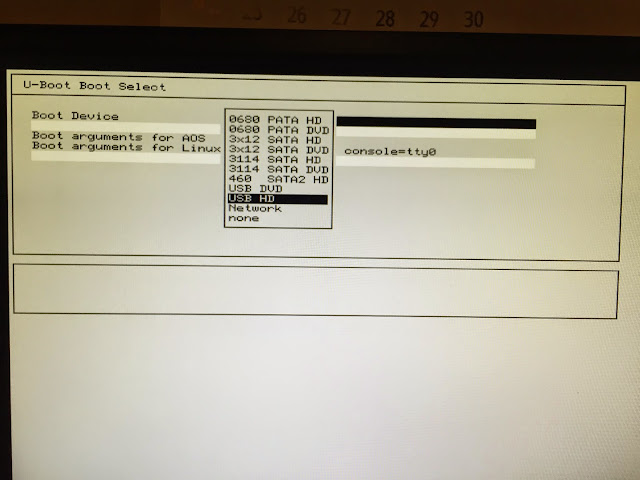
Once you put in the DVD and it starts to boot, you get the initial Boot Screen:
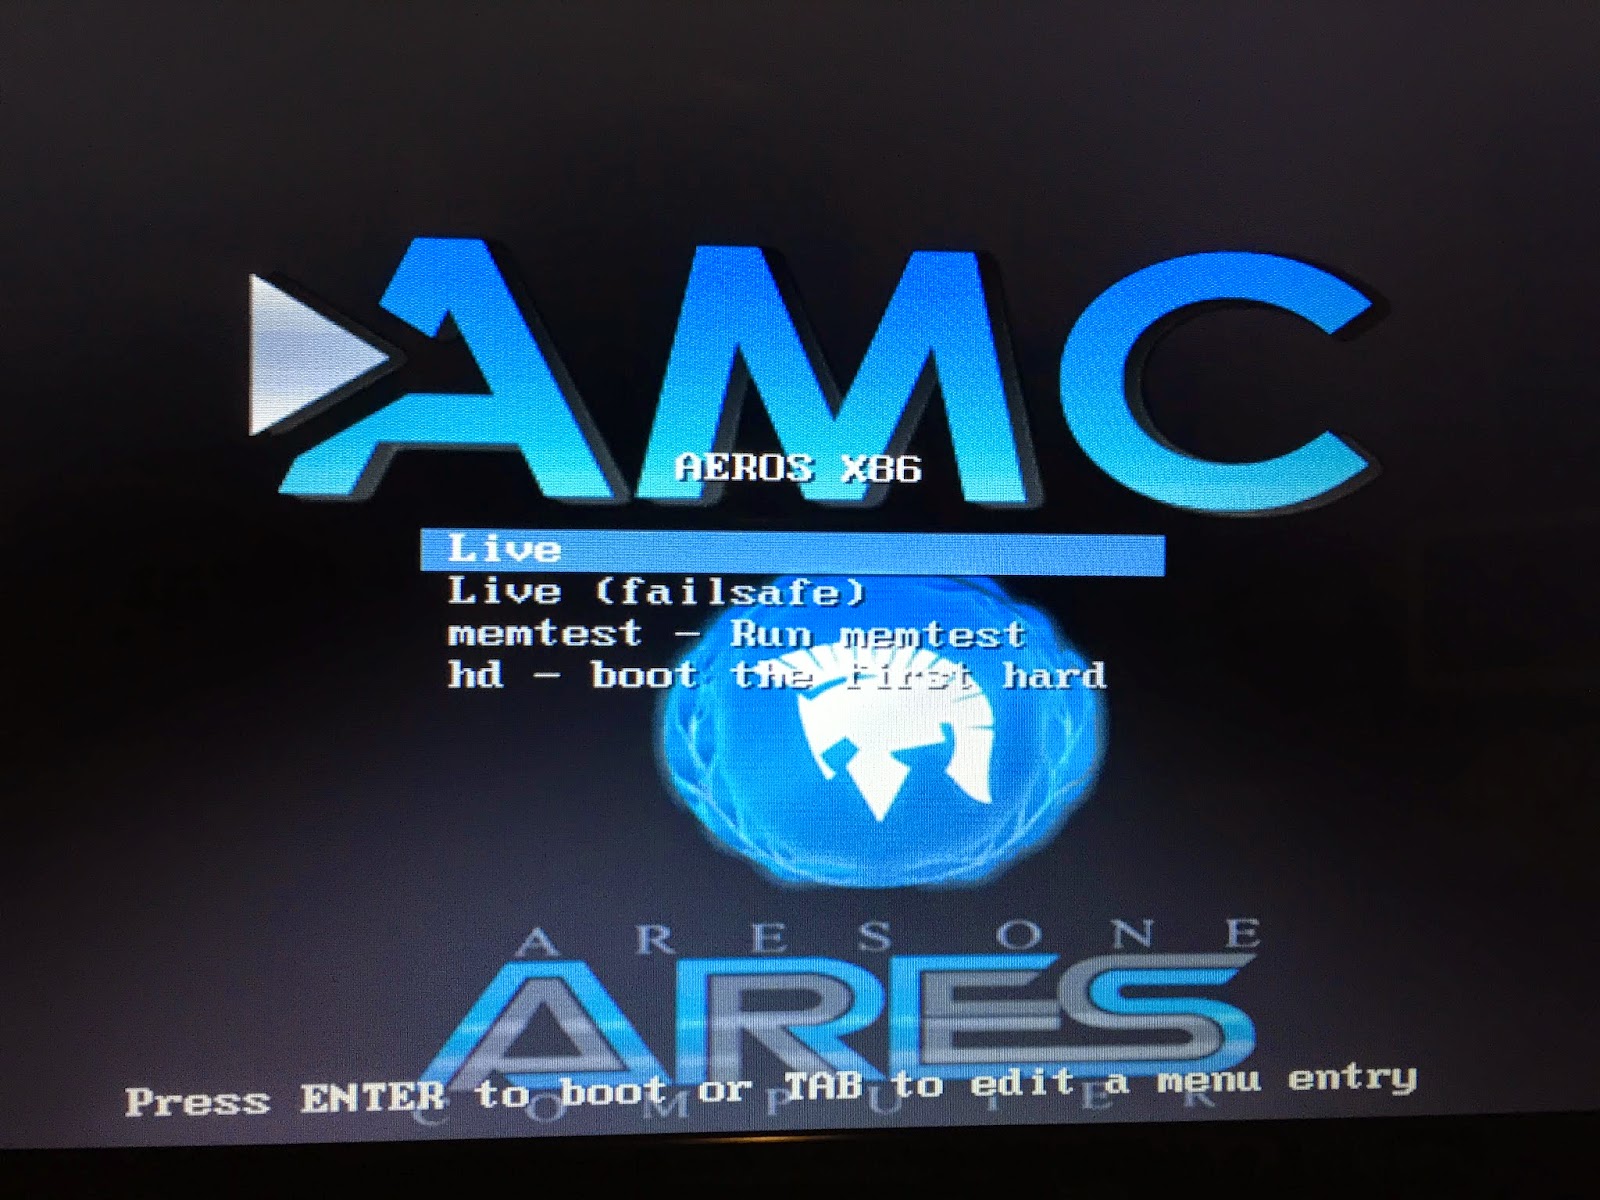
The boot screen gives you the option to Boot into the Live DVD environment, the failsafe environment, test the memory in the system, or boot from the hard disk in the system:
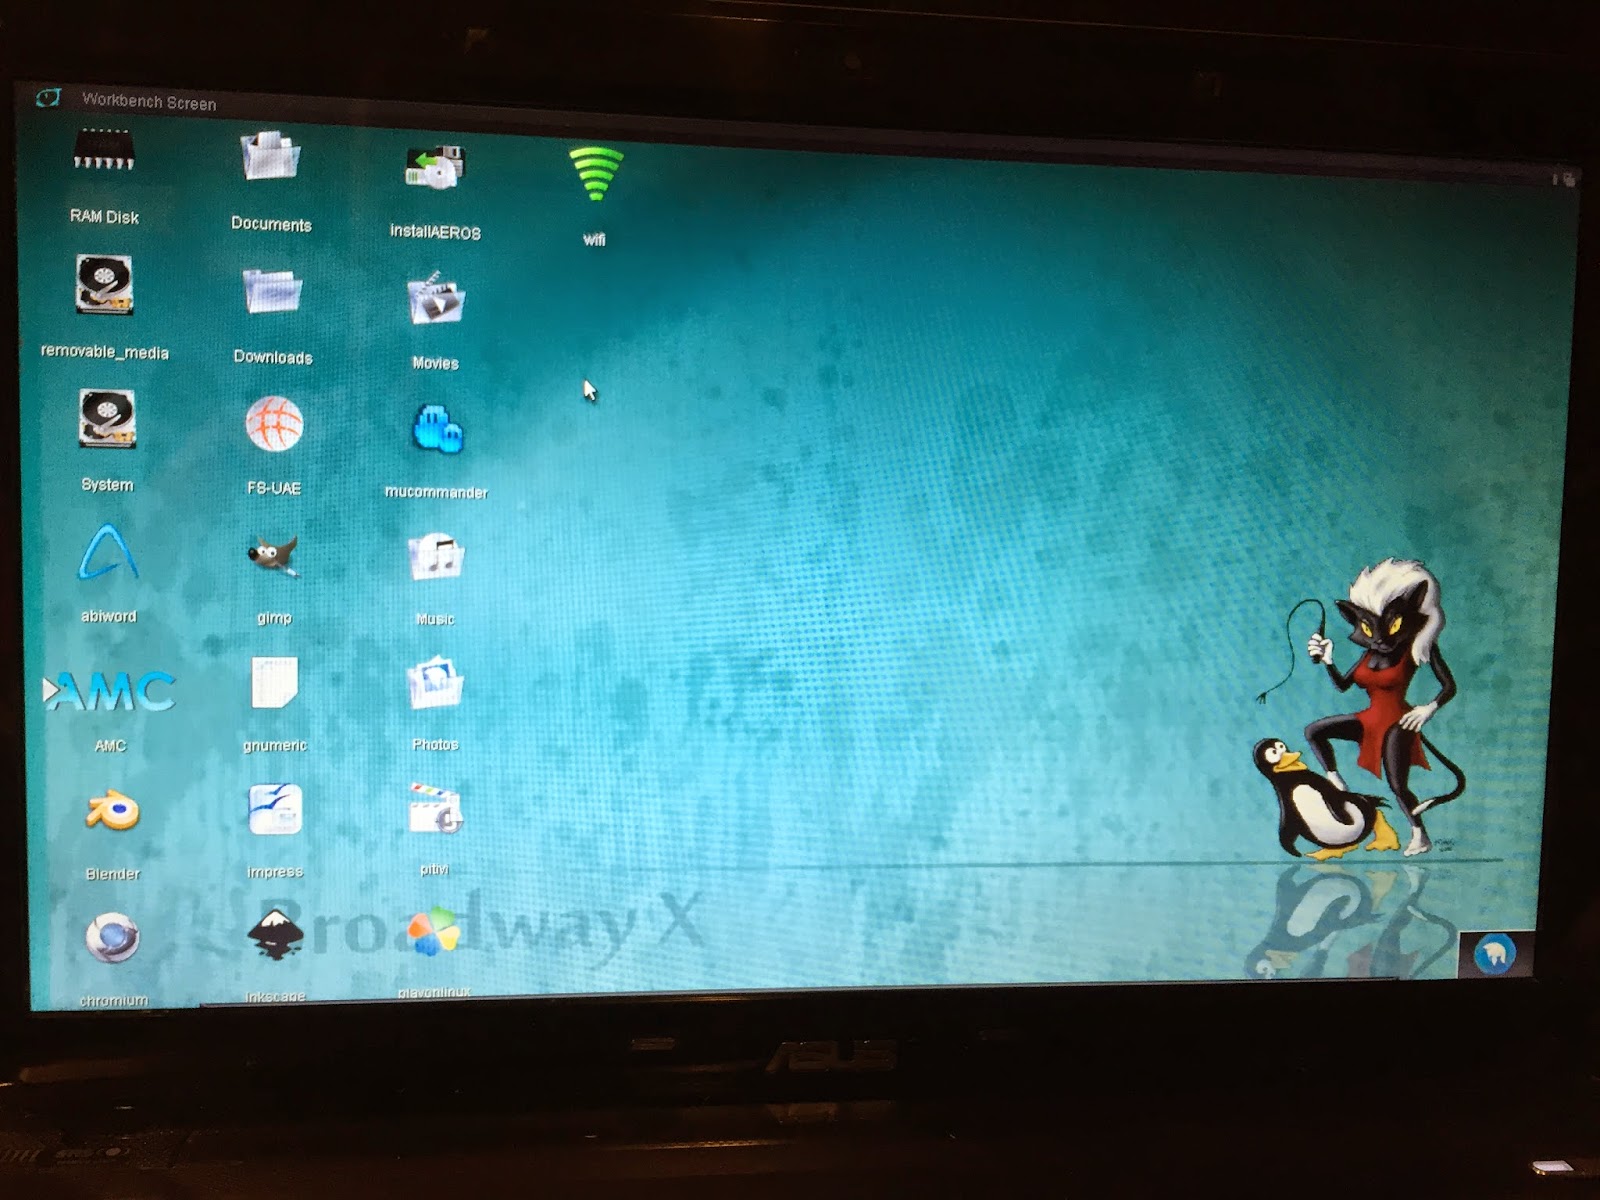
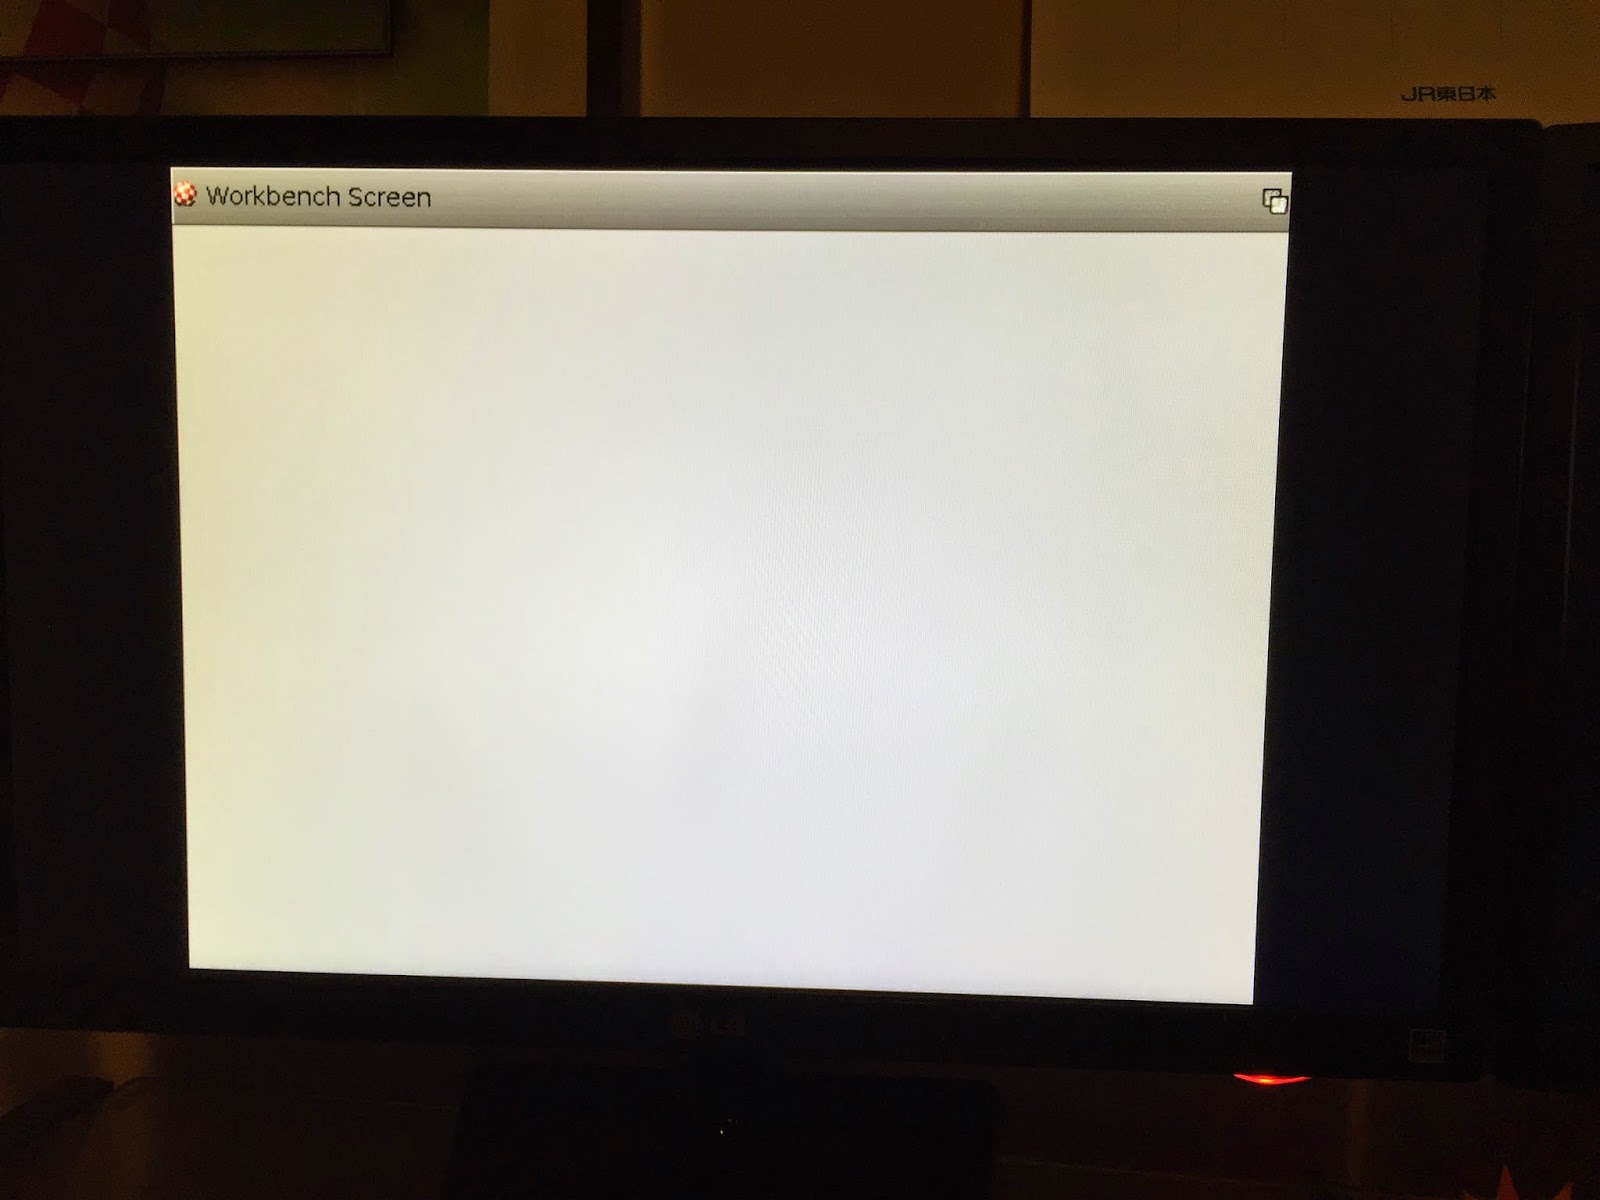
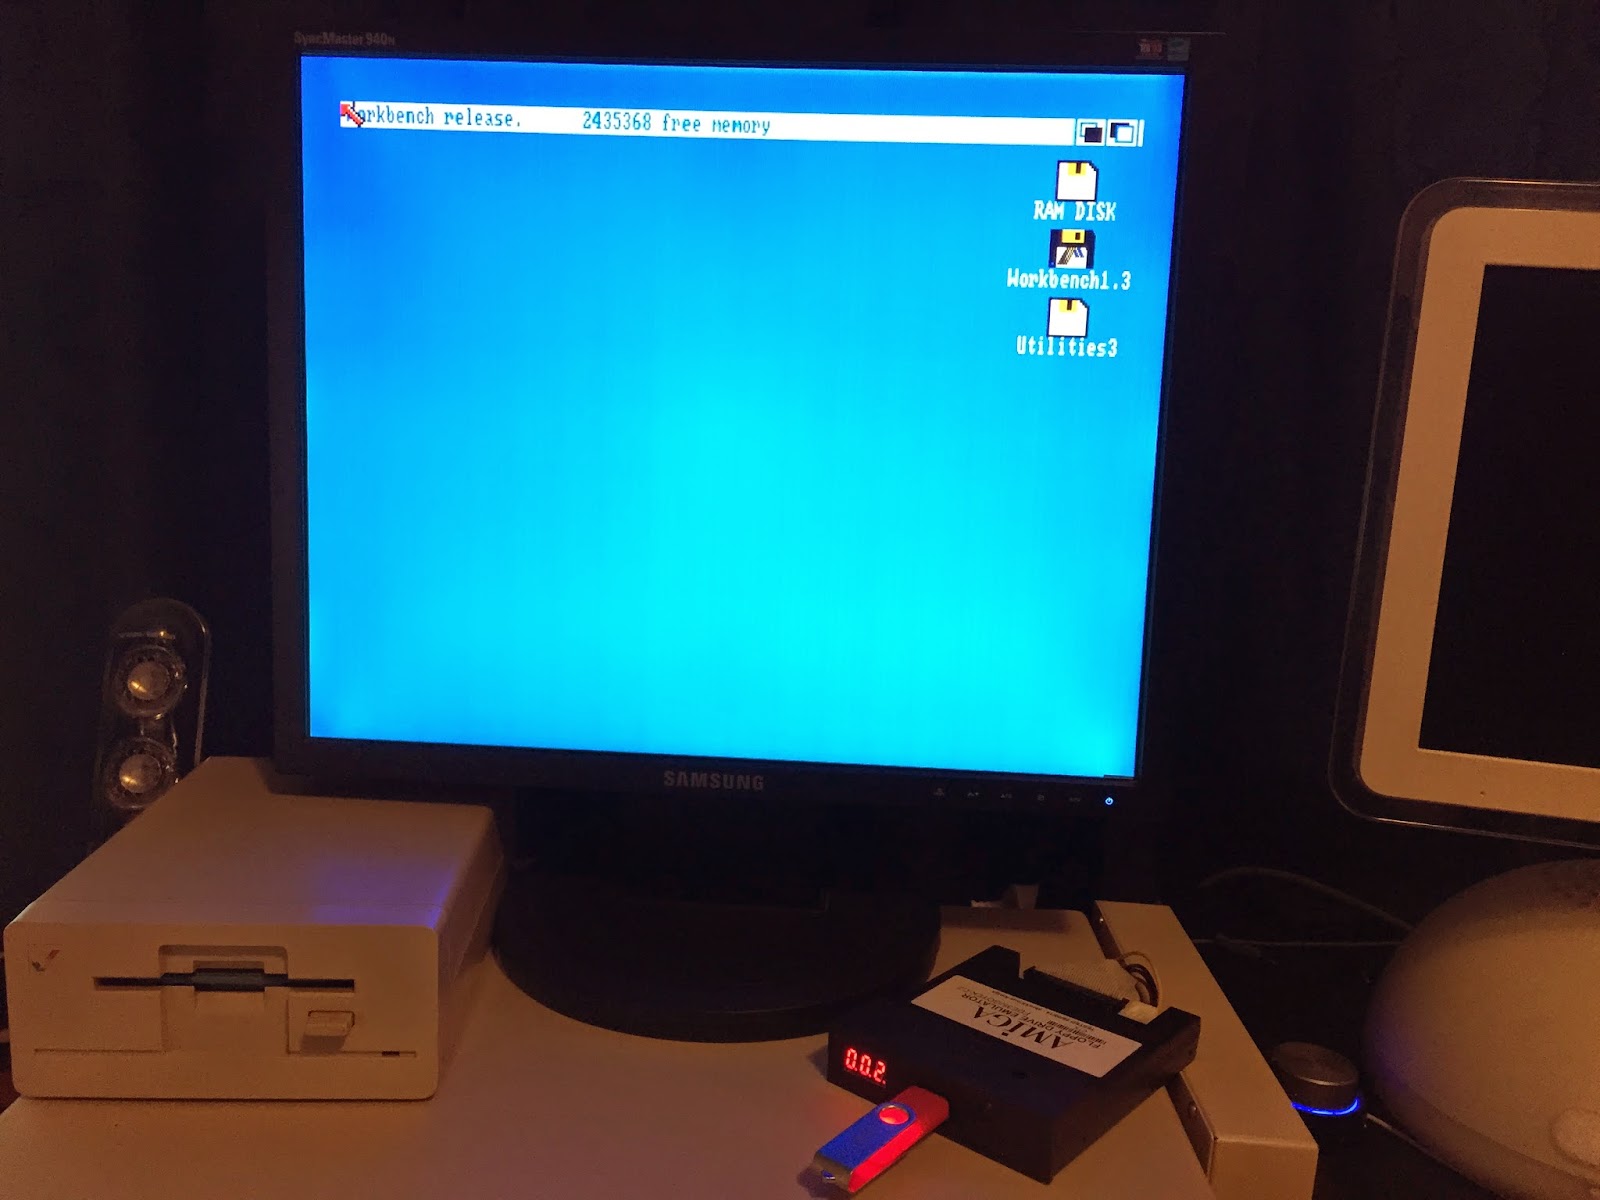
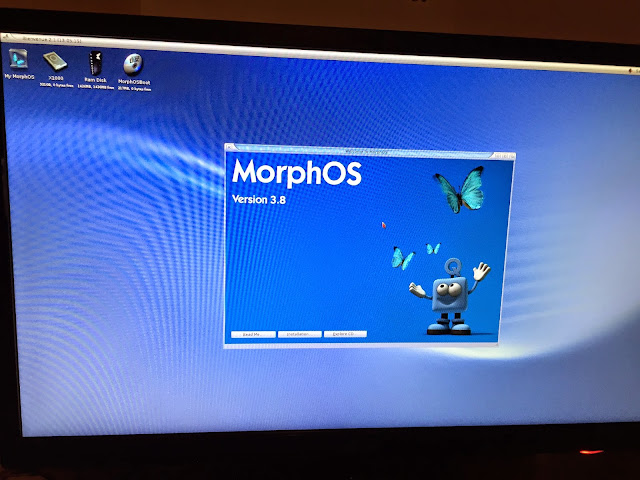
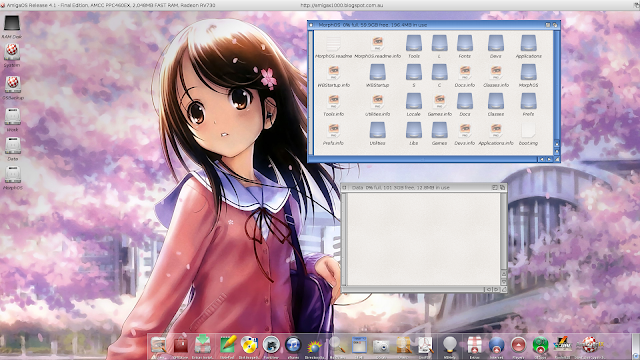
I choose to boot into the Live environment, and after some time the AEROS Workbench appears (you can click to expand any of these photos):
A close up view of the Workbench reveals an
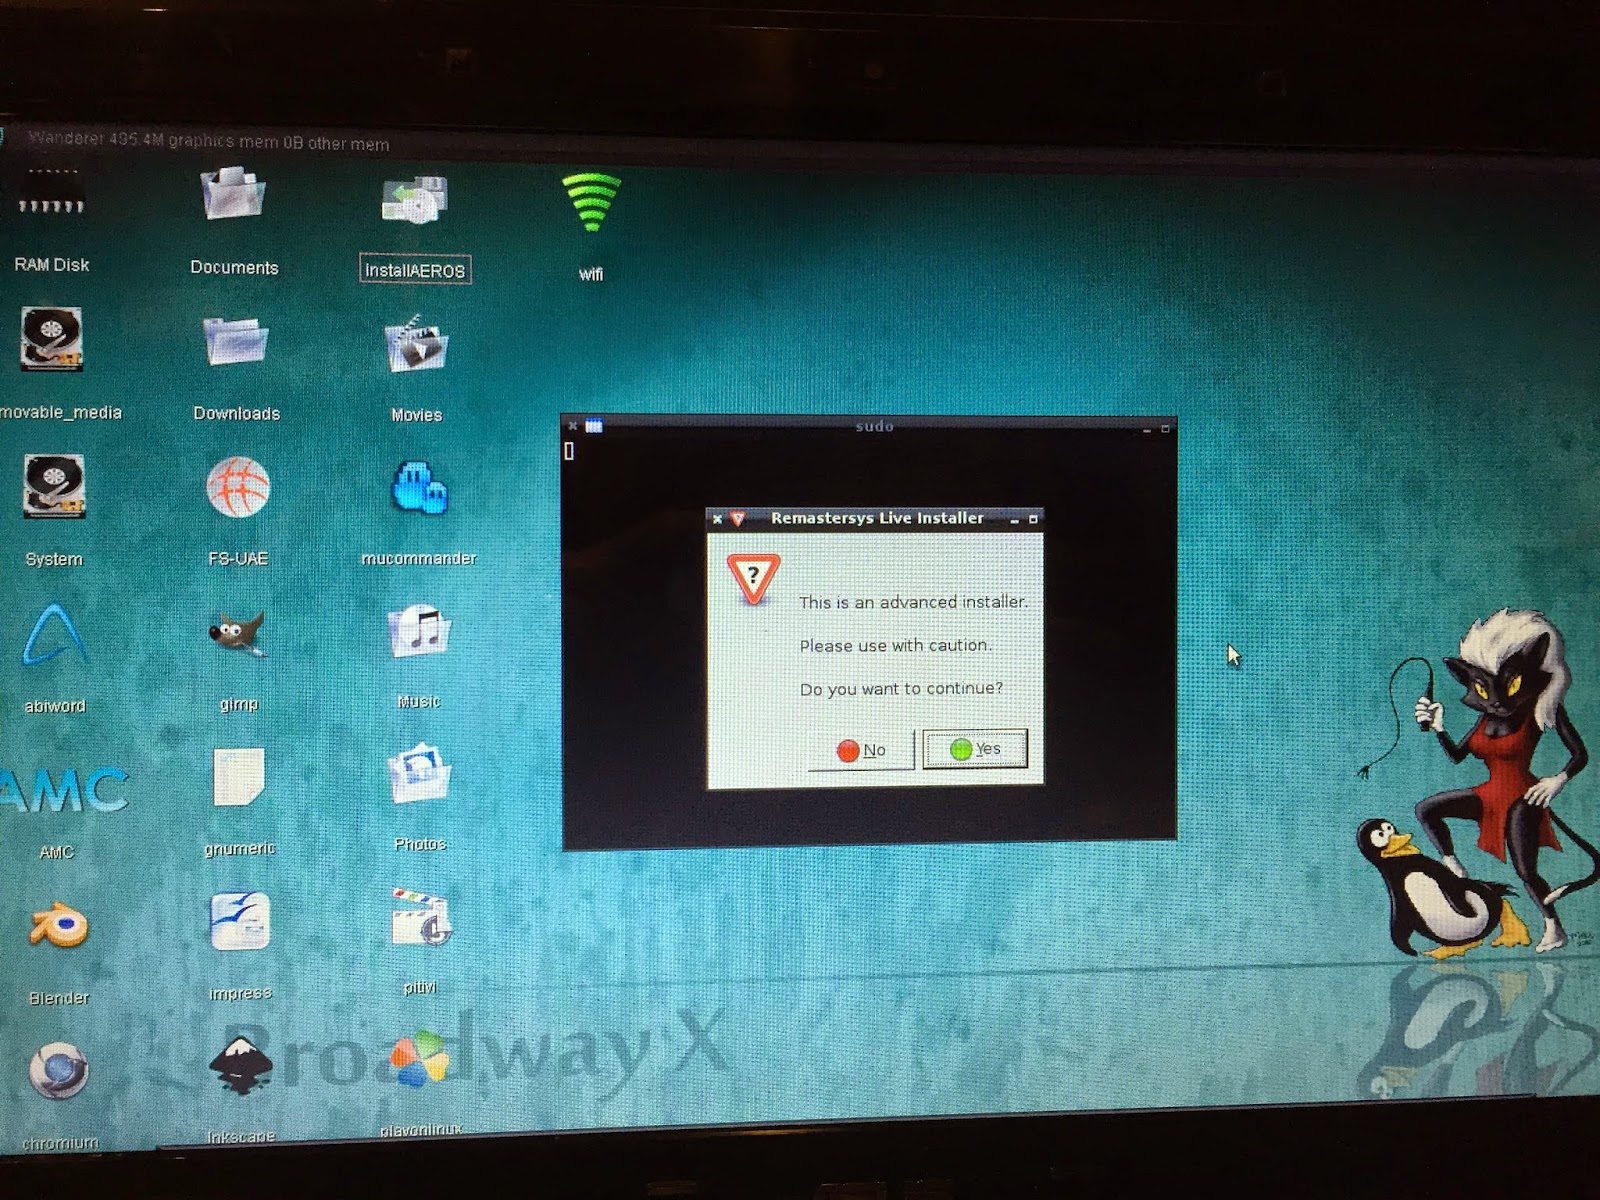
InstallAEROS icon to install the AEROS system to your hard disk, which is what I want to do:
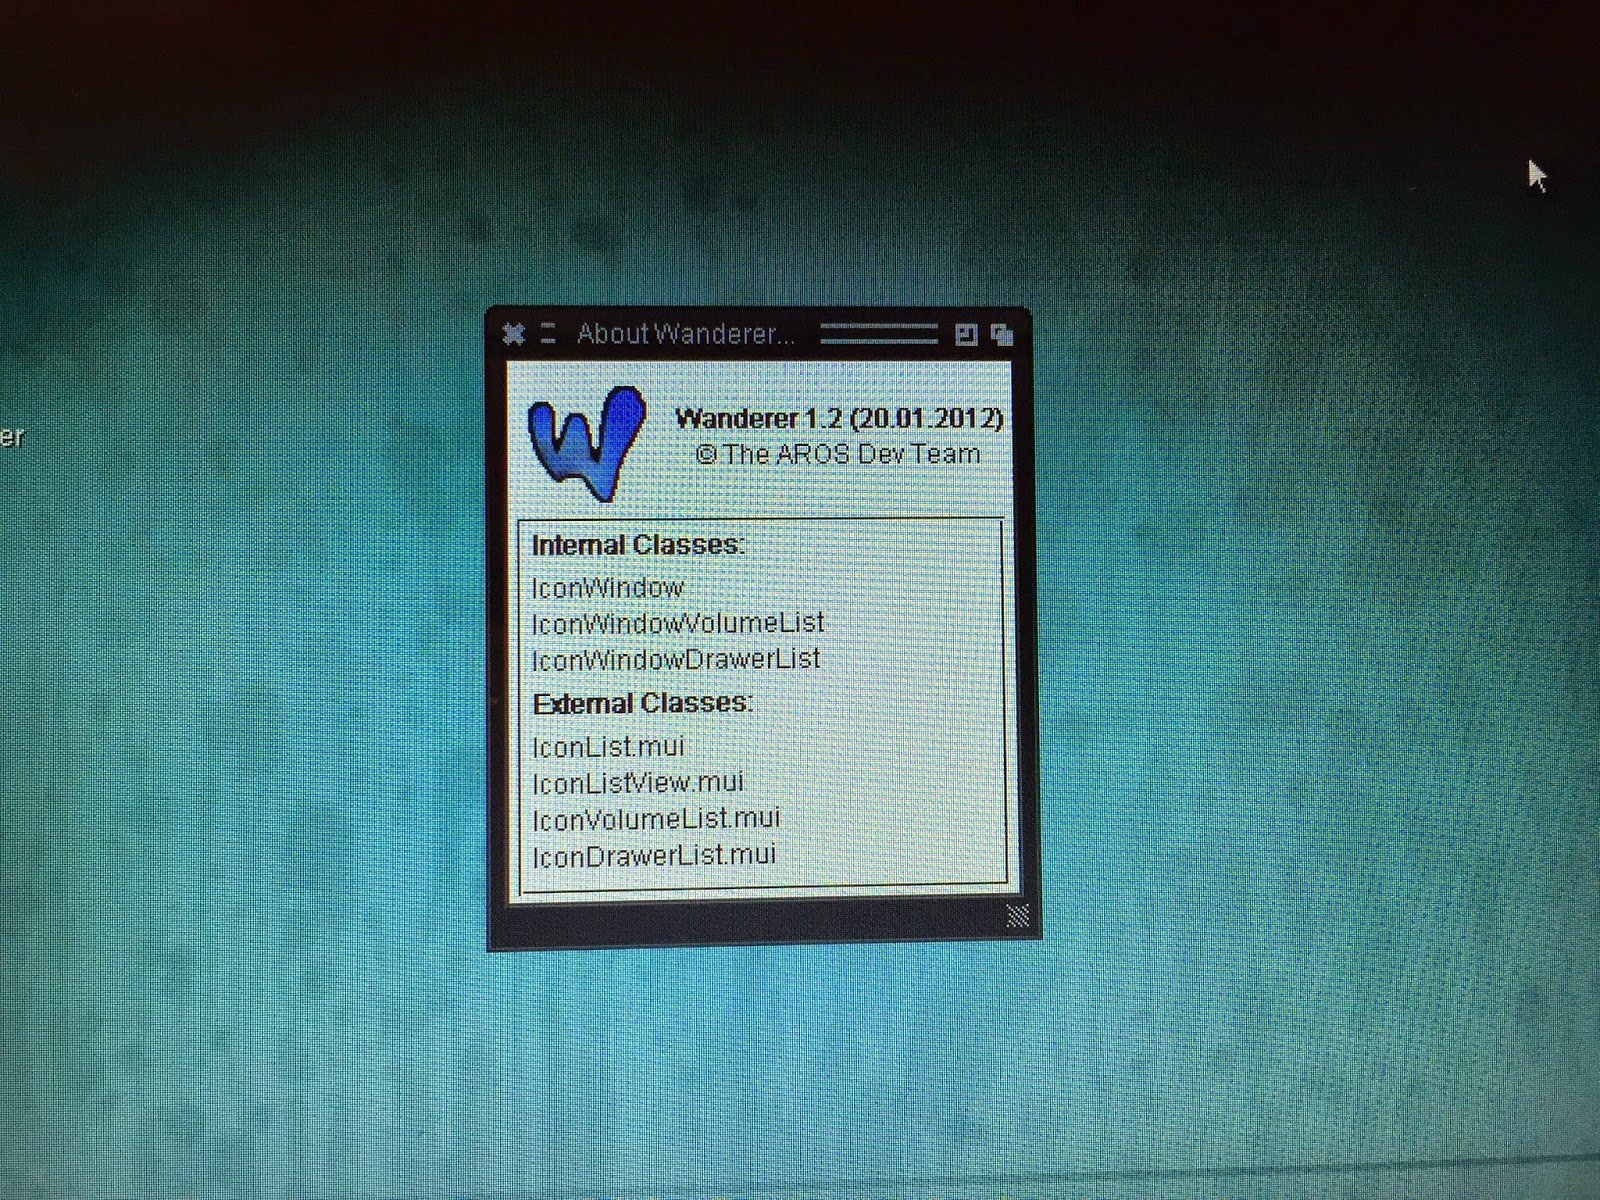
I can see that in this version Wanderer is still the default Workbench GUI, rather than DOpus 5.9 used in the newer Icaros Desktop 2.0:
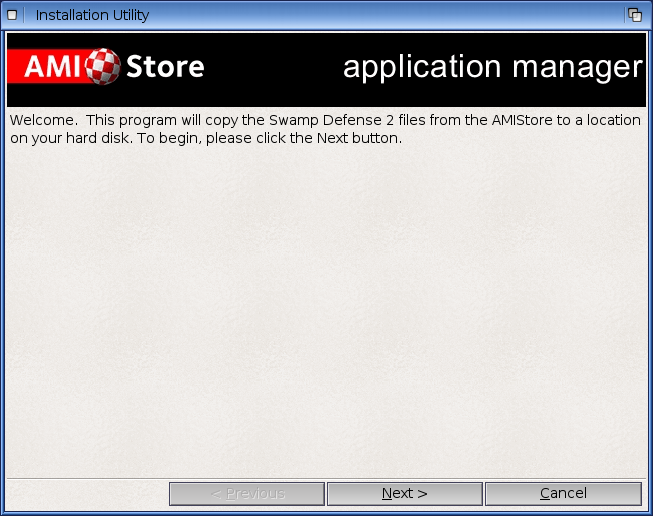
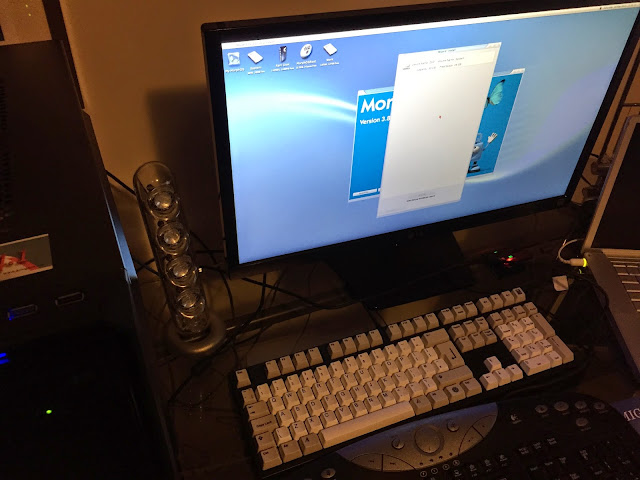
So next I double click on the
InstallAEROS icon to get started with the installation - almost straight away it warns me that "This is an advanced installer. Please use with caution" and confirms if I want to continue:
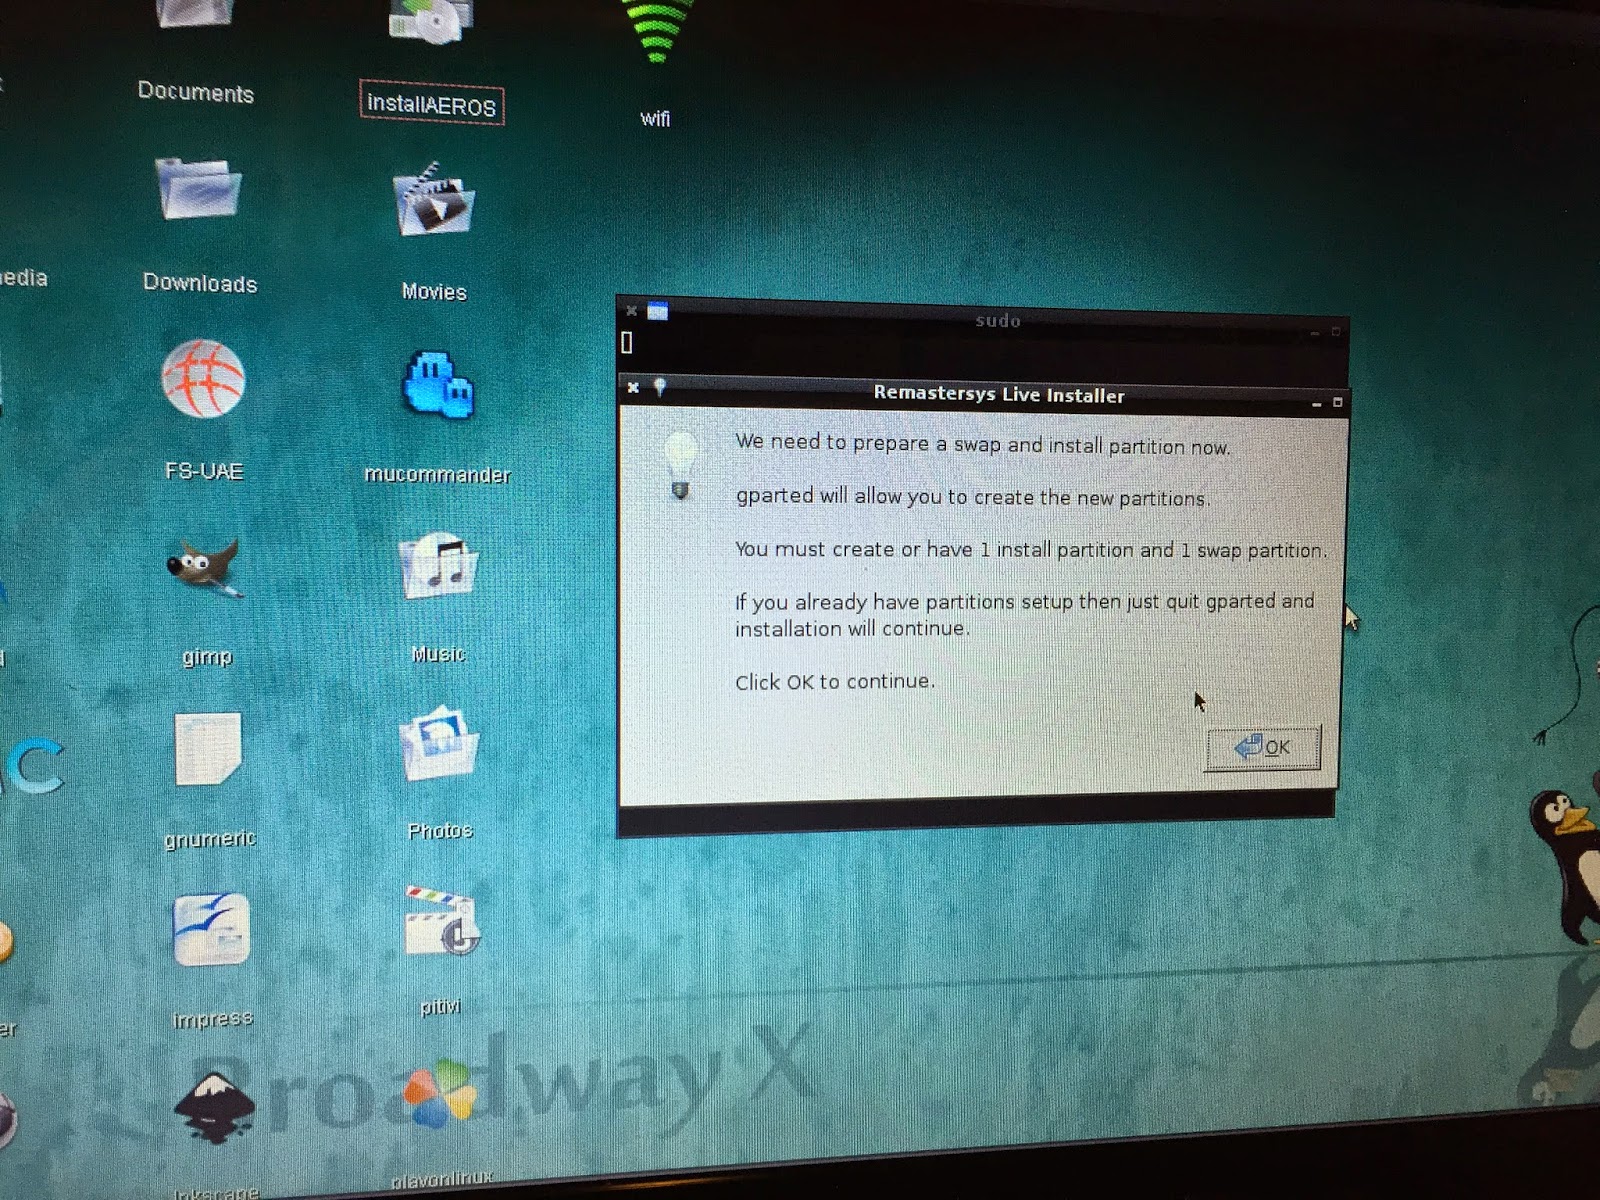
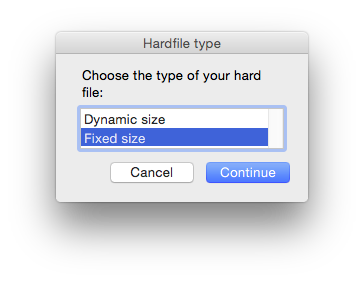
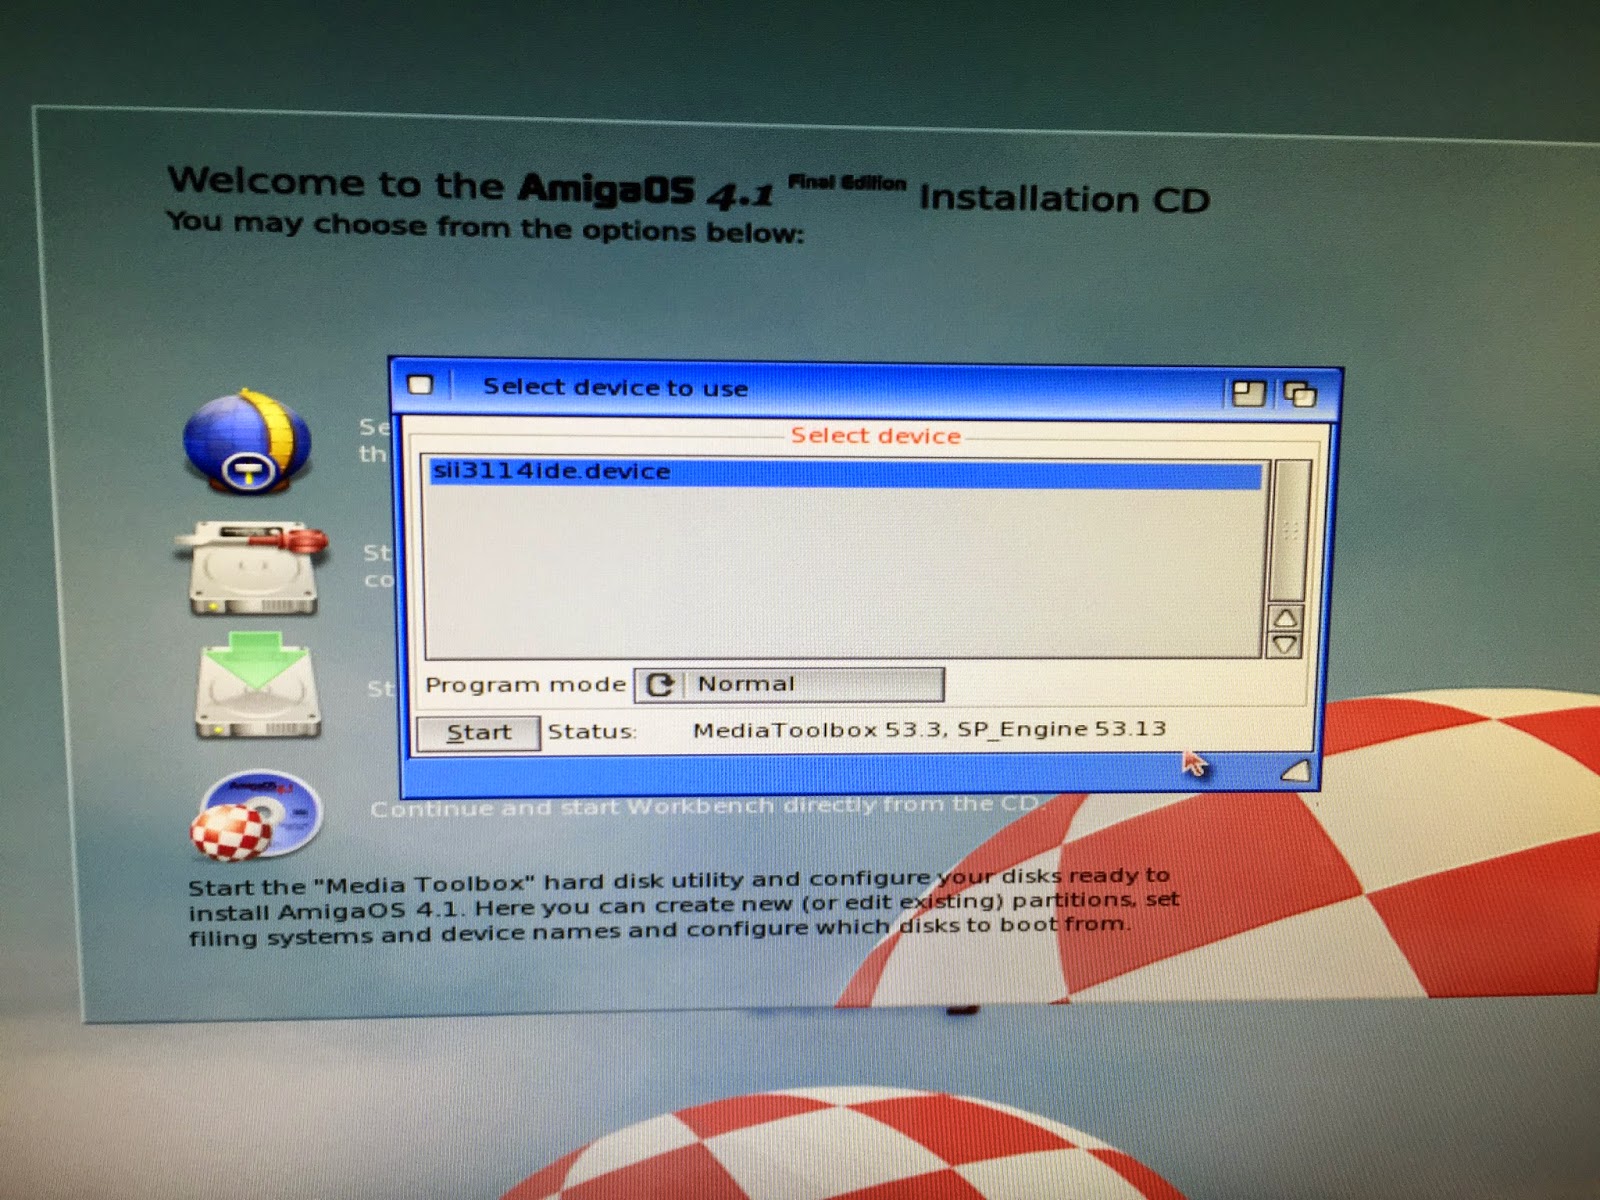
Next it warns me that I need to set up one install partition and one swap partition for the installation - the installer uses
GParted for this:
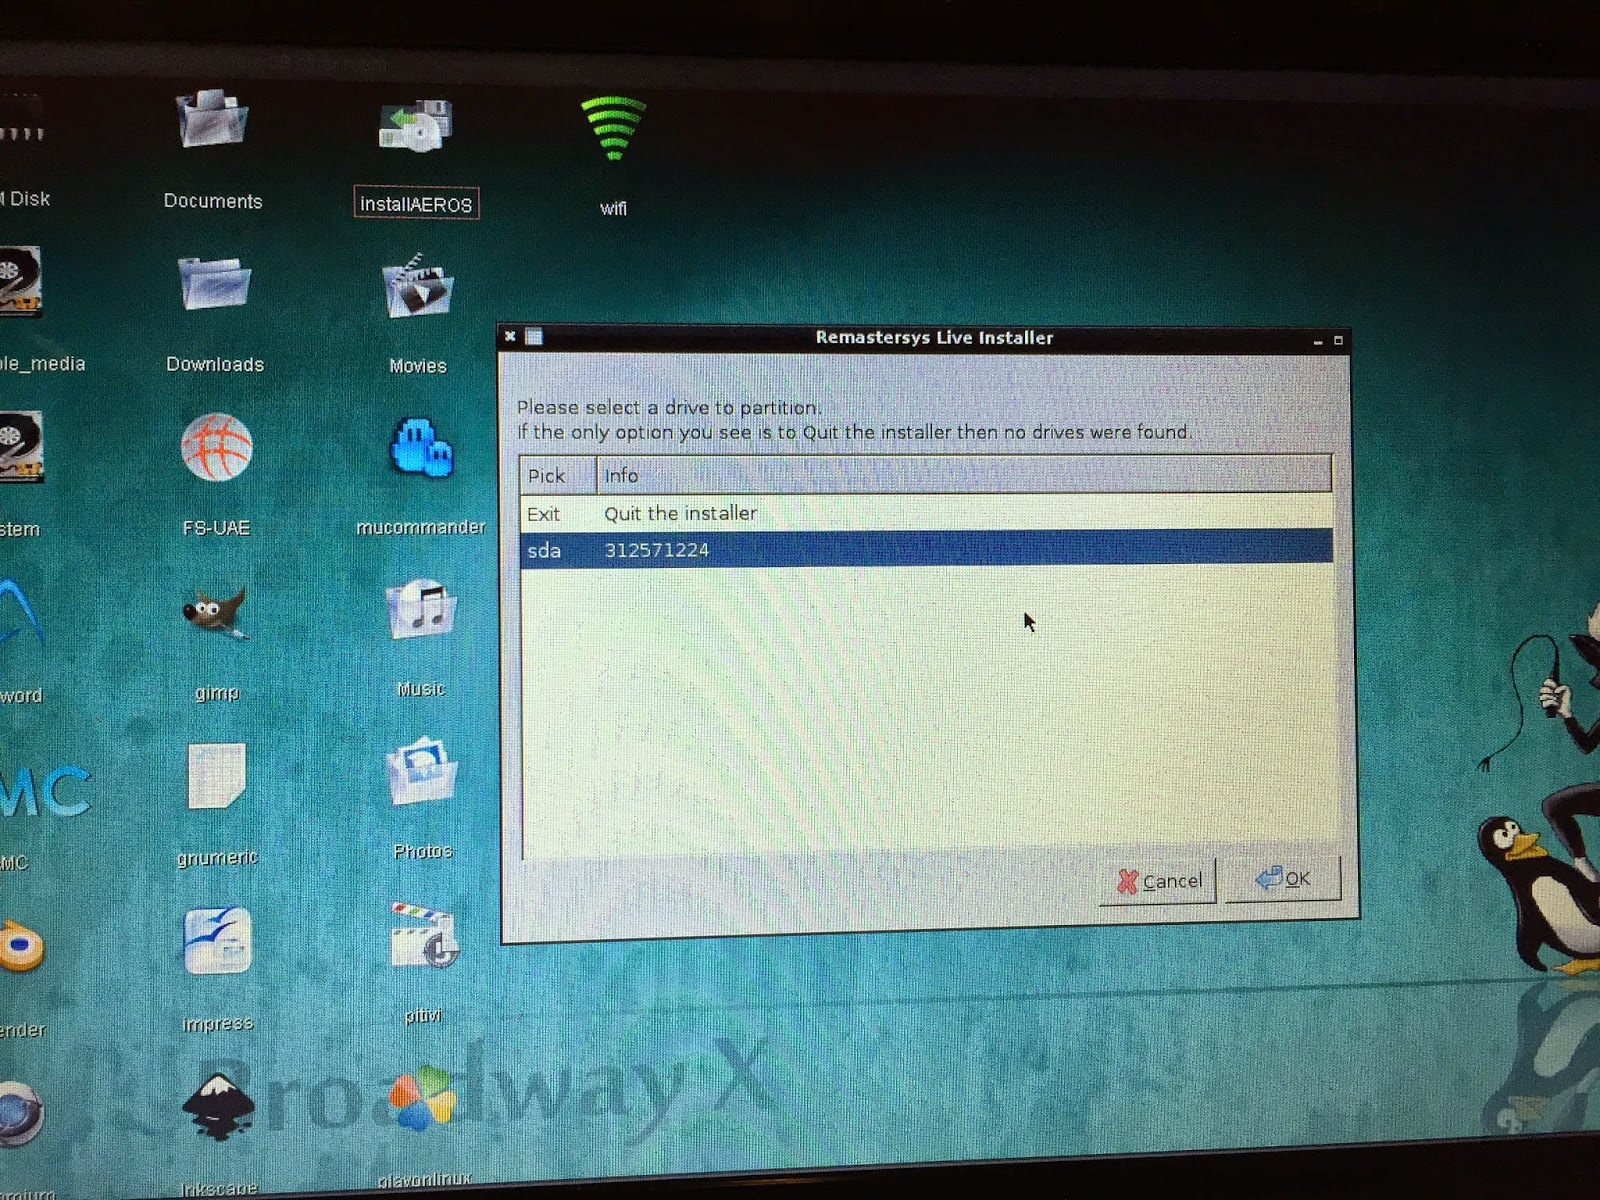
Accordingly I then select the hard disk controller on my system - easy since there is only one!
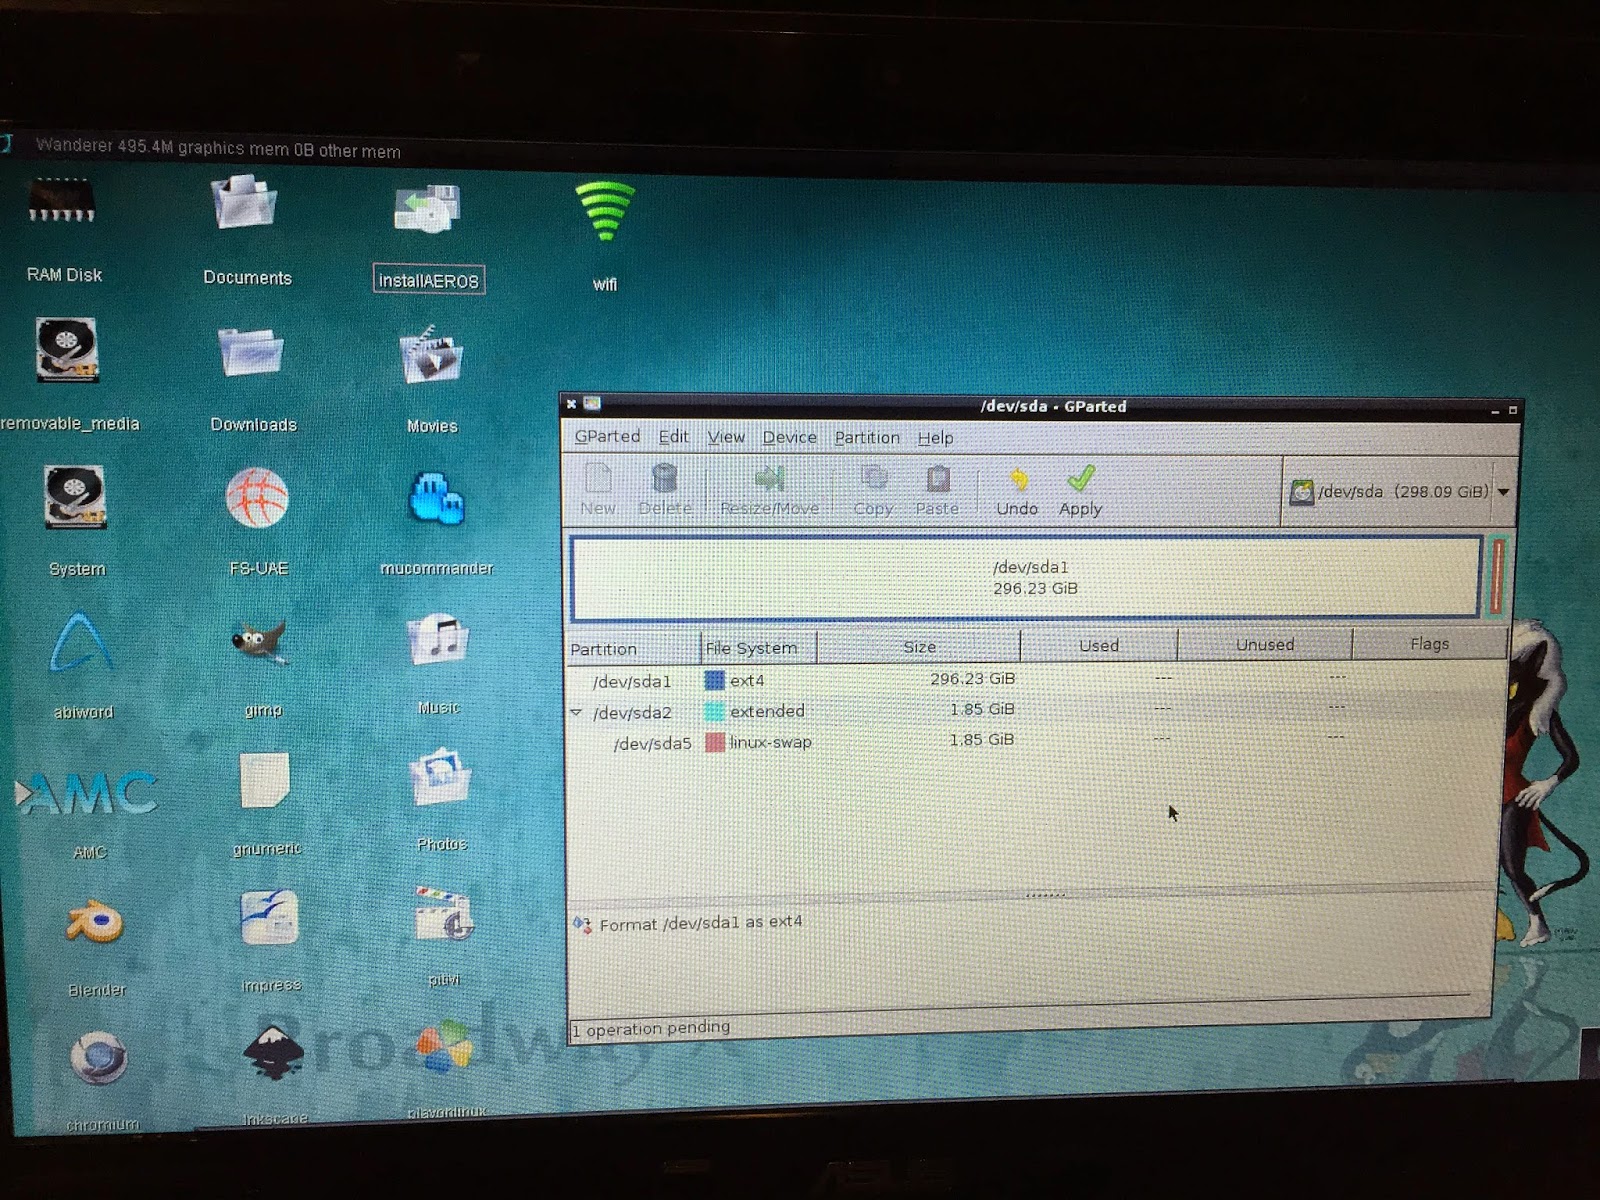
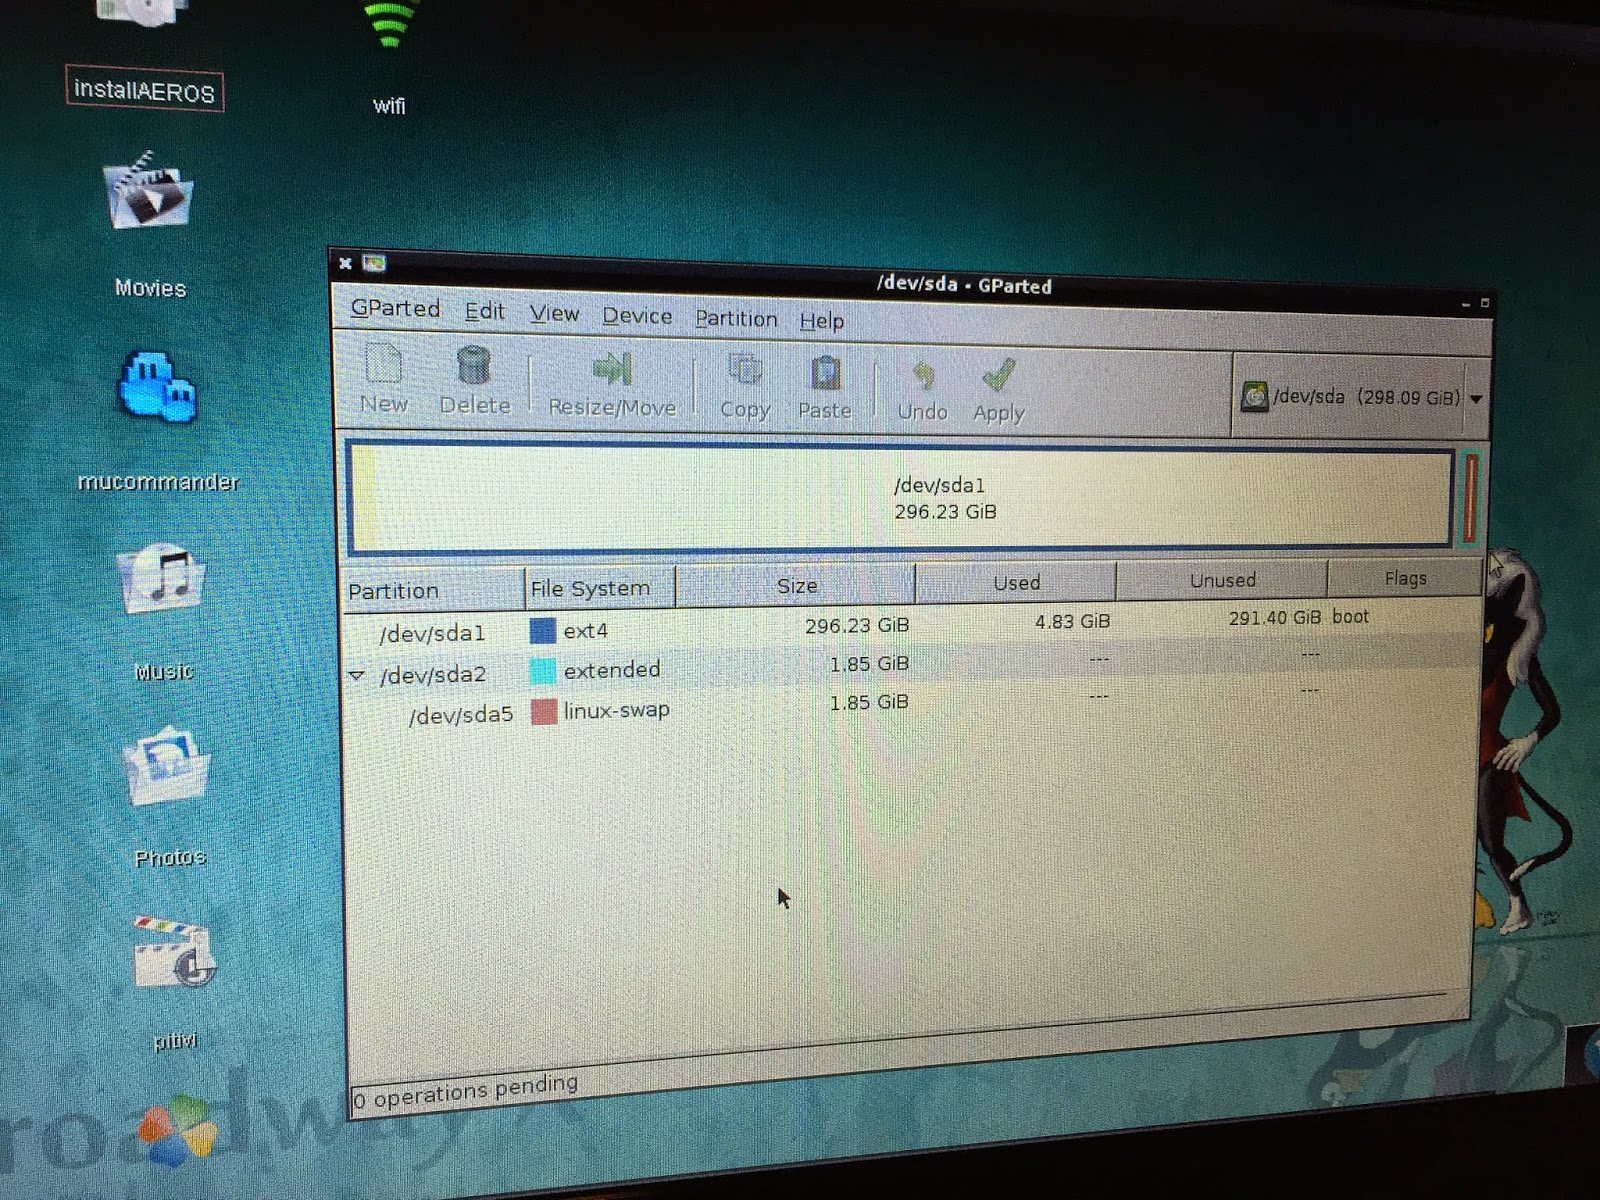
Next I get the familiar GParted partition window from Linux. Because I had ElementaryOS installed on this laptop before, it already automatically created the partition map for me (as part of that install). So all I need to do here is to format the install partition:
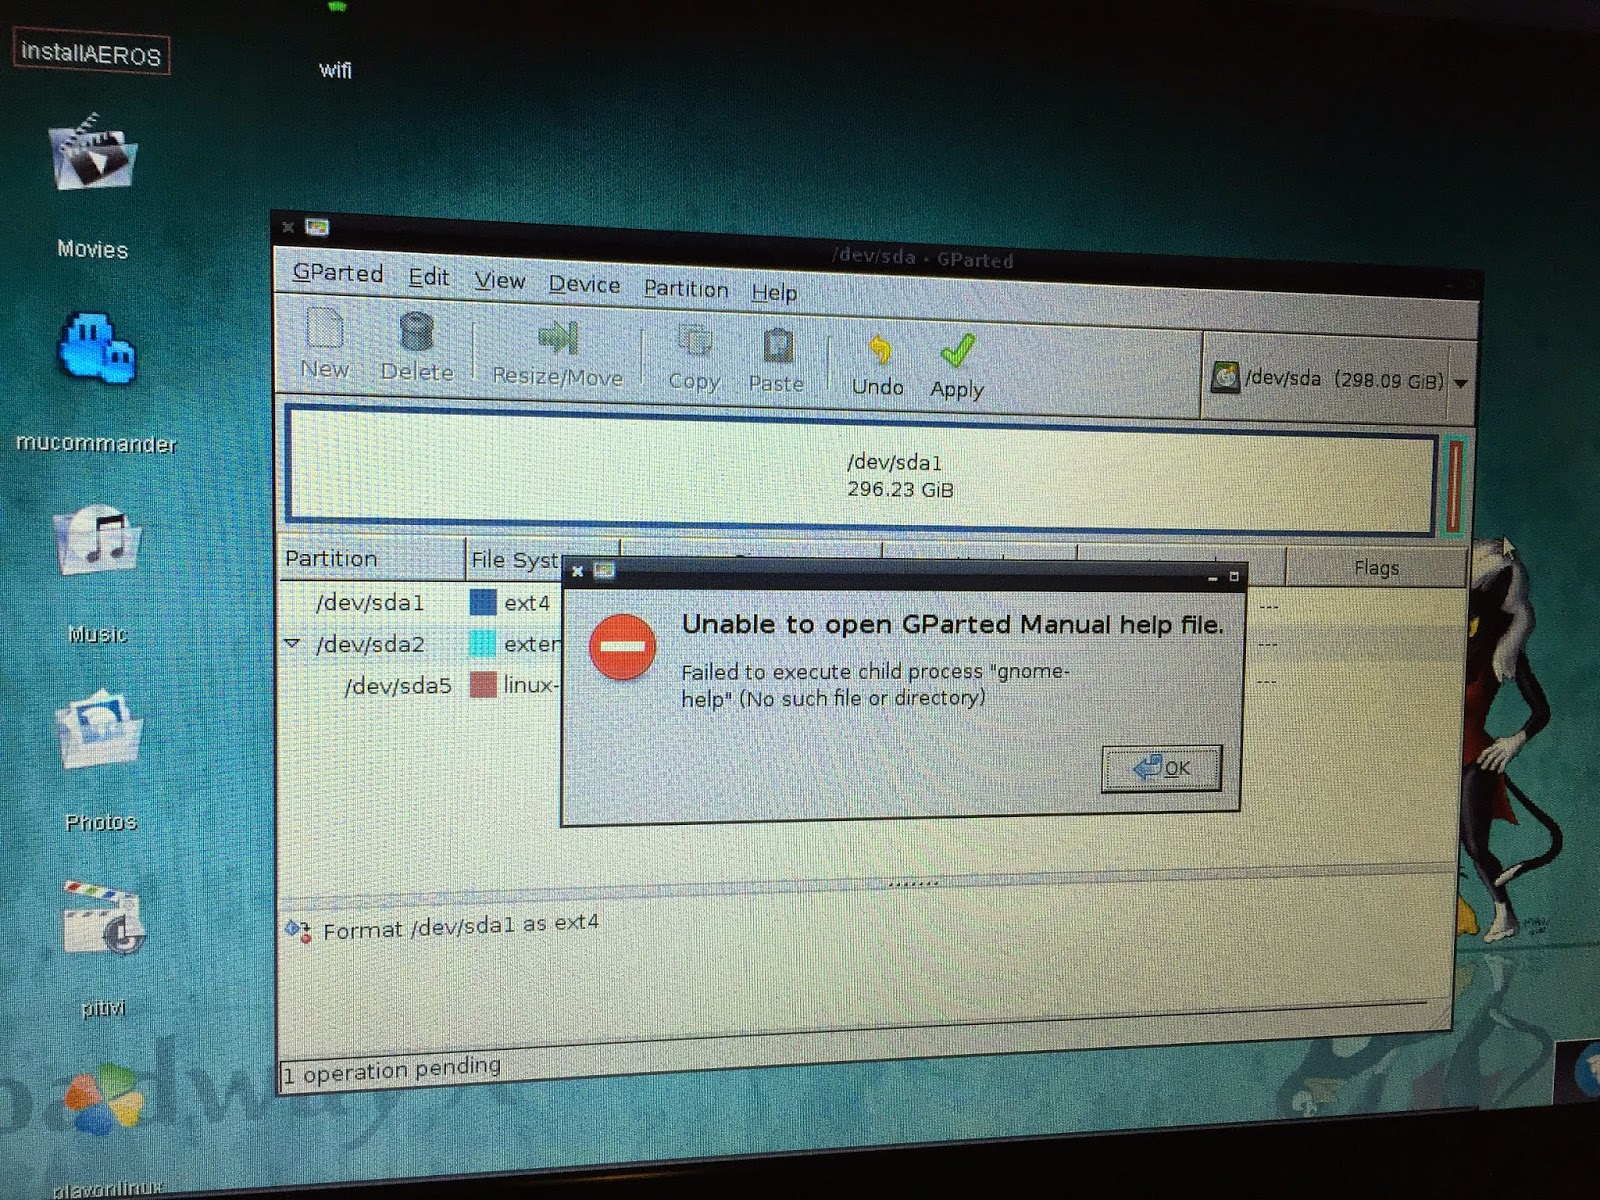
Regrettably it seems that if you need help with the use of GParted you are on your own with Google, as the normal help guide in GParted appears to not be included in the package. I think it should be included as there is plenty of room on the DVD:
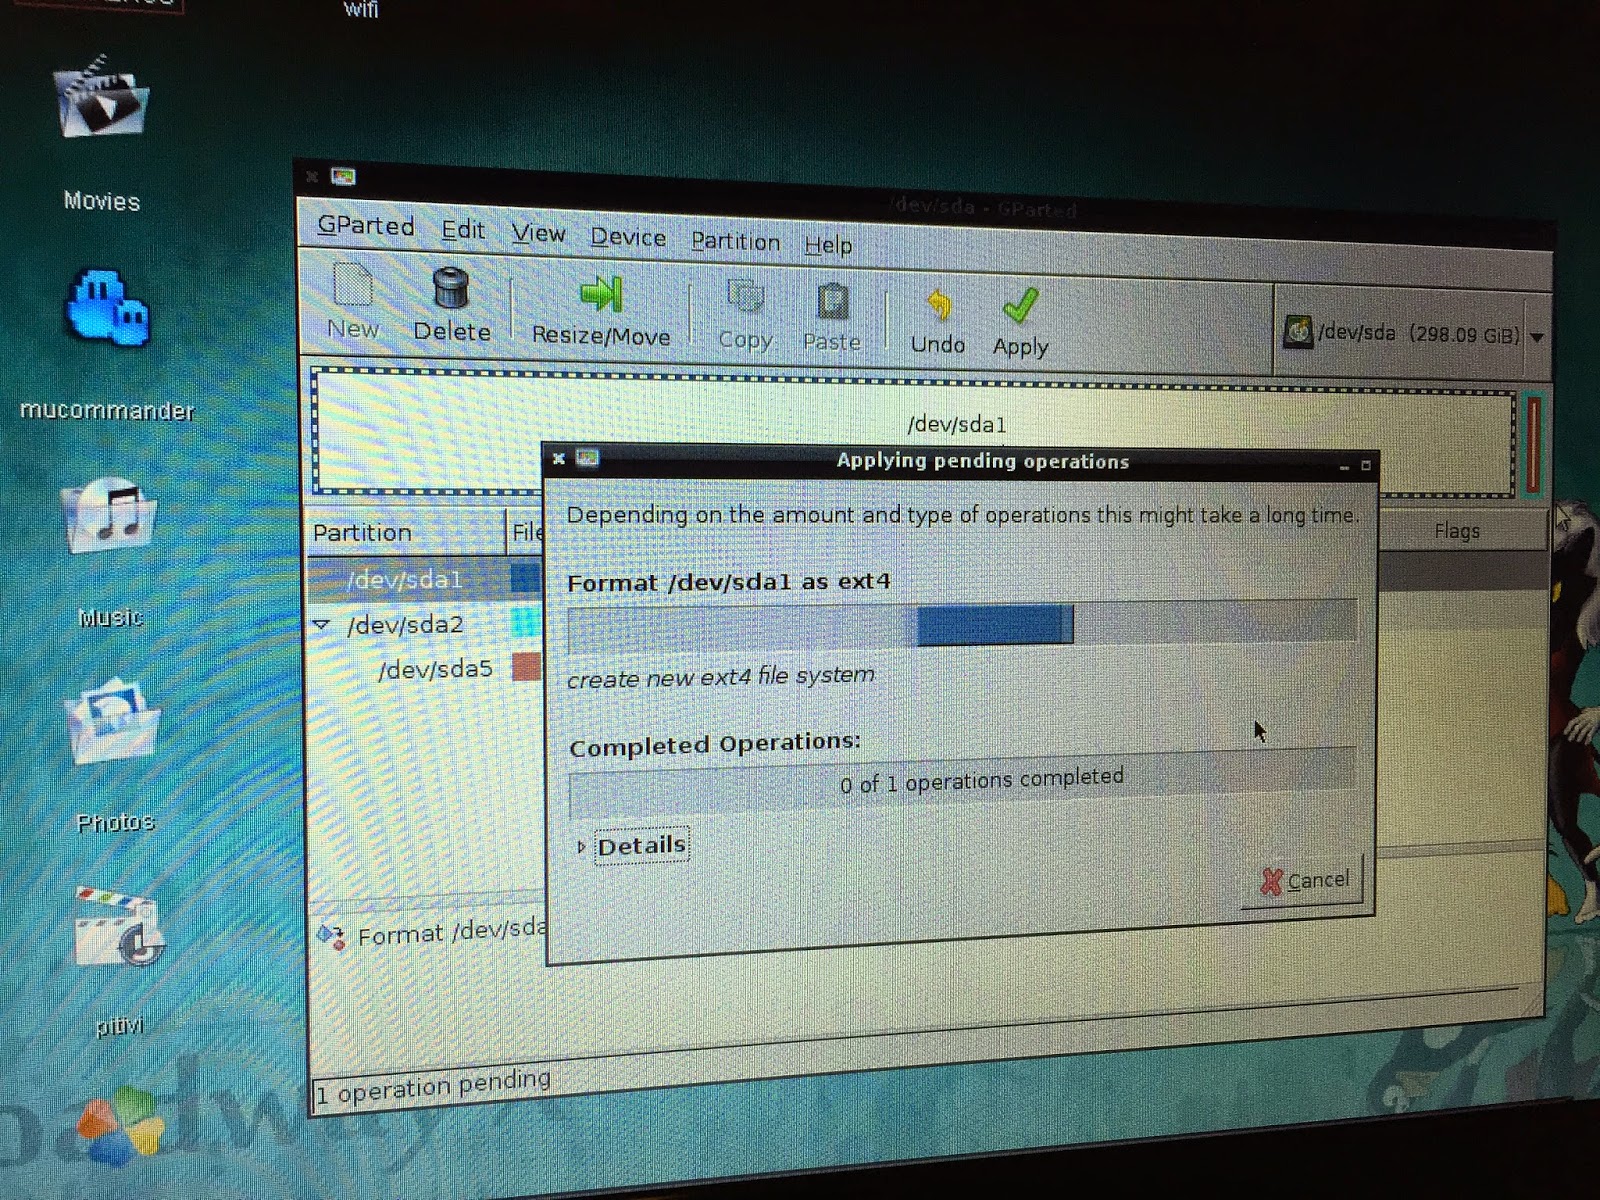
In any case, I reformatted the Install partition
/dev/sda1 as
ext4 format, as shown below:
The disk format commences once I click on
Apply button in GParted:
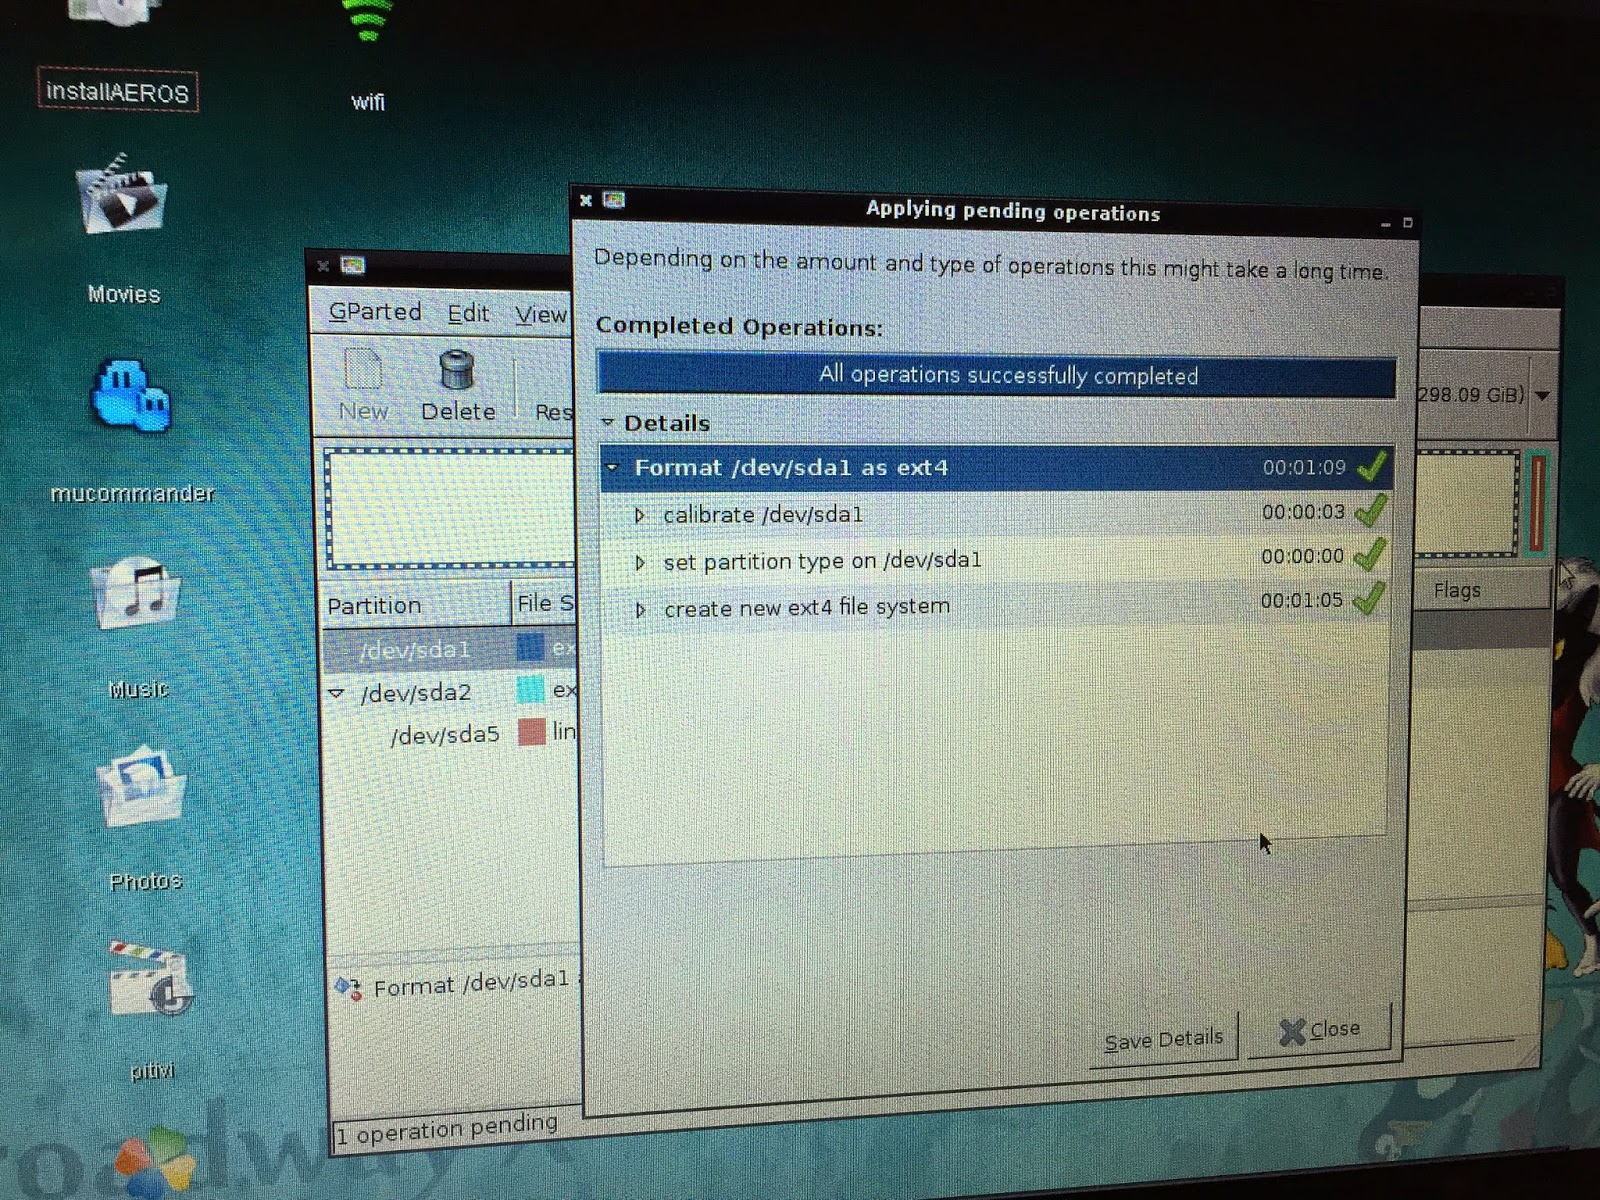
Format done:
And here we are, ready to go:
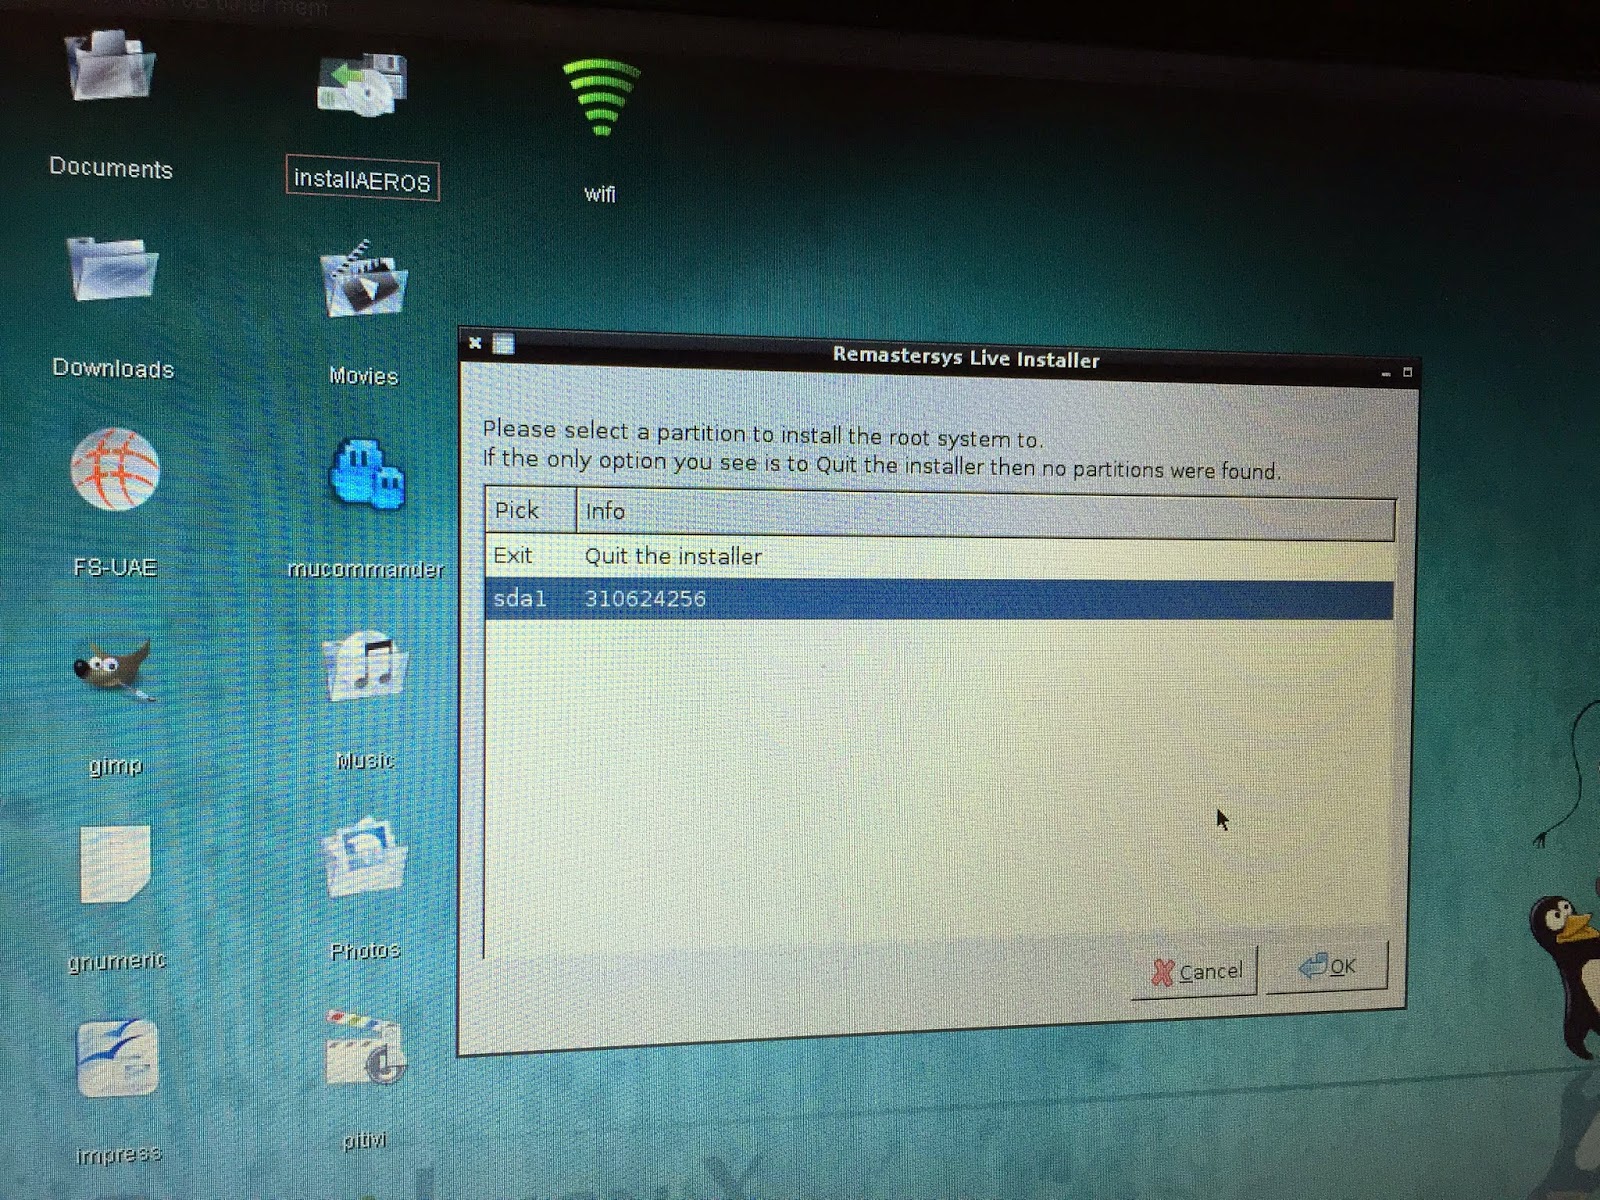
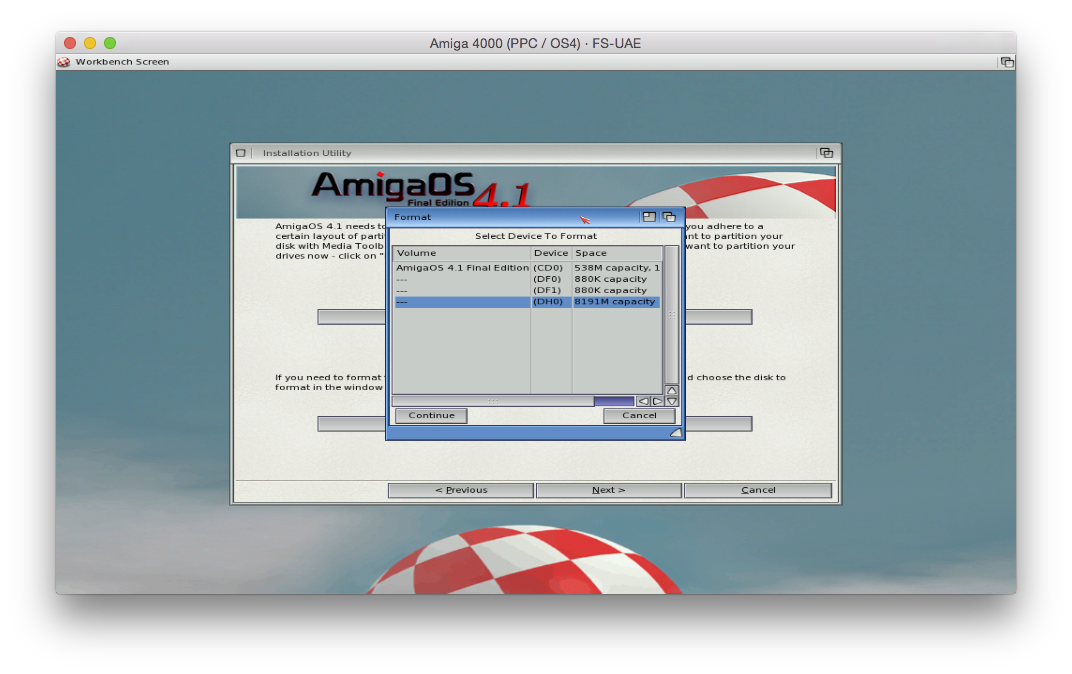
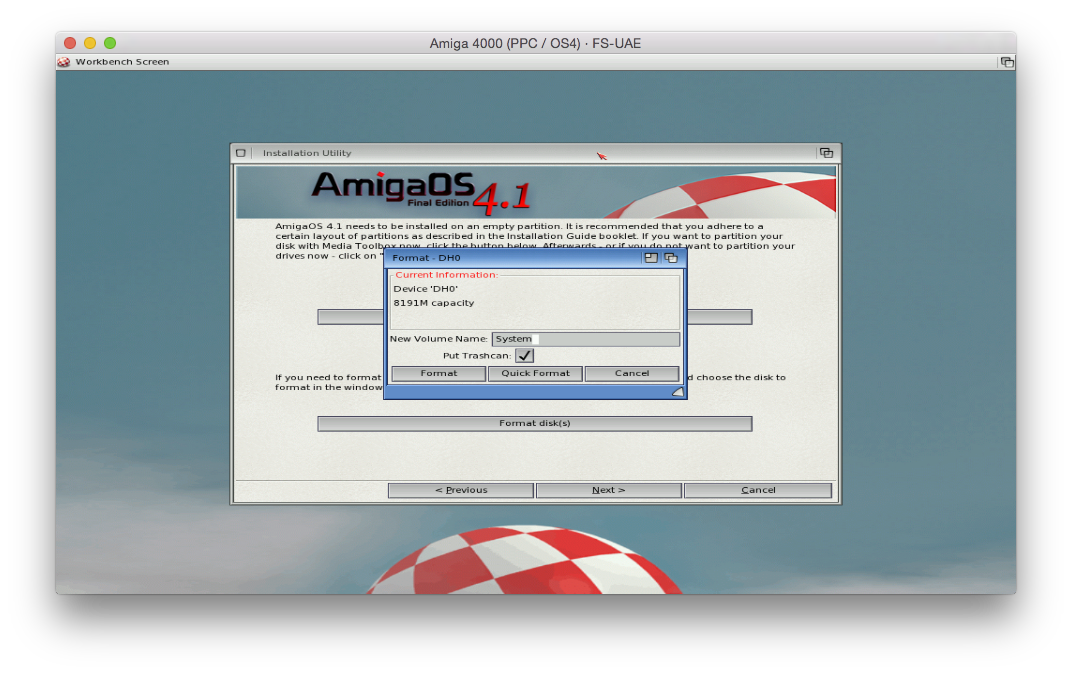
When I close GParted the install continues - it asks me to select the install partition and the swap partition:
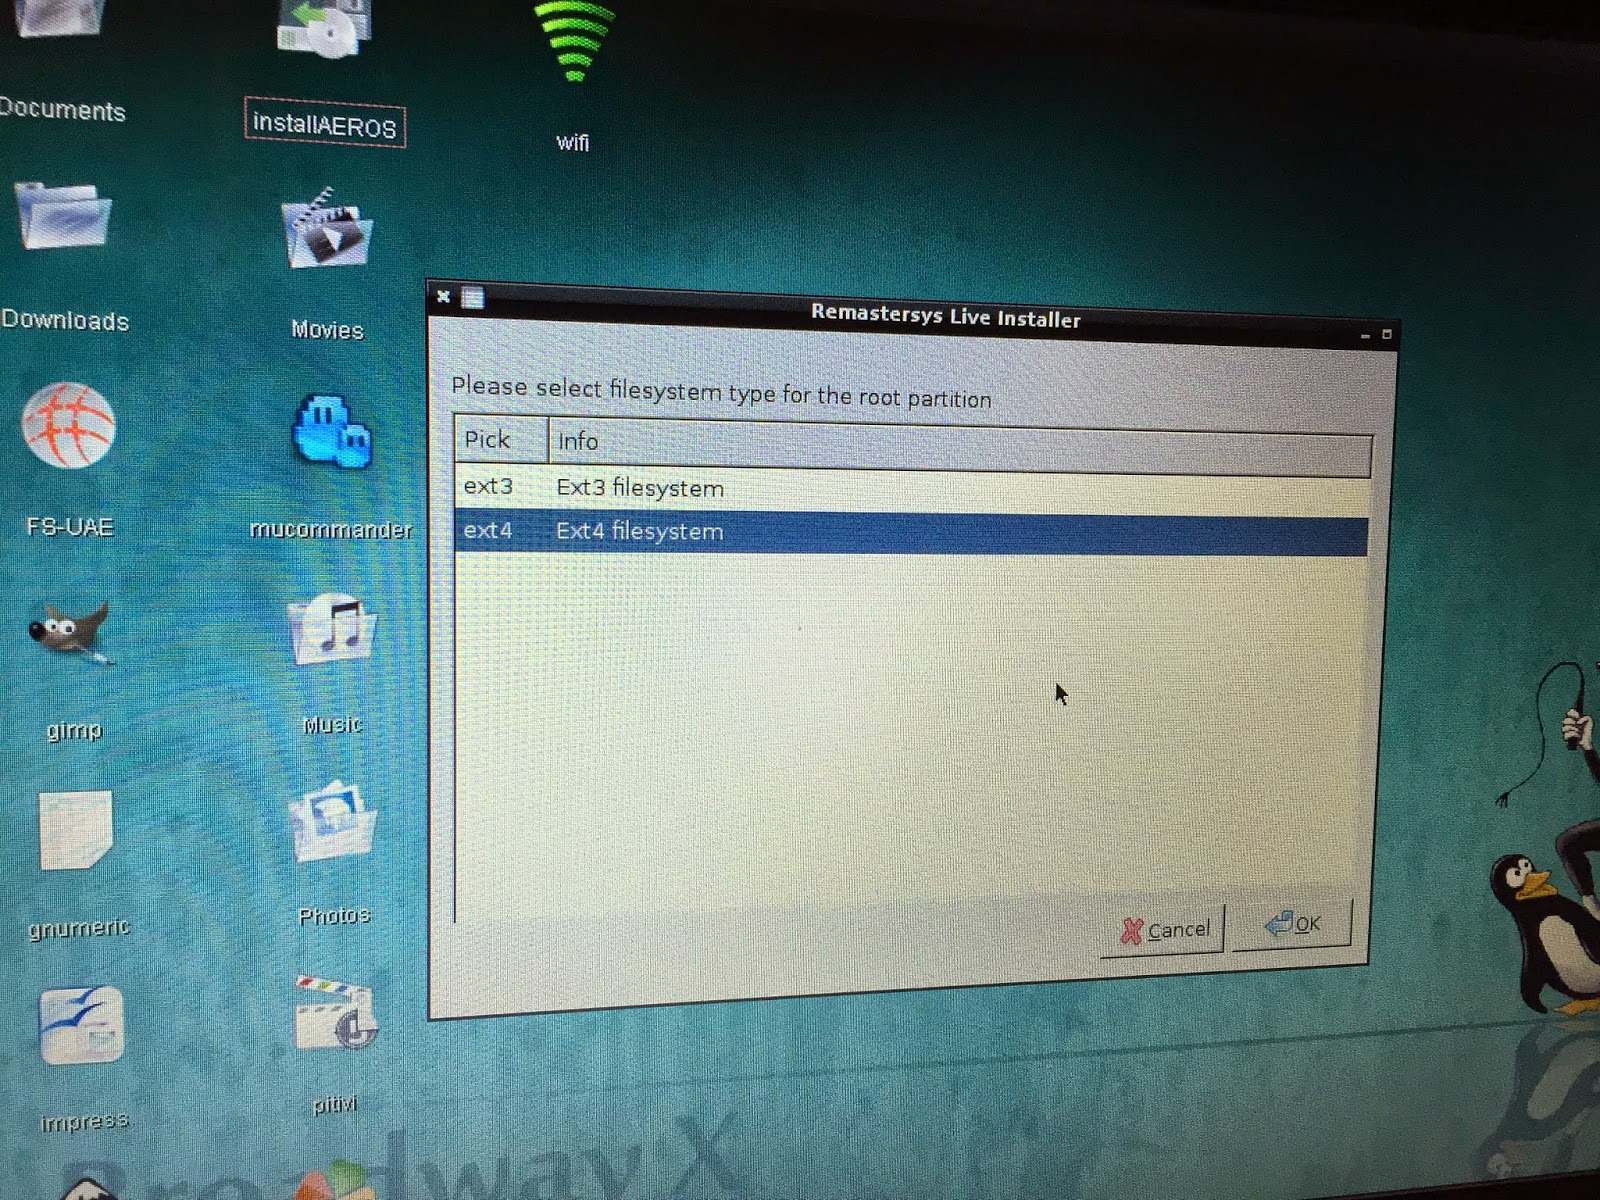
It then asks me for the filesystem type for the install partition - looks like I didn't need to format the partition myself after all!
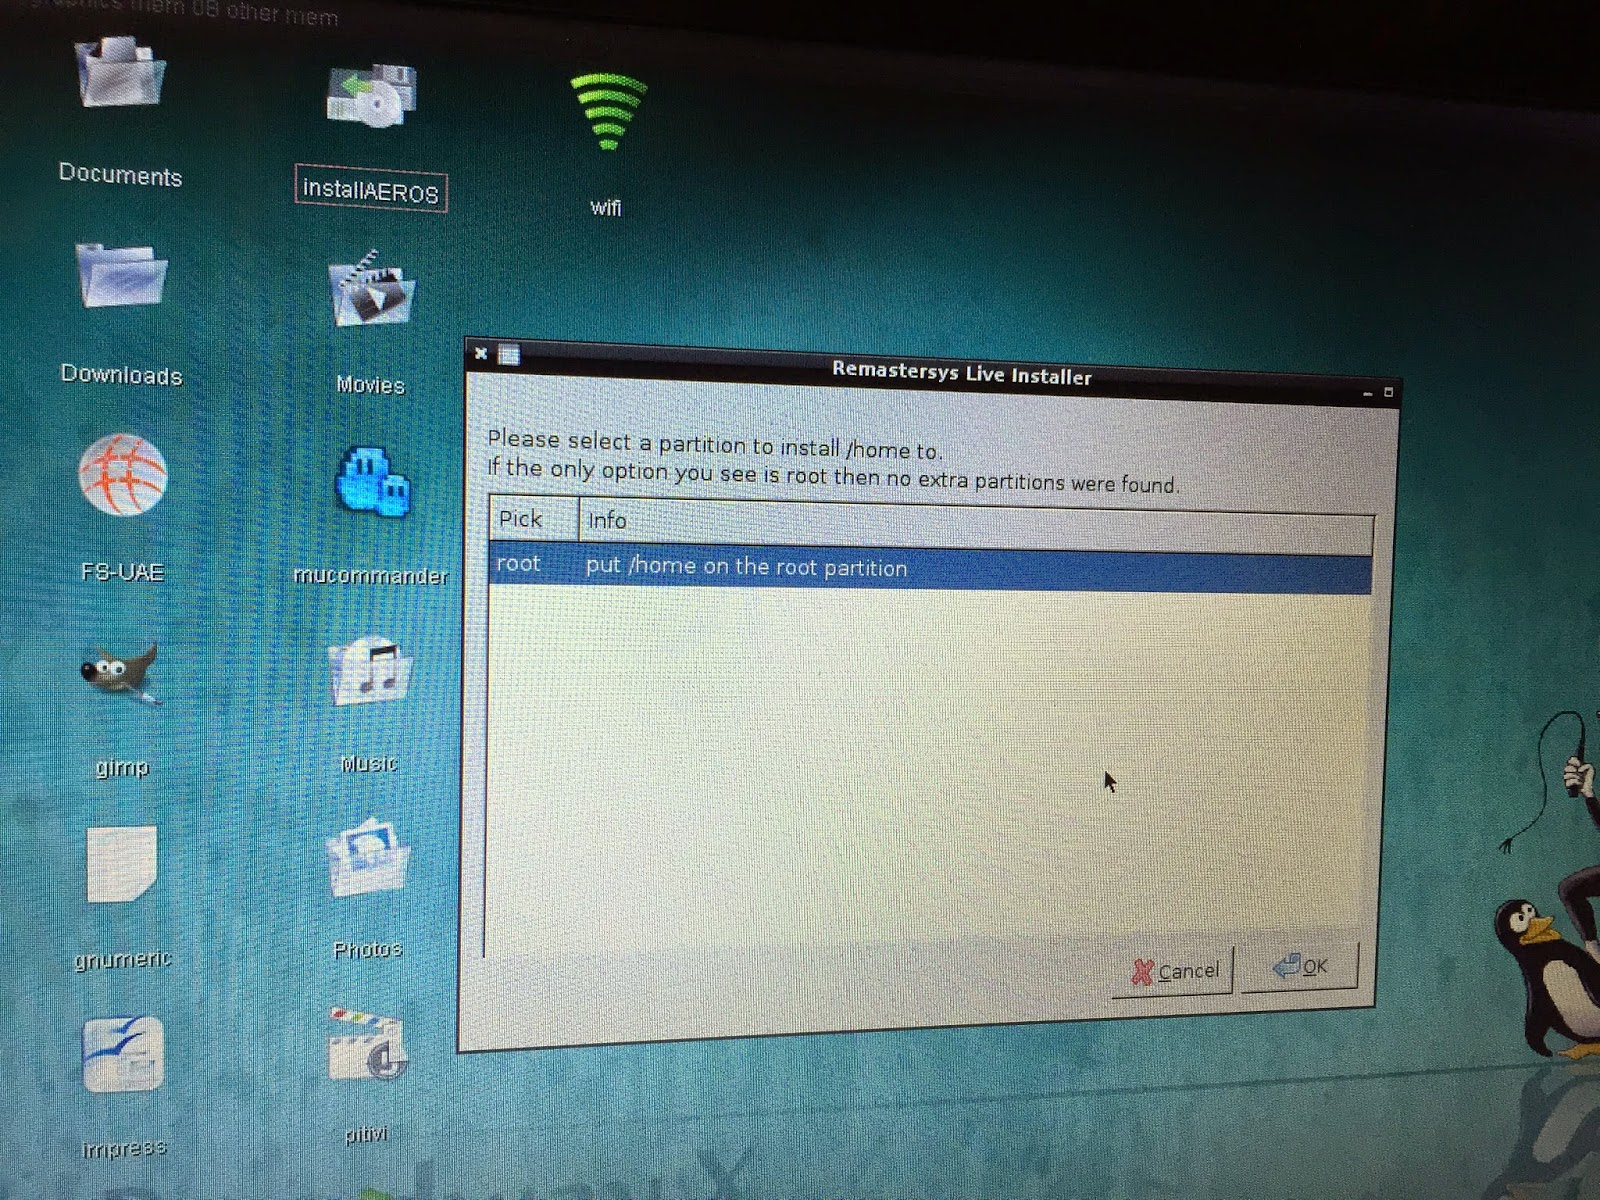
It then asks where to install /home to - there is only one option since I only created one install partition:
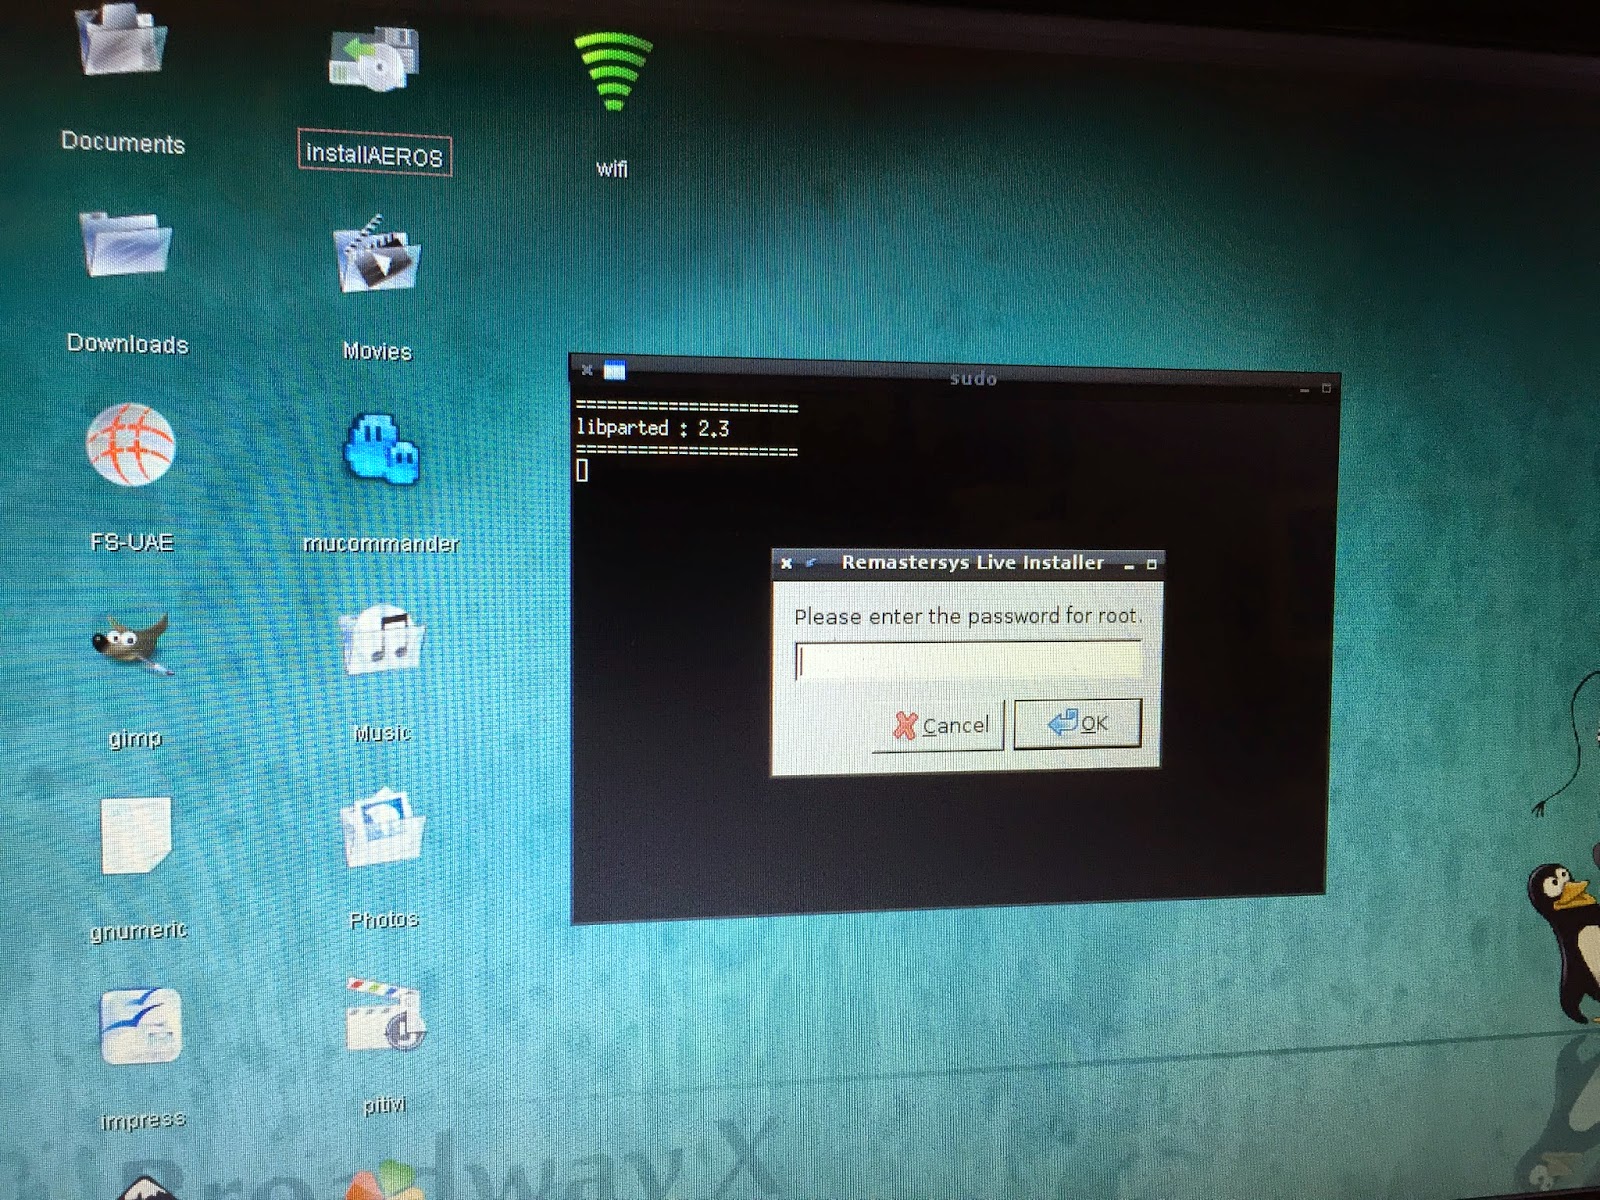
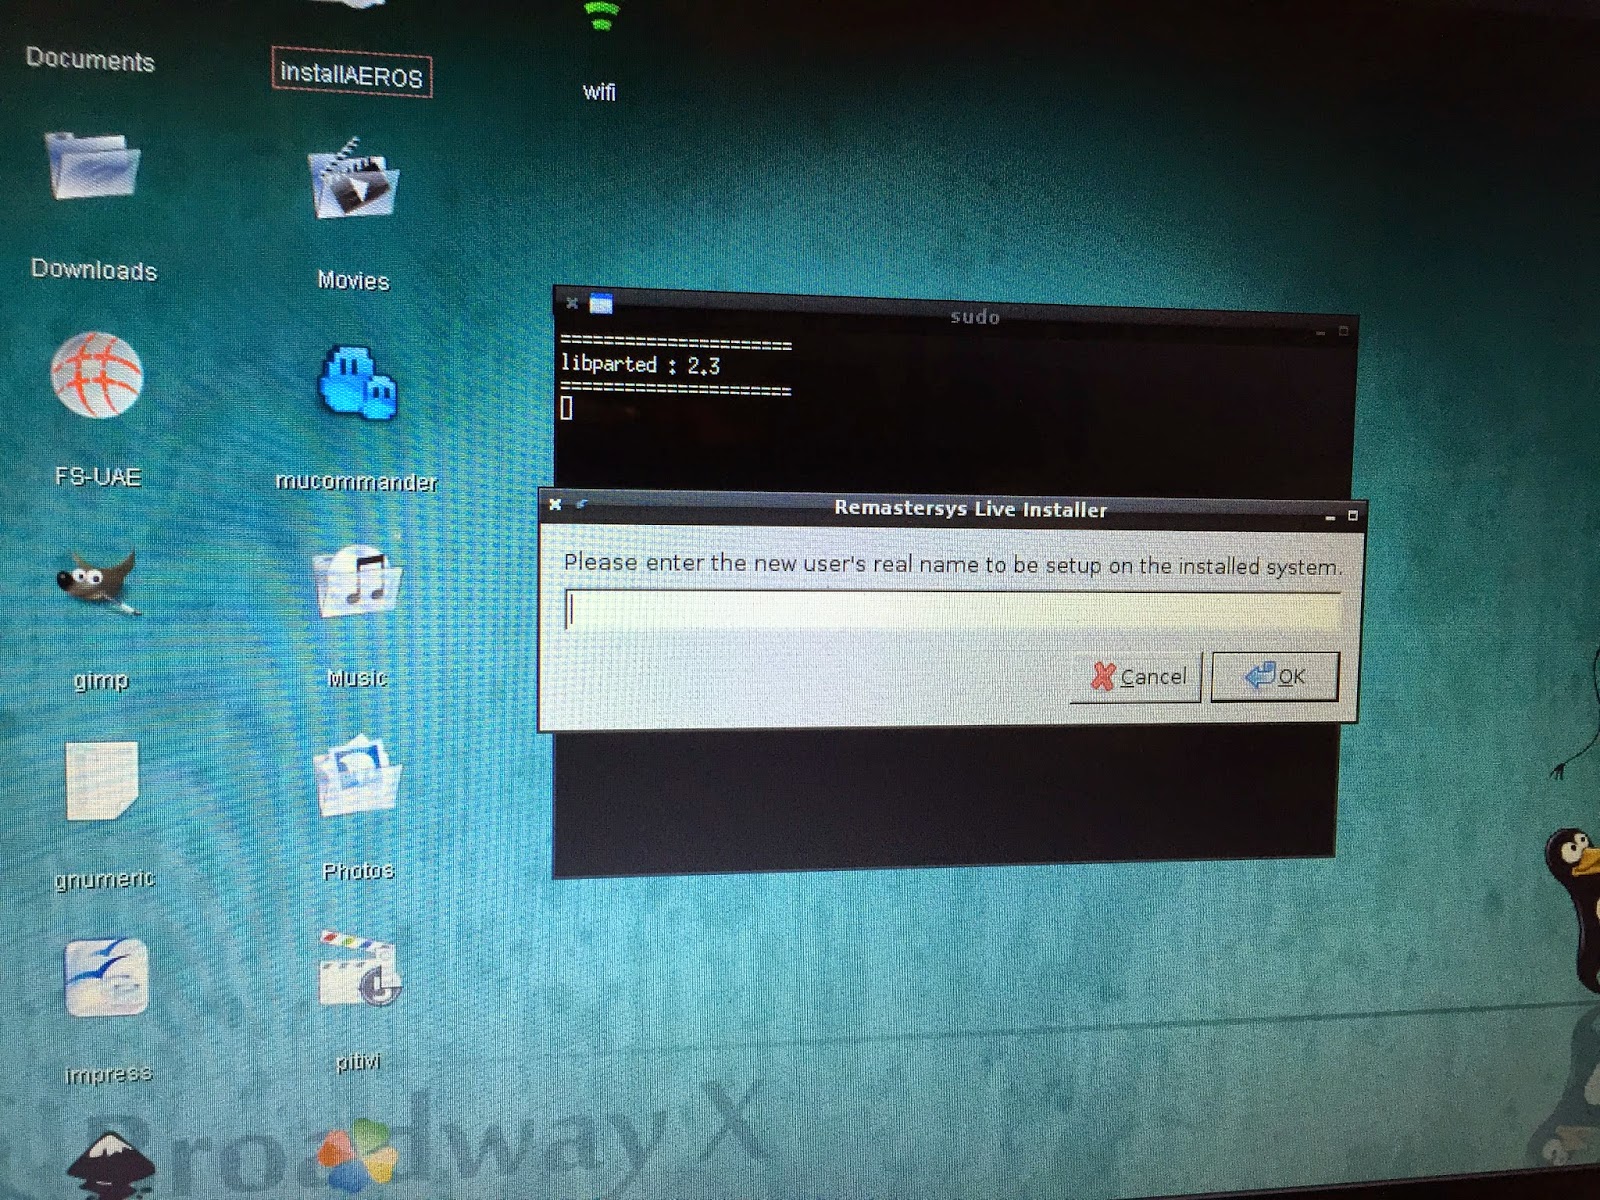
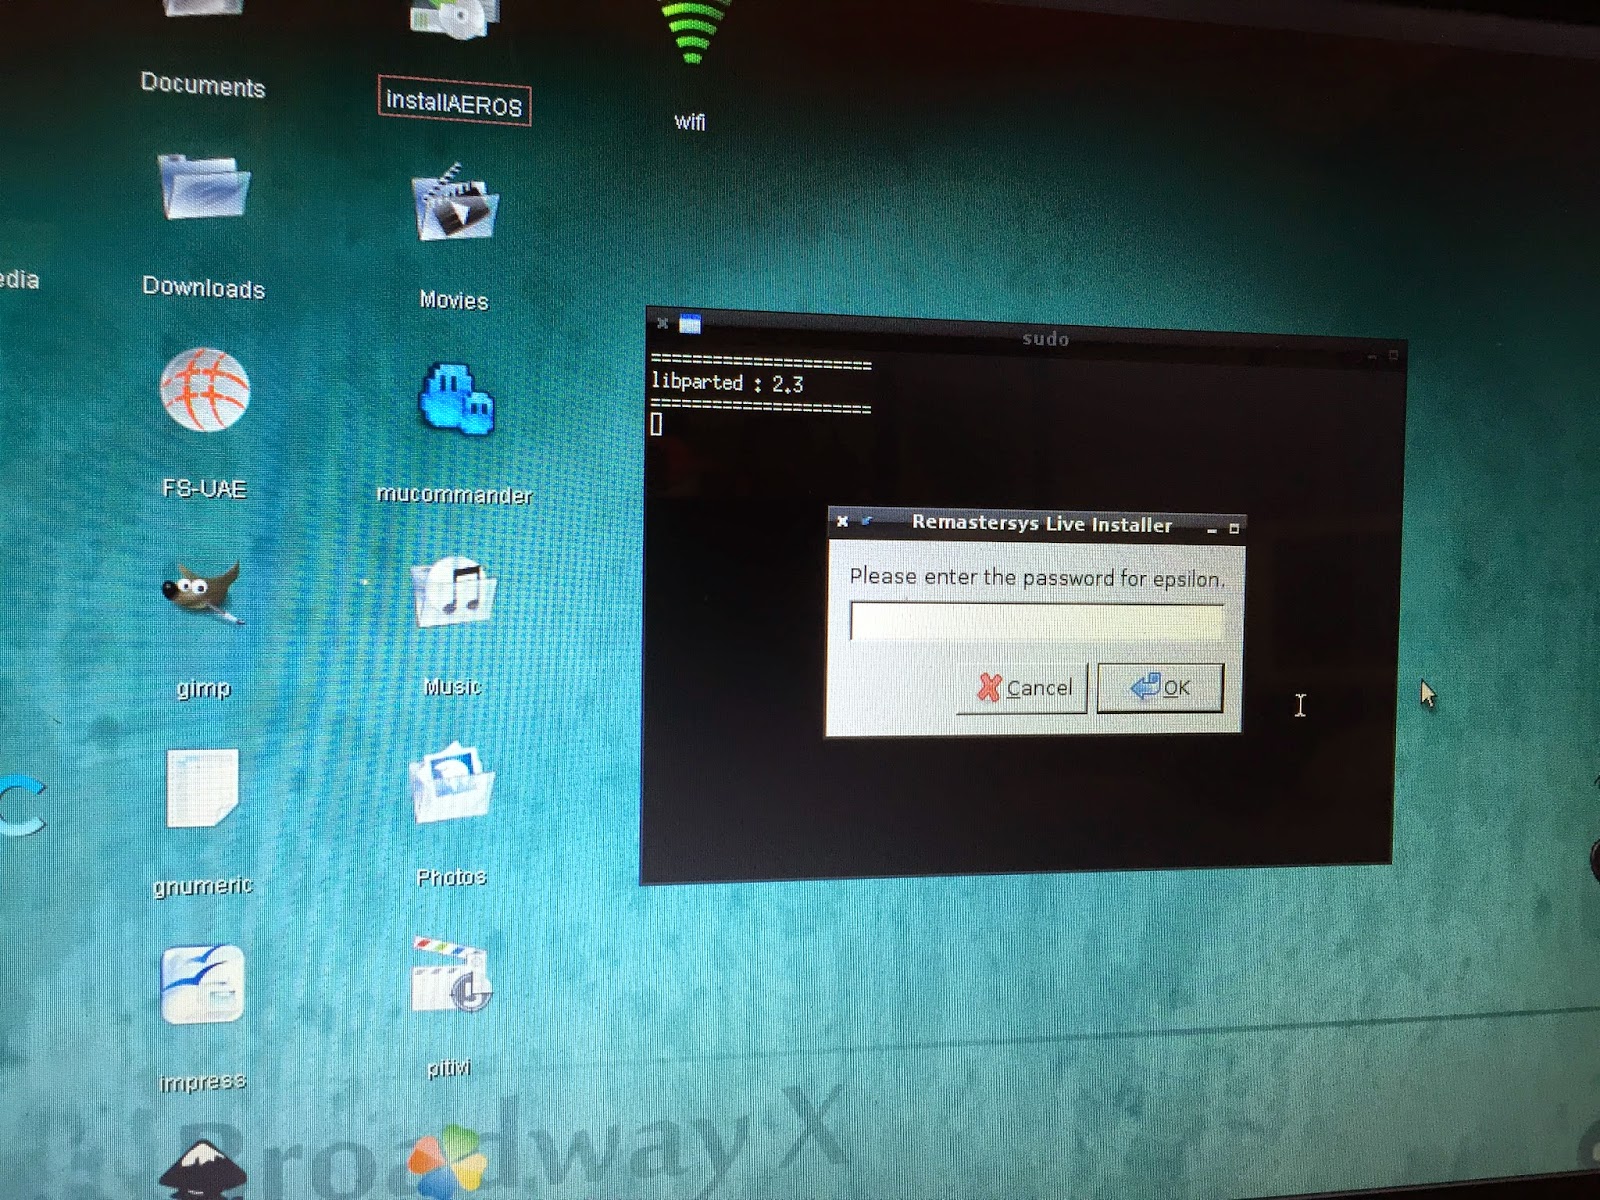
Username and password information is collected next - this installation really is a typical Linux installer, which makes sense since it is Linux after all:
The installer then asks me for the hostname (Computer name):
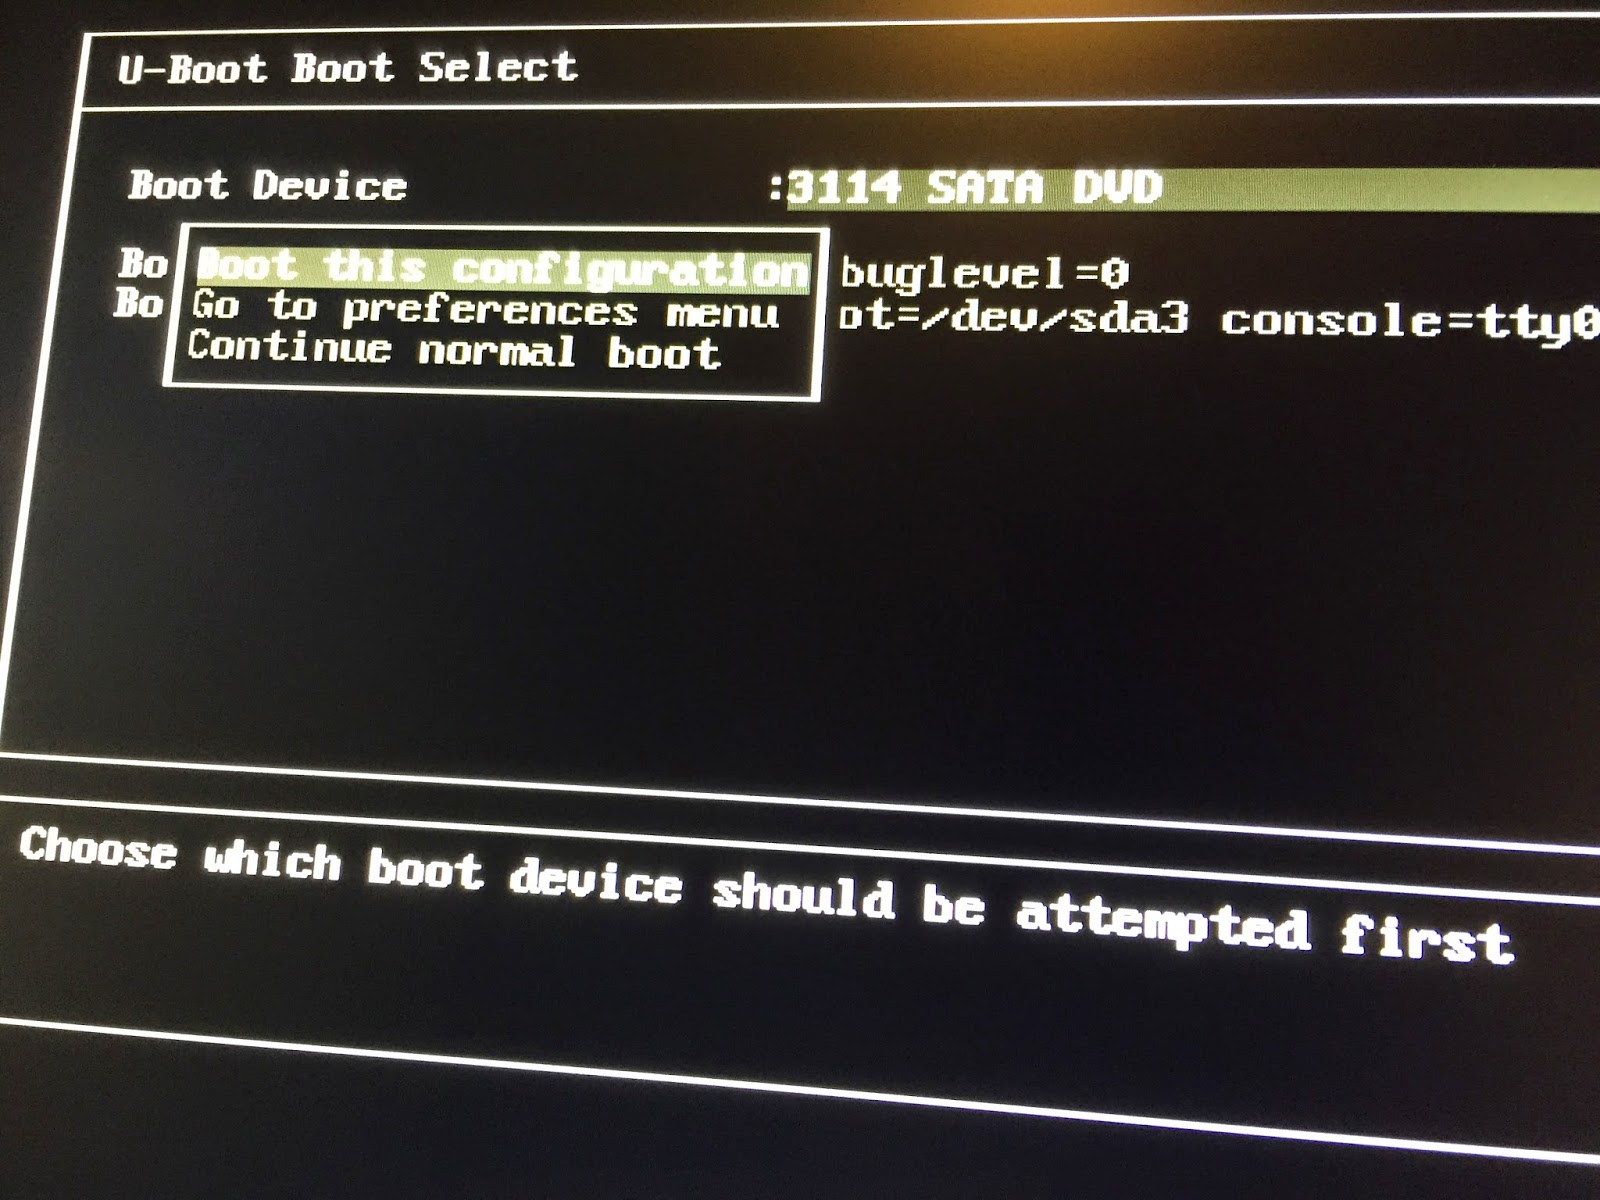
Linux uses Grub to boot itself when you turn the computer on, so it wants to know where to put it. Since I only run AEROS on this system, I select the
mbr (Master Boot Record). If you run multiple OS keep in mind that you will need to edit the Grub config to dual/triple boot if you desire it:
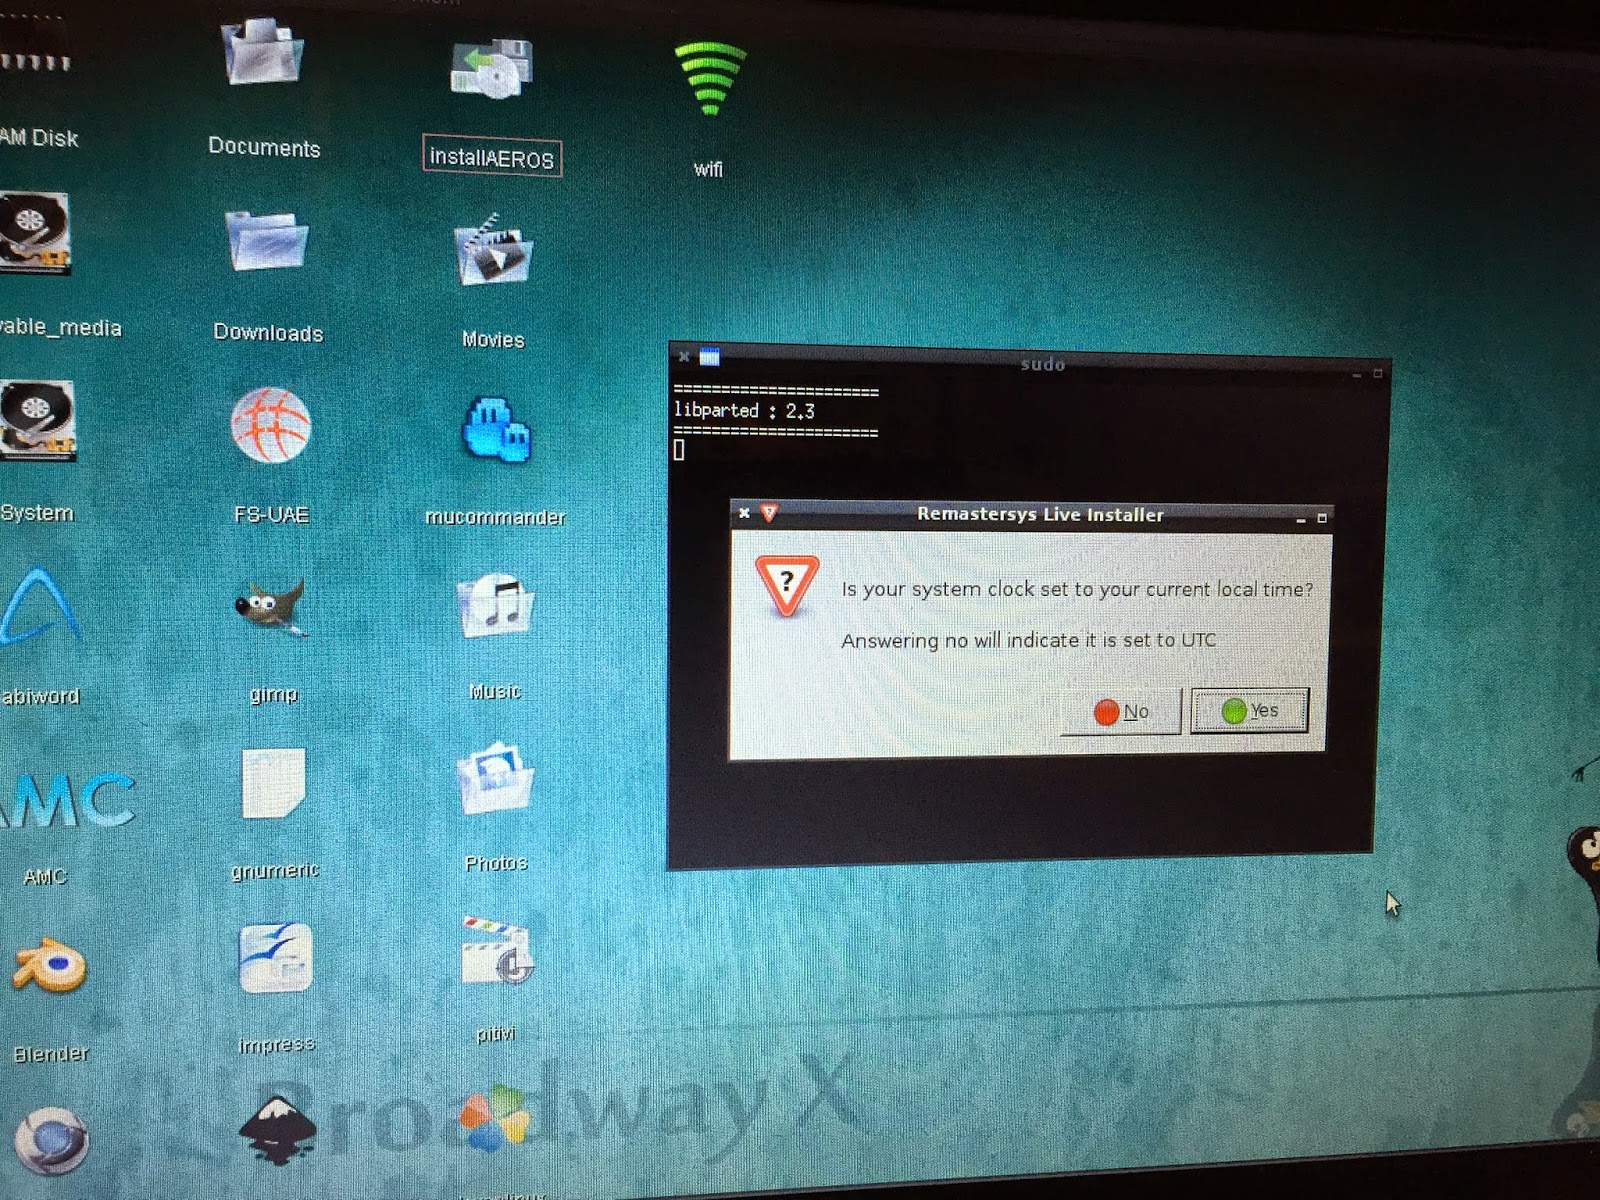
Asks me next about date/time being correct on the local computer and choose my location:
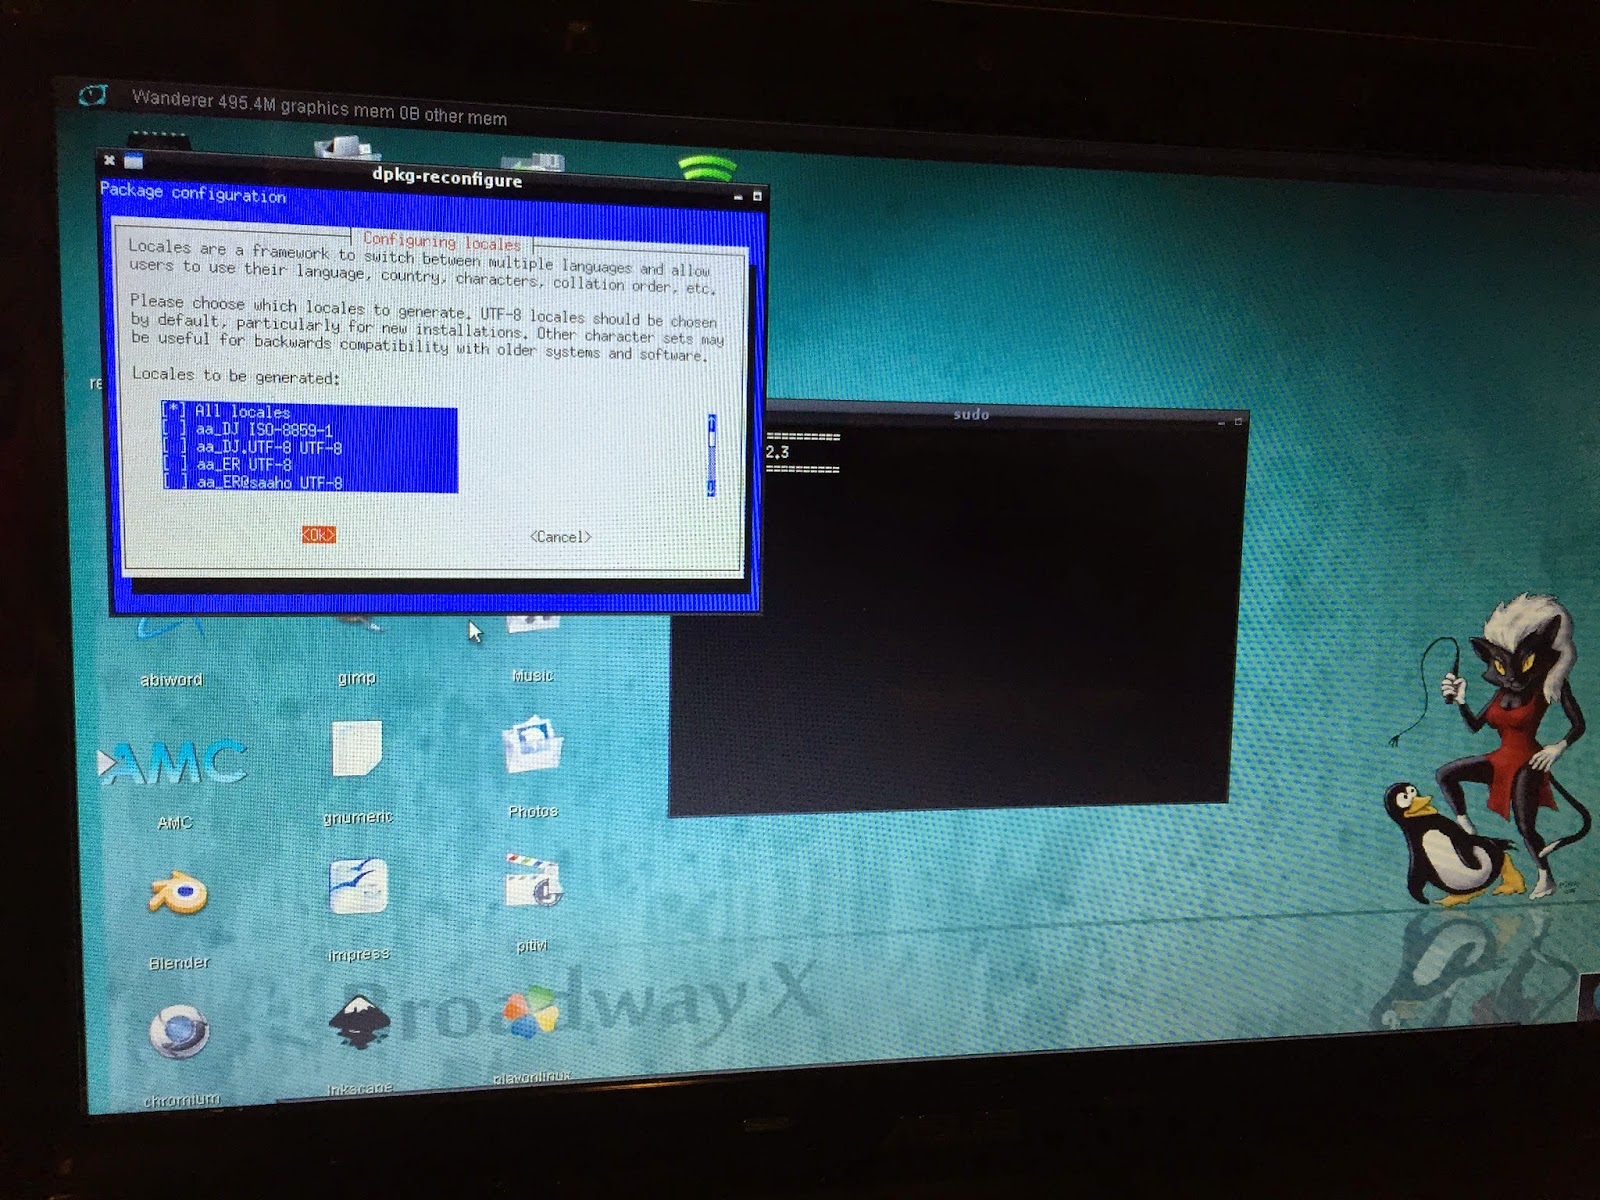
In a flashback to old school Red Hat Linux, I then get a terminal screen asking me to select which Locales to install...this part is not very user friendly, requiring
arrow keys,
space bar to select and
tab key to navigate to the
OK button to continue (no mouse input):
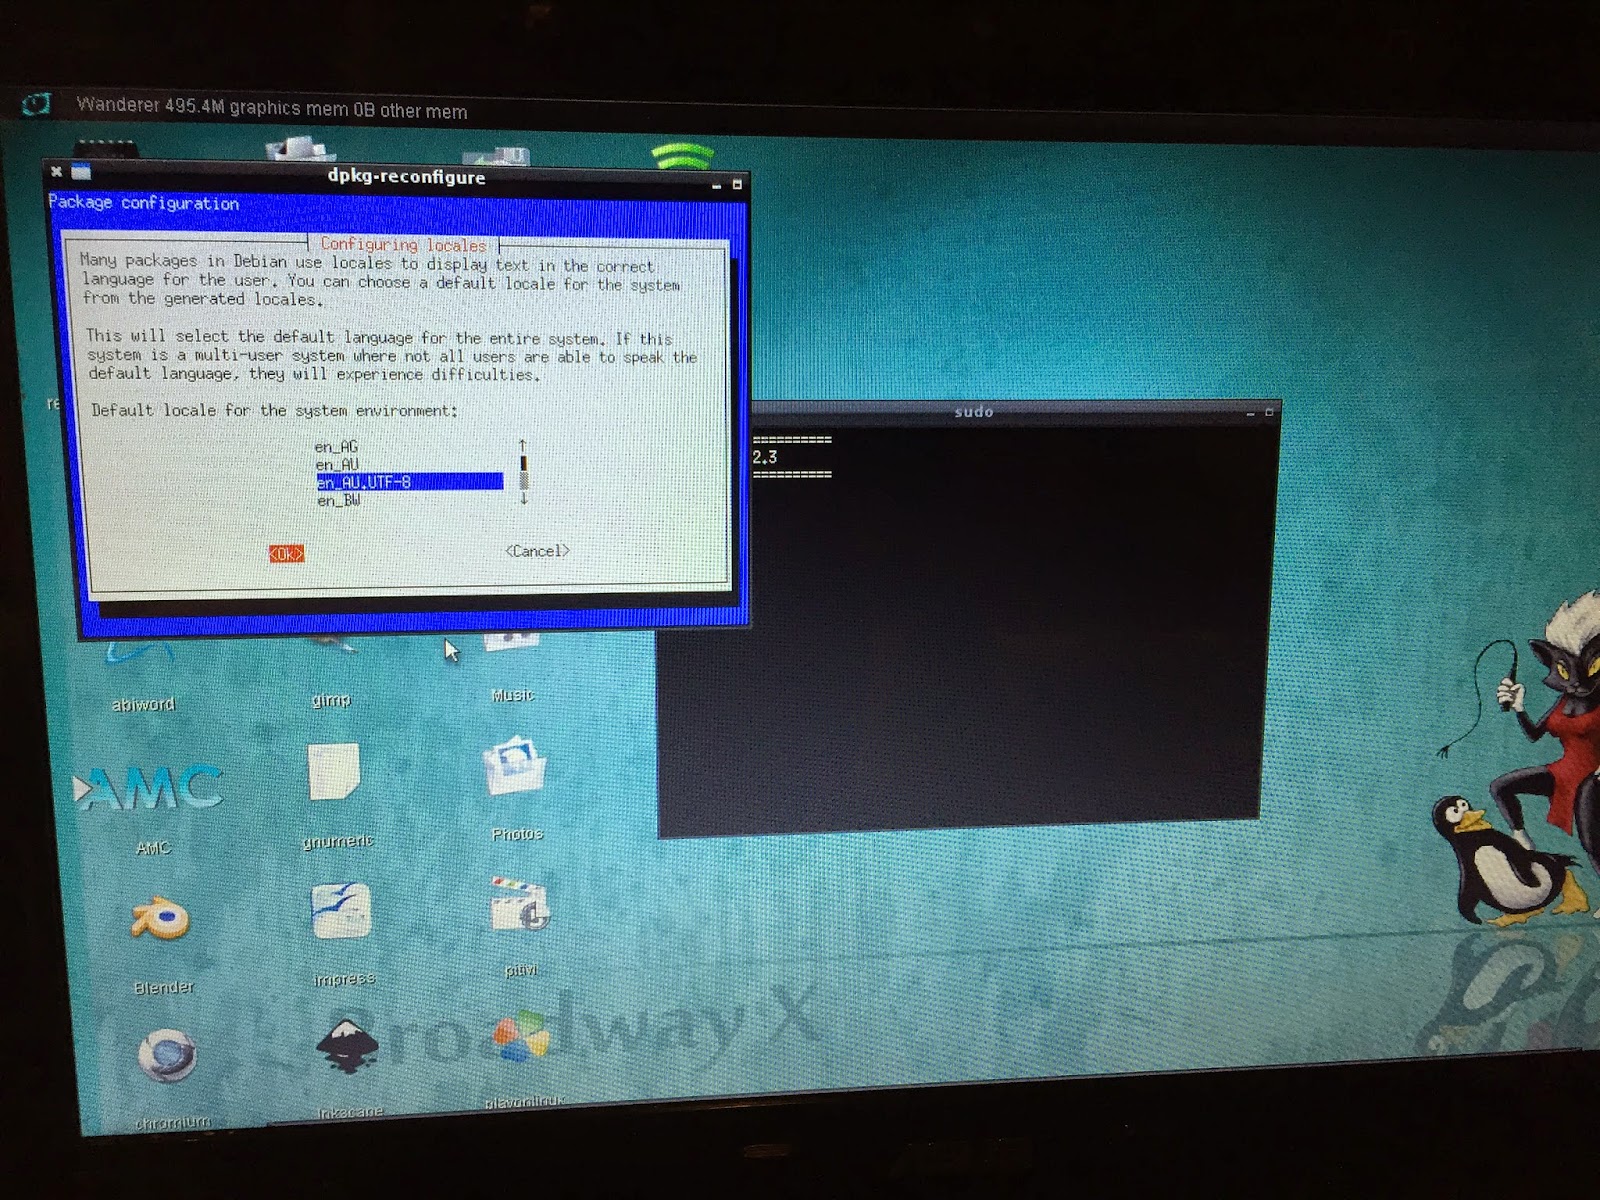
It then asks which Locale I want to be default - I choose EN_AU.UTF-8:
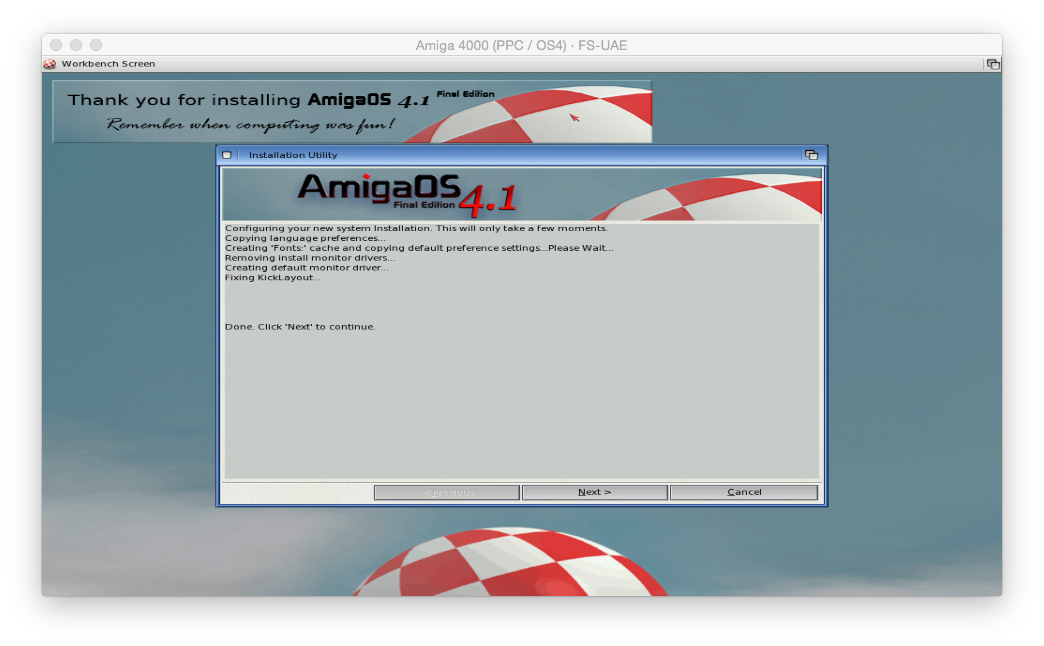
After the locales are installed, you get a final confirmation box that everything you entered is ok and you are ready to proceed. It would be nice to see a summary of what you did actually select since I certainly don't remember it all!
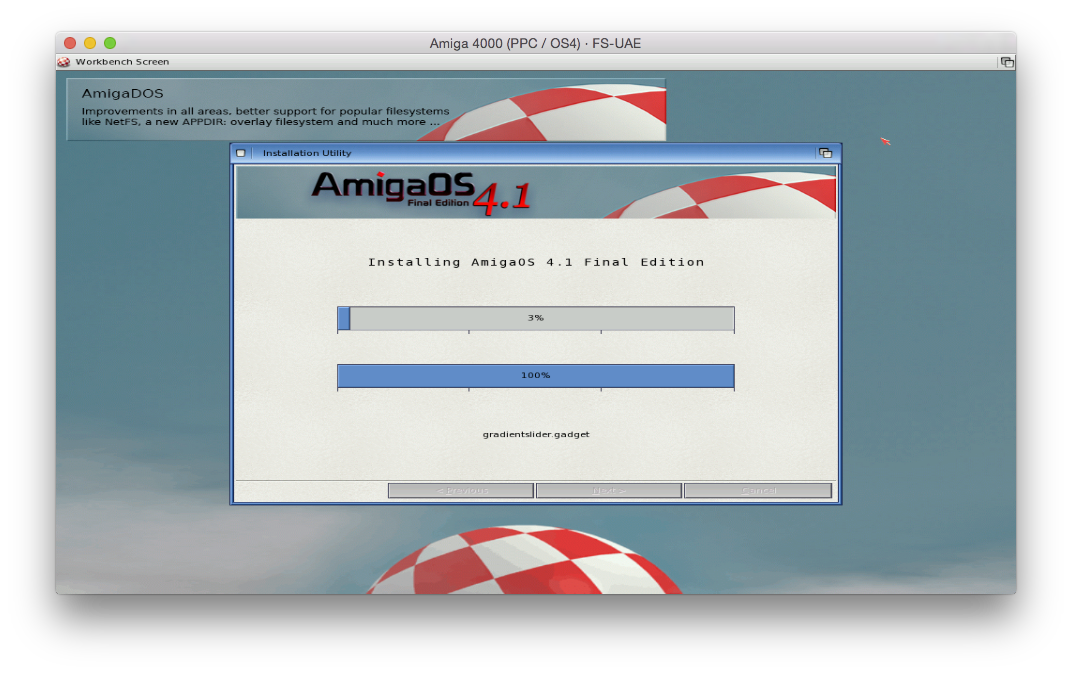
The installation to hard disk now proceeds:
Eventually the installation completes - this process took about 40-50 minutes in total (as a guide) - ready to reboot:
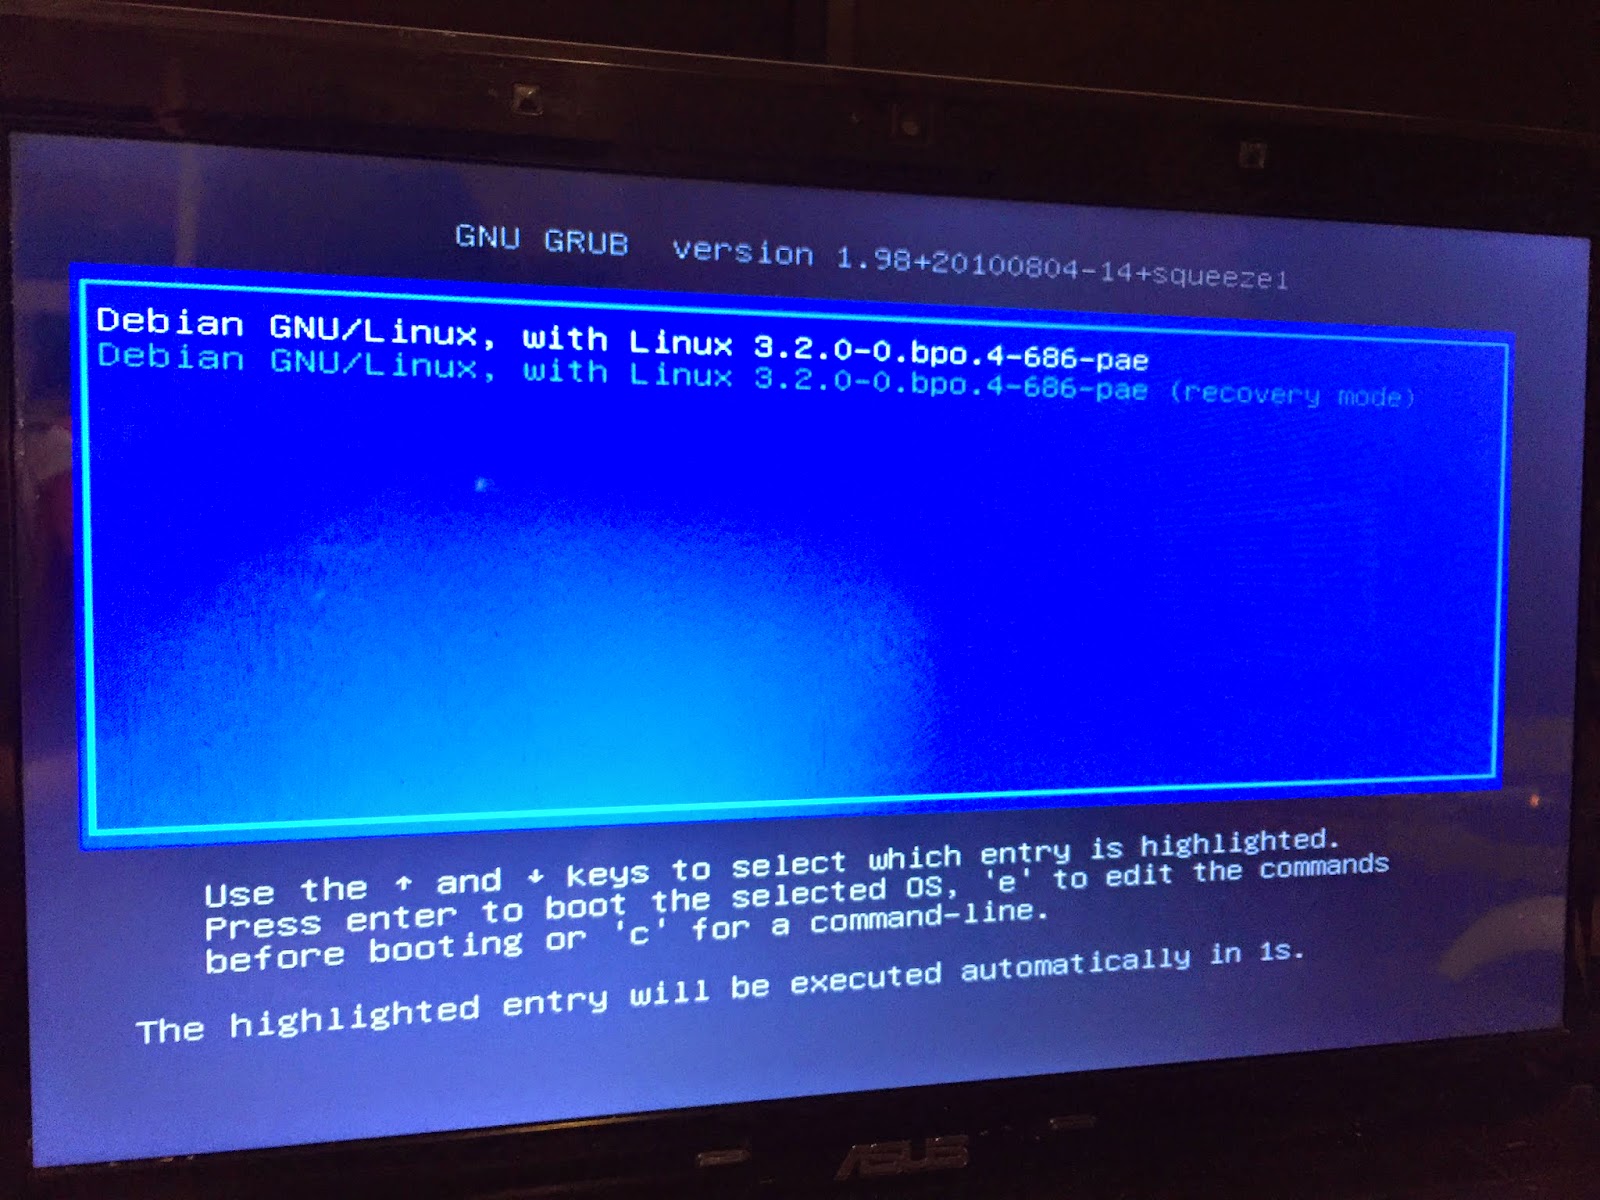
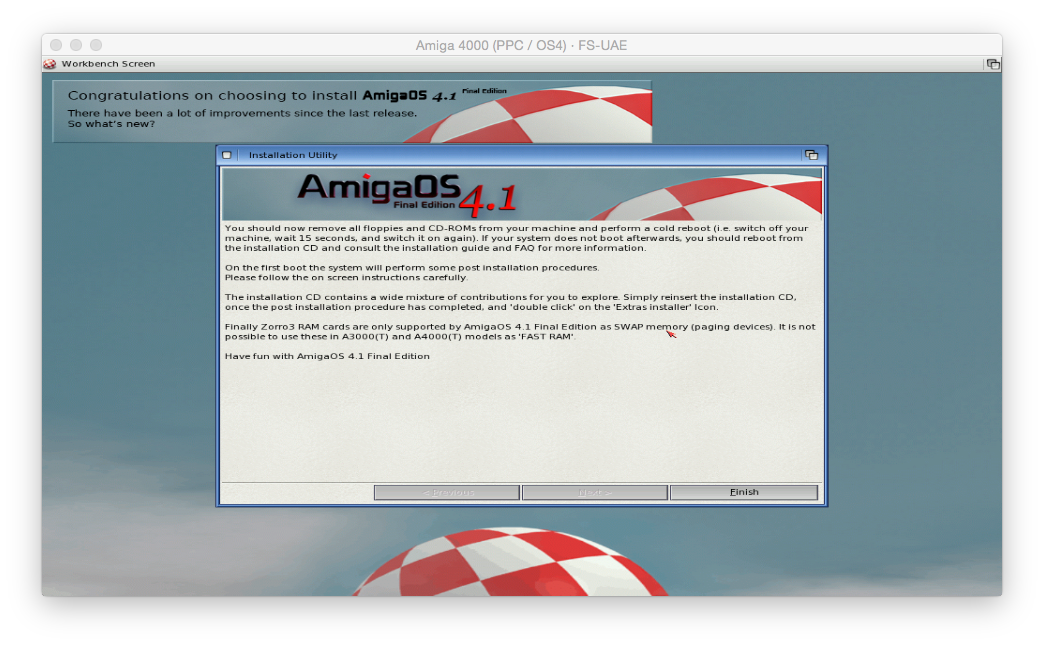
On reboot you get a reminder that AEROS is based on Linux (Debian), with the Grub boot menu showing Debian GNU/Linux boot option - shame you don't get the same AresOne Computer boot screen from the Live DVD:
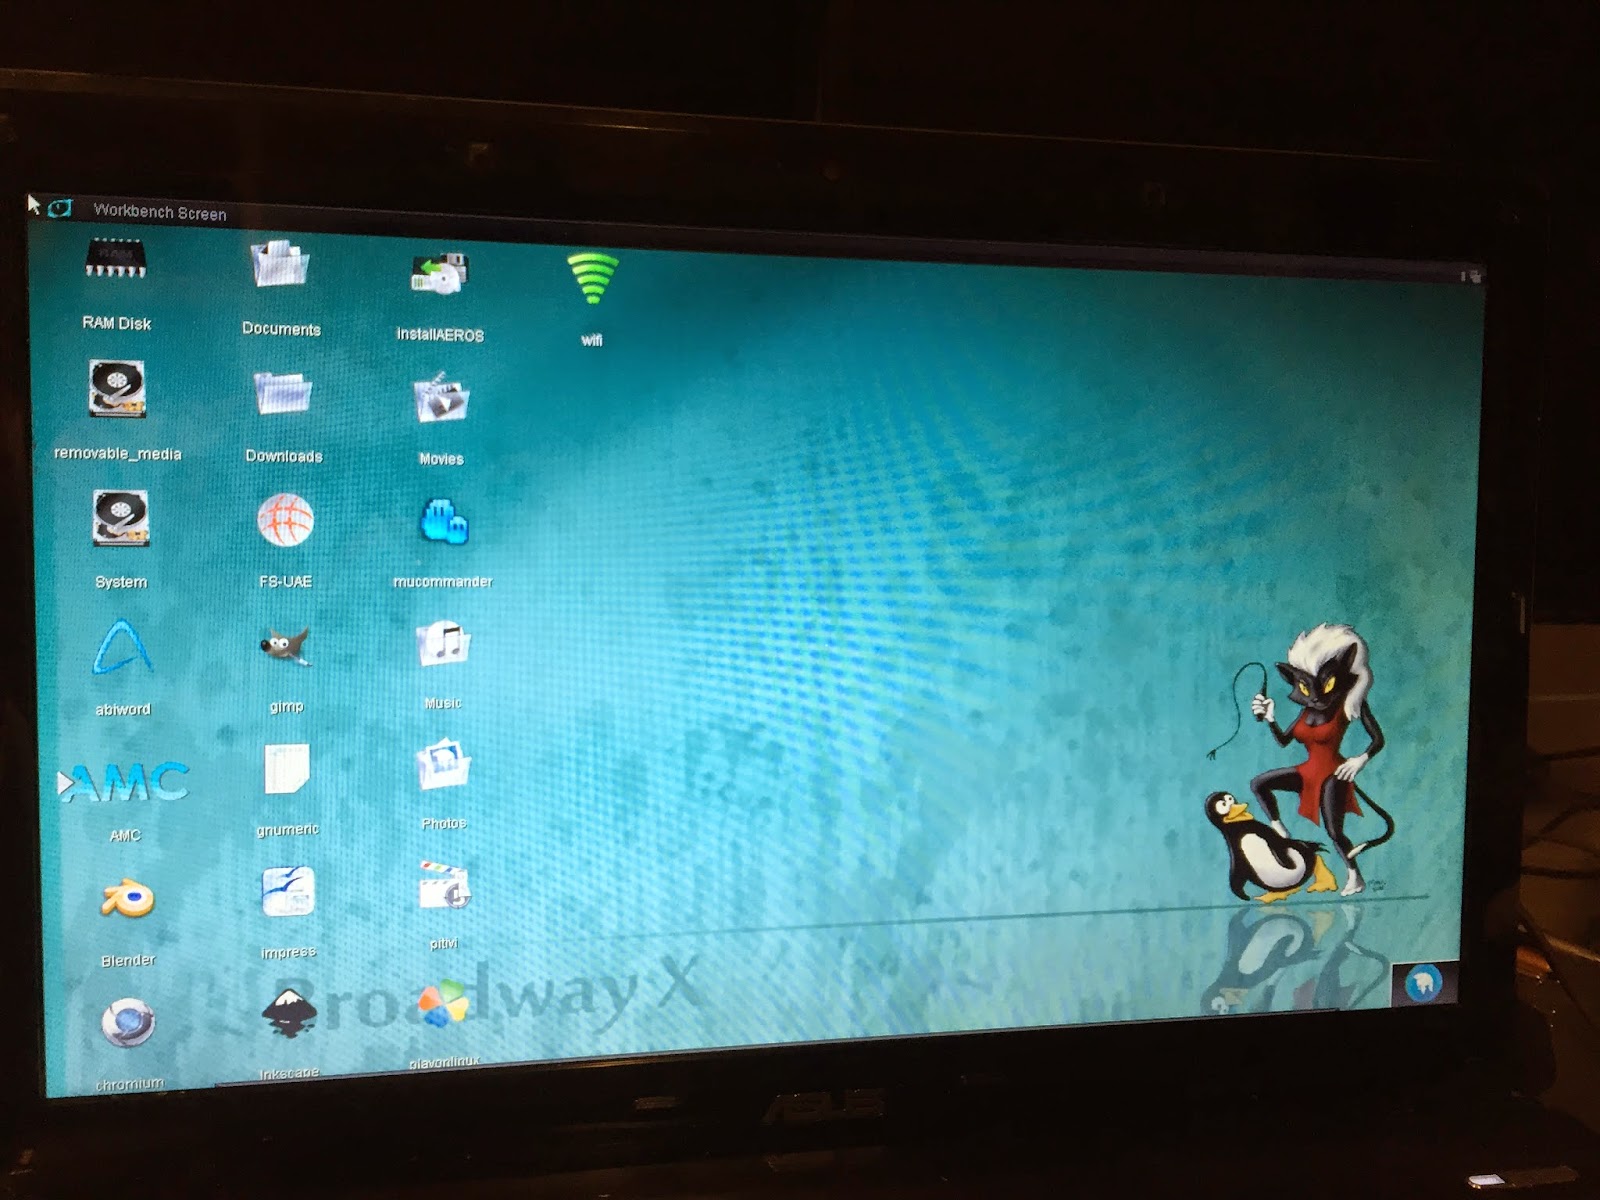
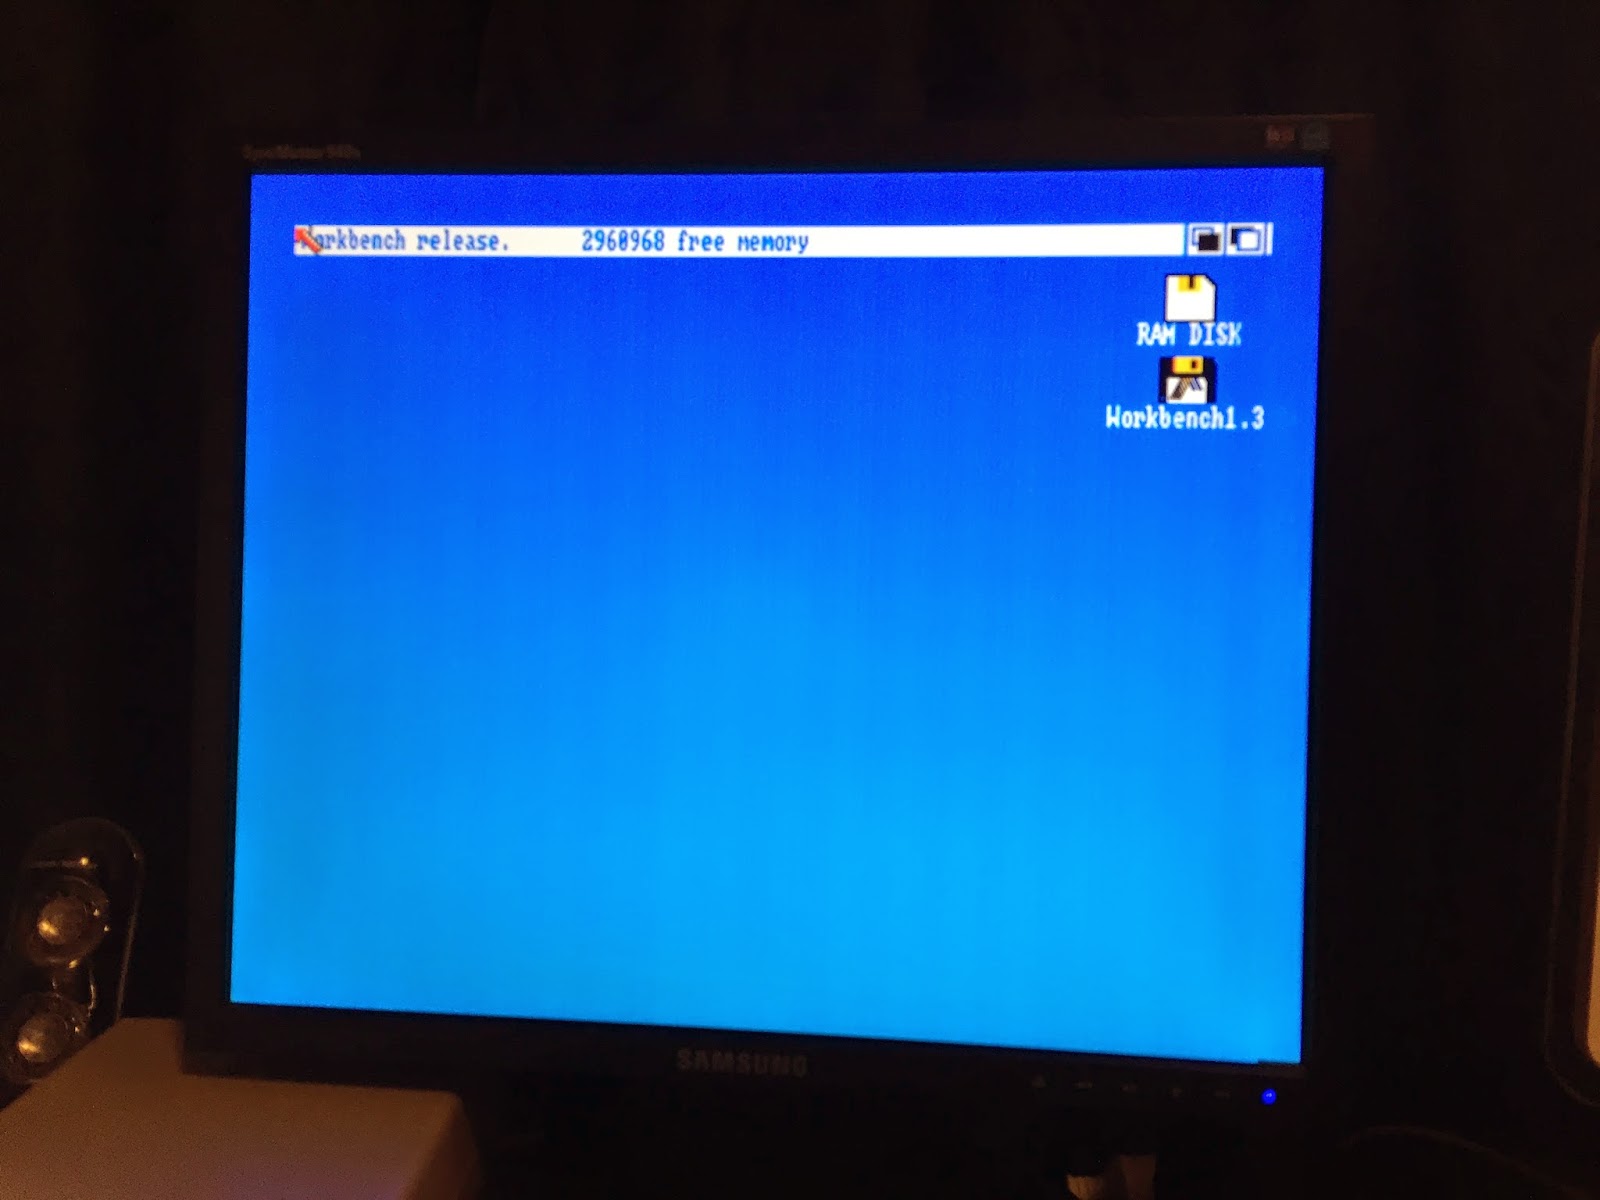
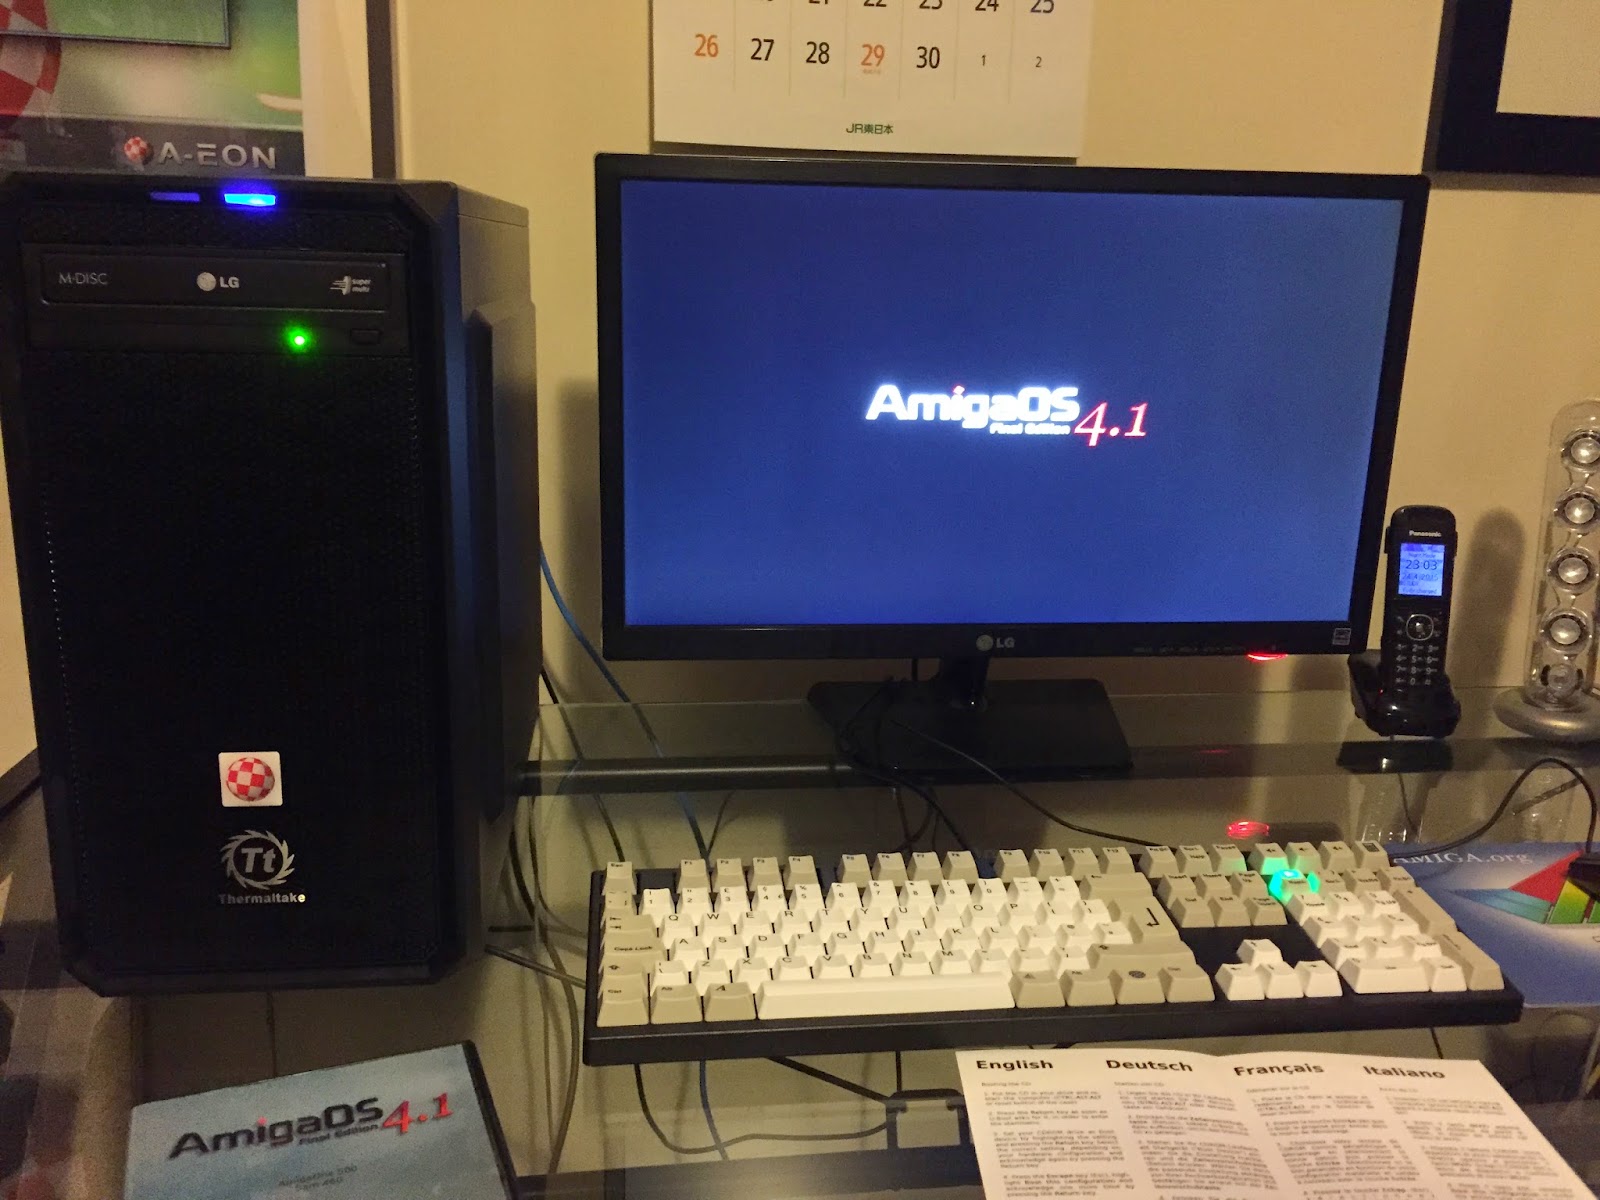
When it finishes booting up you get the AEROS login screen - enter the username and password you entered from the installation process:
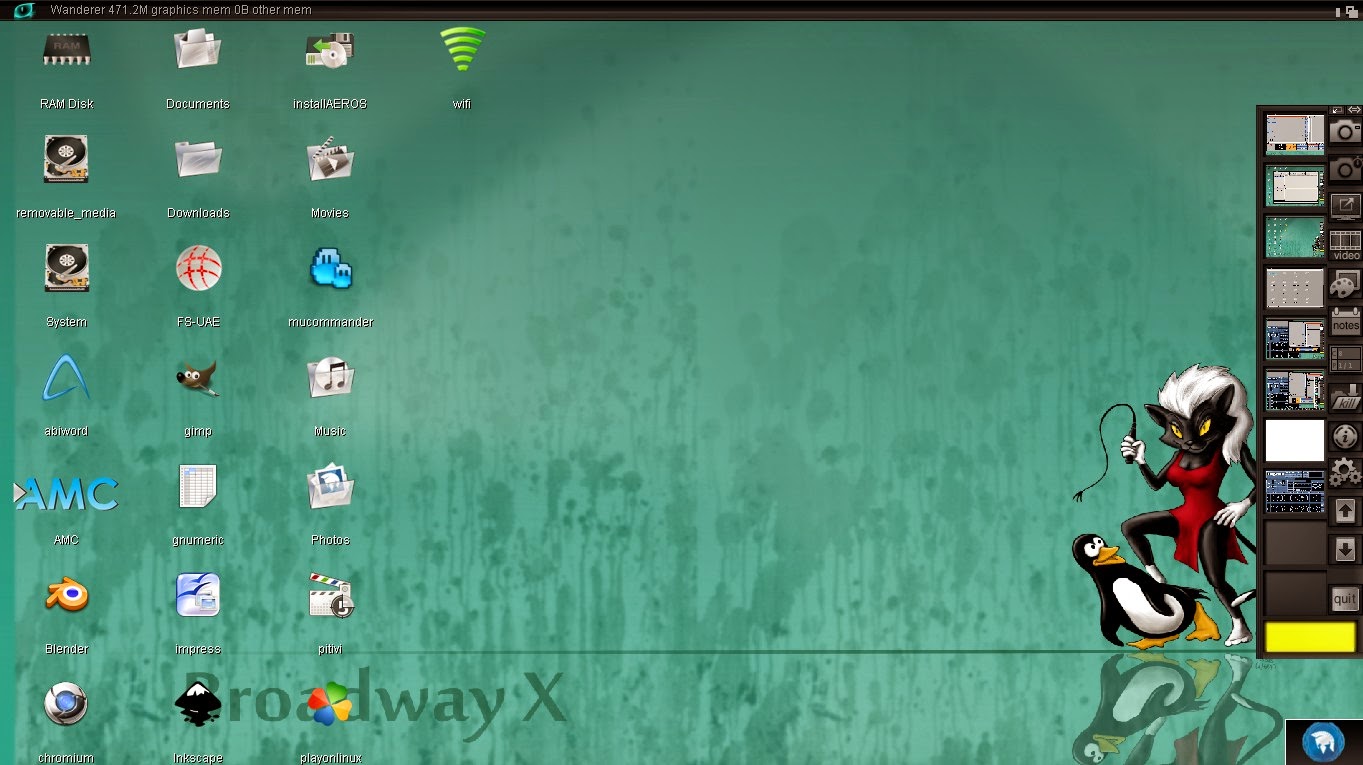
The AEROS Workbench then appears, looking the same as from the Live DVD:
At the bottom of the screen is a Application switcher which pops up when the mouse hovers at the bottom:
On the bottom right of the screen is an ARES Computer icon which is the QLaunch bar. When clicked it expands to show a number of icons which hide further submenus to select applications to launch:
You can change it to expand up, rather than across if you prefer in the Prefs section.
In the submenus I found a screenshot program, which allows me to take some nicer screen grabs from this point onwards, although it does have some issues - principally I can't find a way to make it disappear when screenshoting, forcing me to crop the right hand side or leave it in the shots...judging from other people's web screenshots they also hit the same problem.
The main QLaunch bar has the following icons -
Power Off,
Reboot,
OtherOS (Emulators),
SimpleMail,
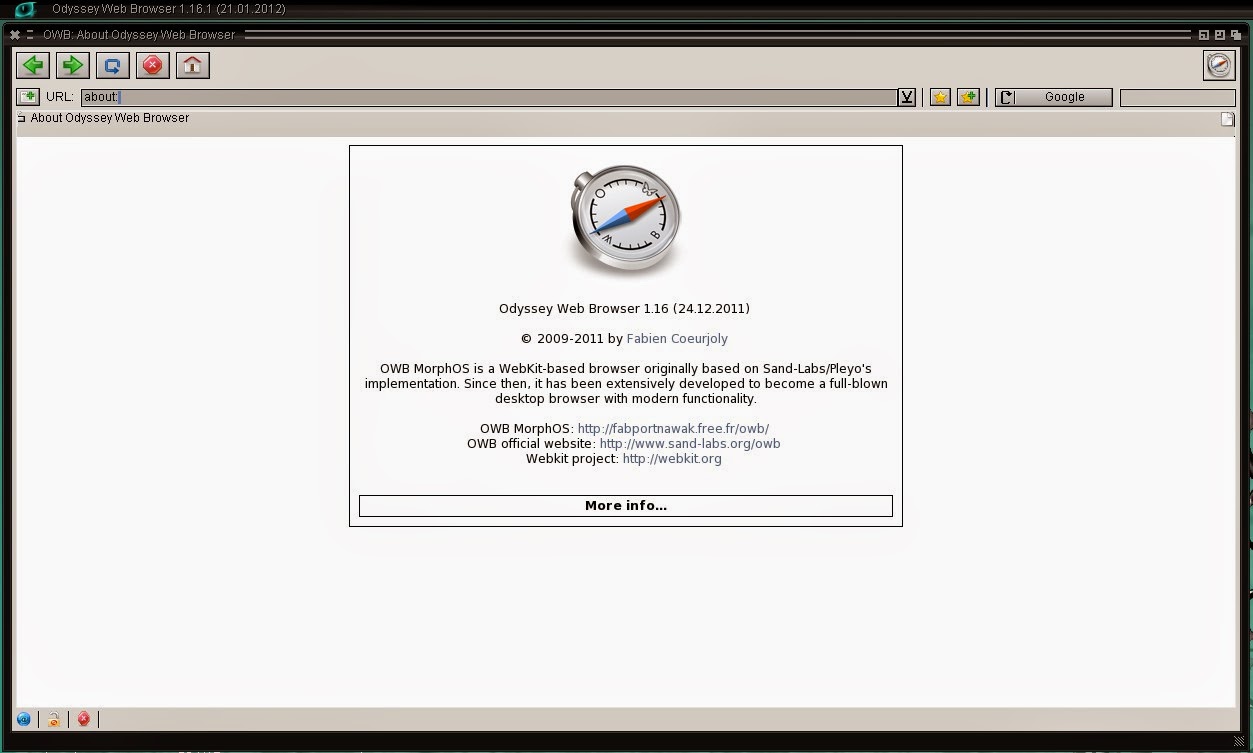
Internet (OWB),
Chat,
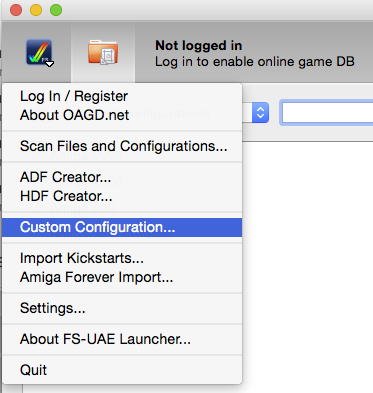
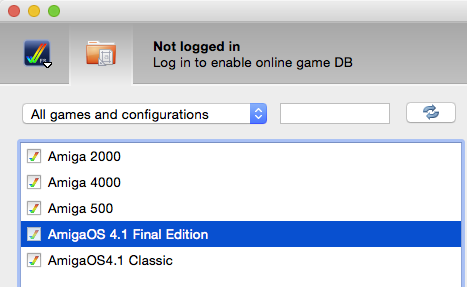
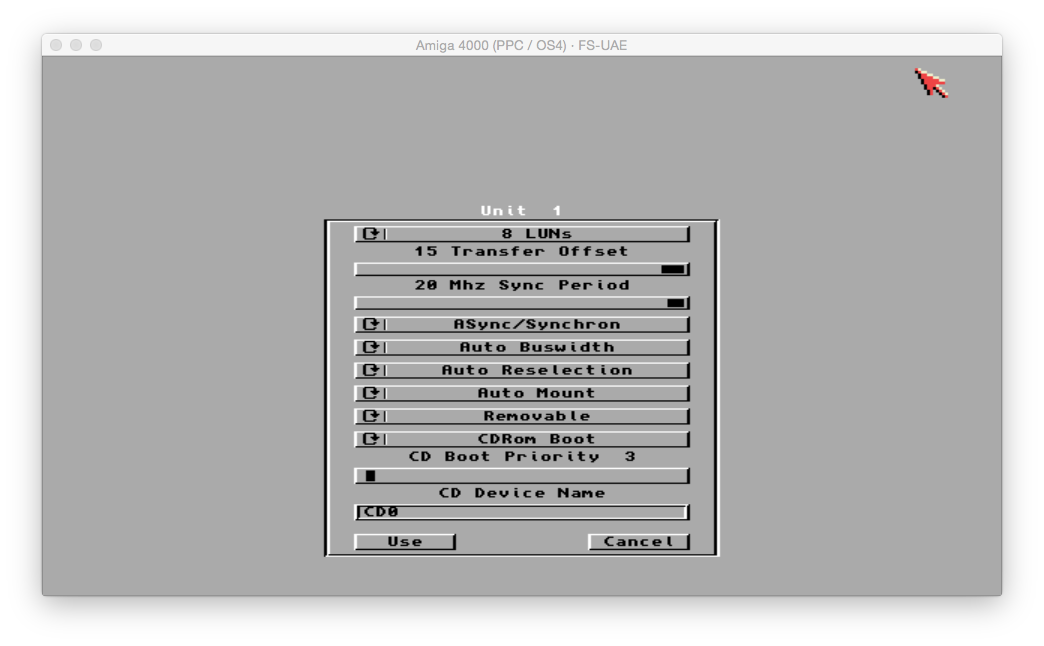
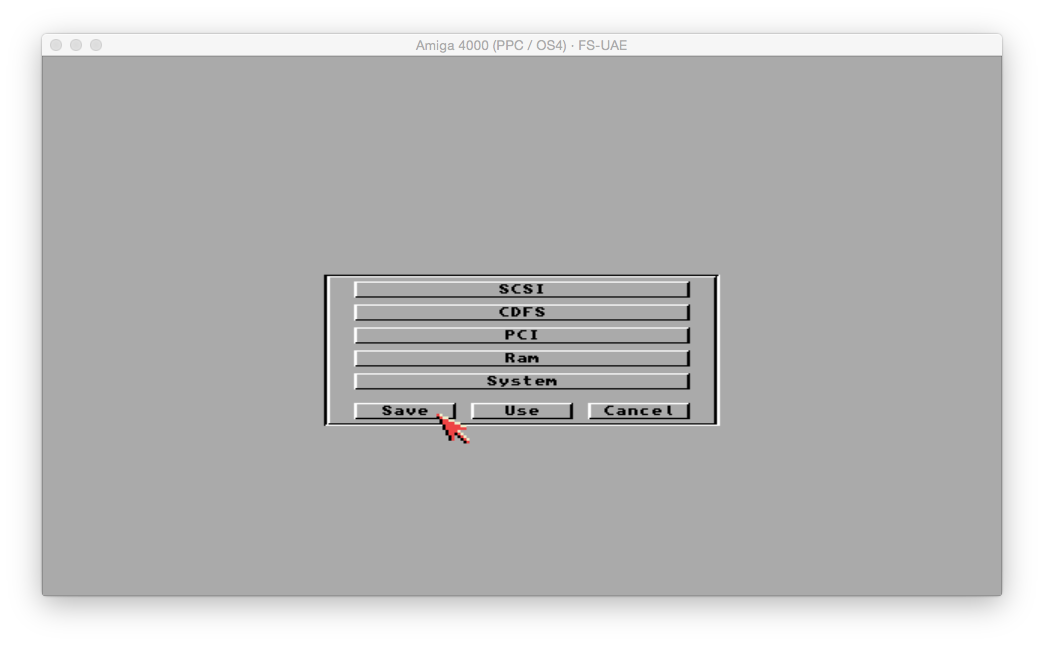
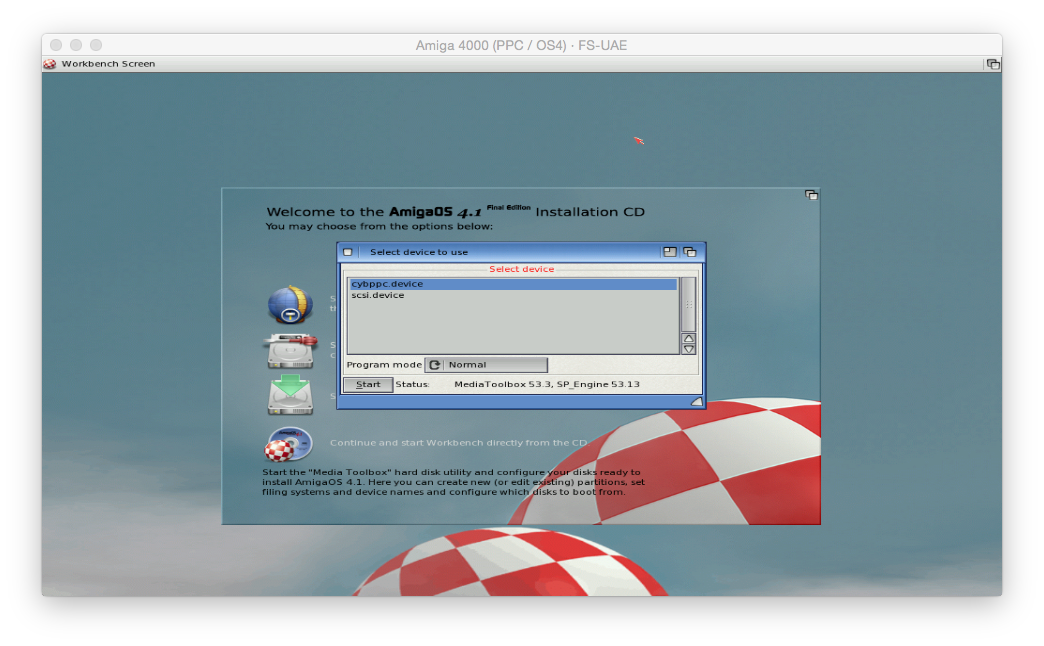
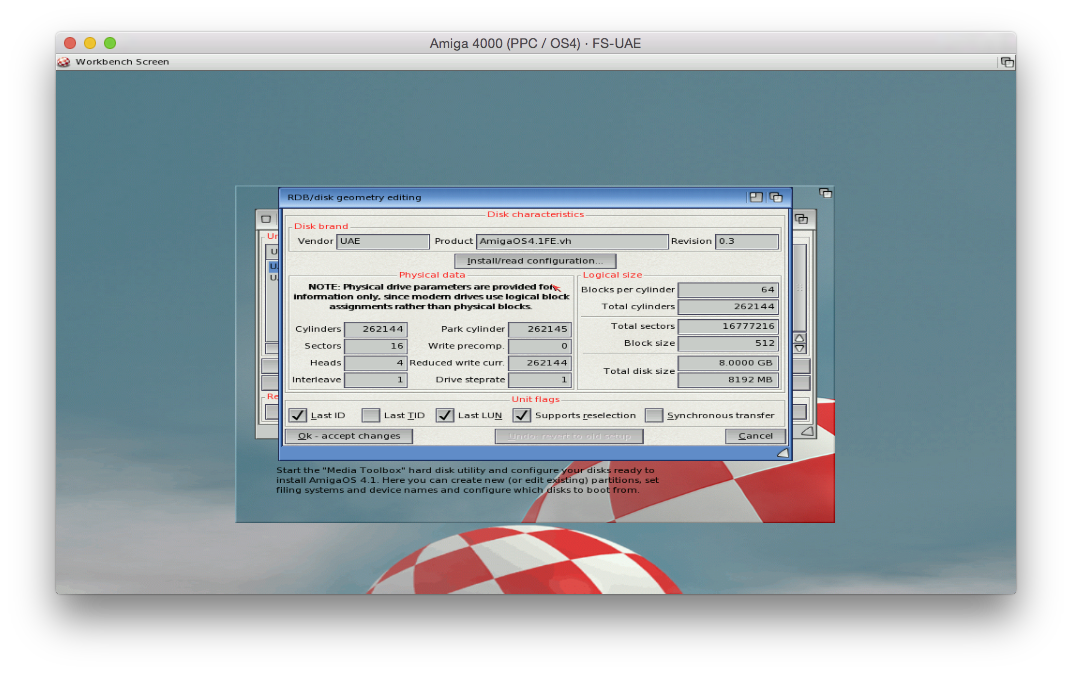
Classic (FS-UAE Emulation),
Games,
My Apps,
Places (Documents, Music, Pictures, etc),
Tools,
Linux (programs),
Prefs (Wanderer, Themes, and so on):
![]()
Here is a example of the submenus in the QLaunch bar in AEROS - here showing the
OtherOS > Vice C64 icon shortcut:
![]()
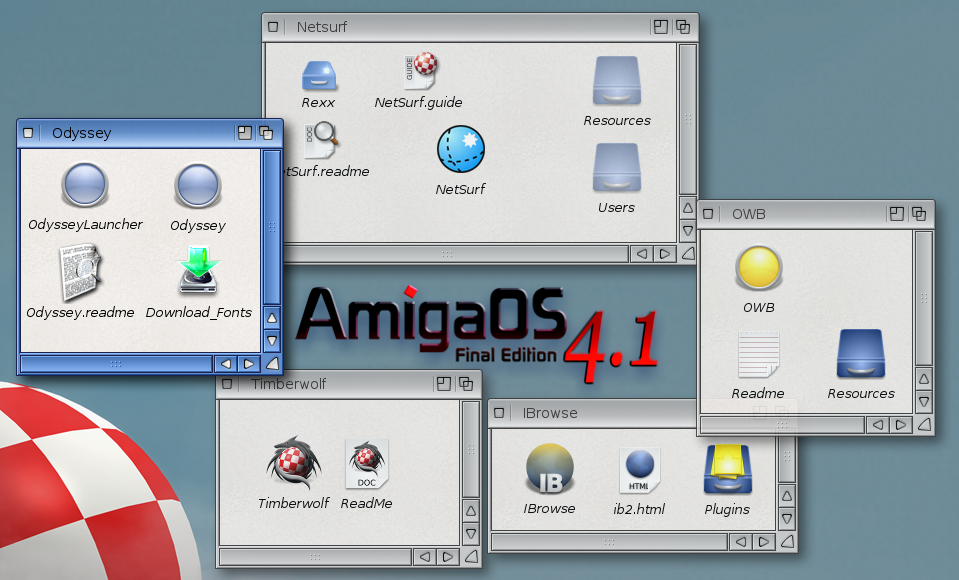
It is also evident the mixture of Linux applications and AROS ones on the AEROS Workbench itself, with some common Linux applications (Chromium, FS-UAE, GIMP, WIFI config) able to launch from the AEROS Workbench on the same screen as the AROS applications.
![]()
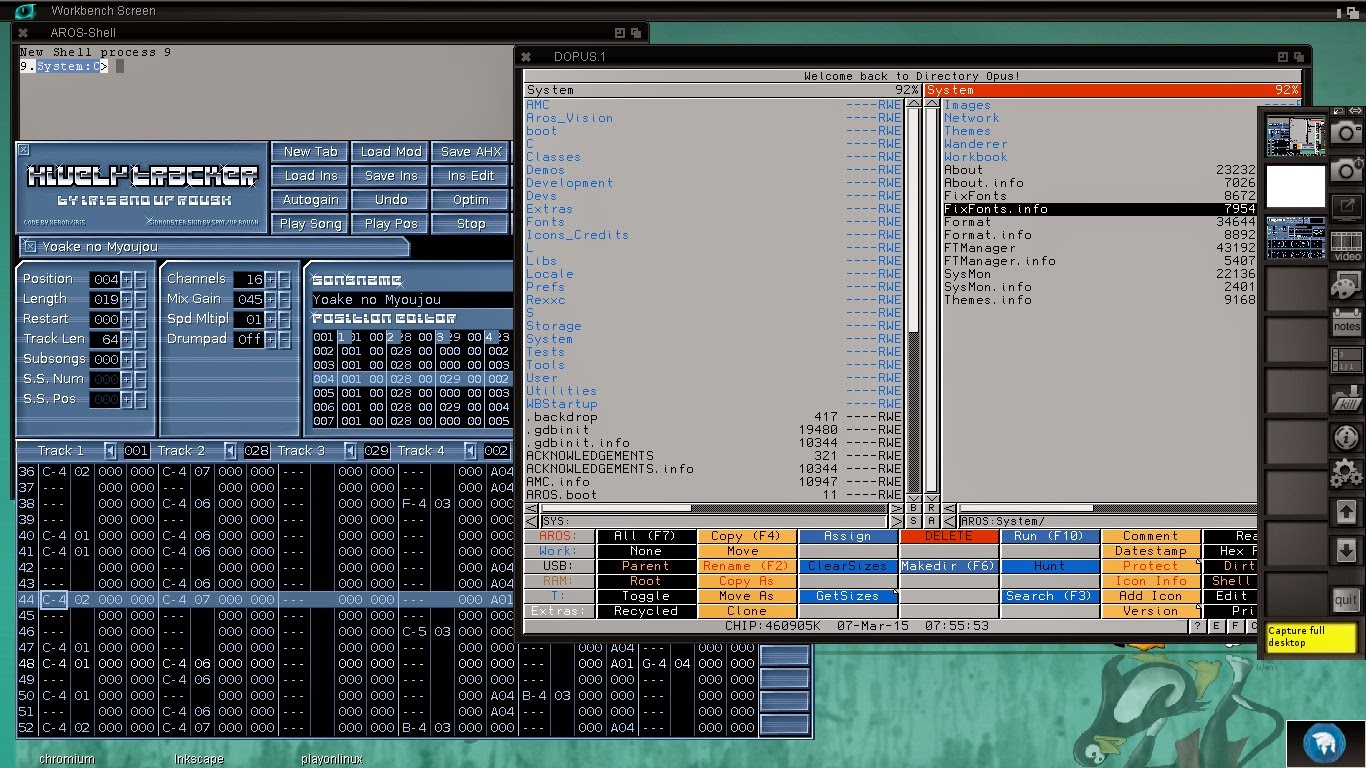
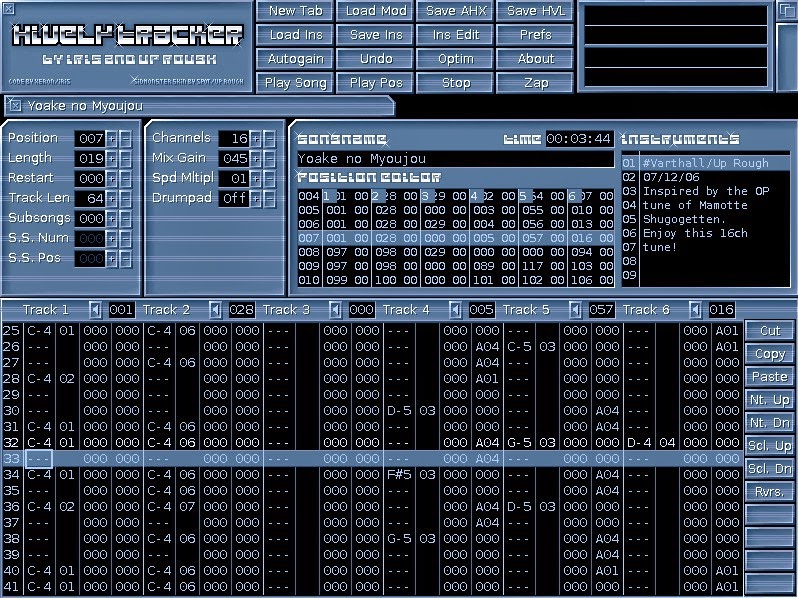
Below is some AROS applications running on AEROS - HivelyTracker, DOpus 4 and a Shell (in the background):
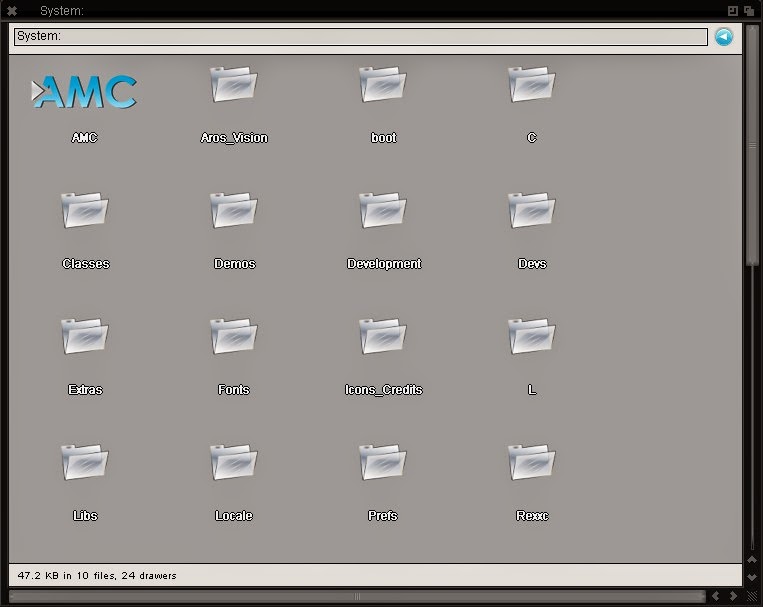
Typical Drawer layout in AEROS - here showing the
System: drive - you can use the back arrow to navigate back a drawer as you navigate through the drawers and can type into the address bar manually and Press Enter to navigate to a specific location:
Another view of the AEROS Workbench, this time showing the Hollywood based snapshot program on the right:
![]()
Here is the AROS Shell:
![]()
I took a look at some of the applications included with AEROS next.
OWB (Web Browser):
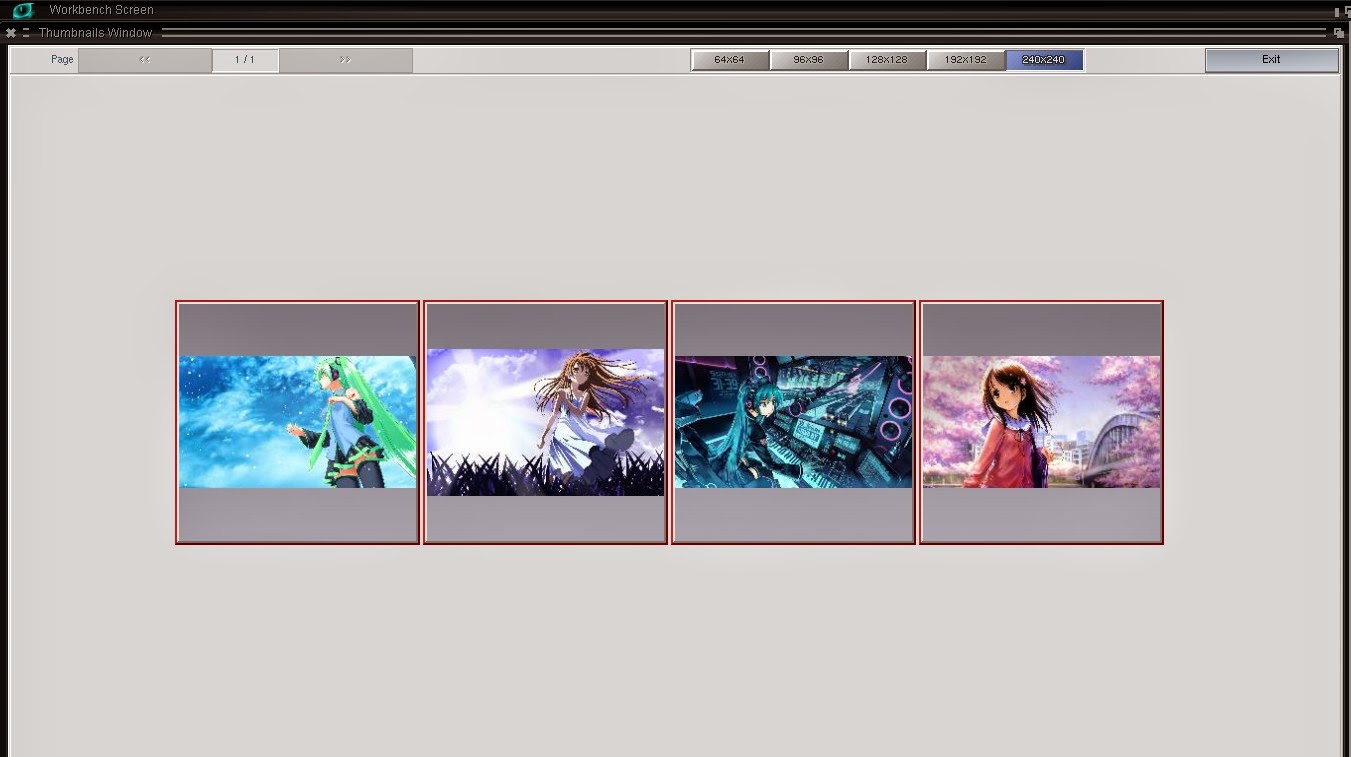
Thumbnail Image previewer:
SimpleMail:
![]()
A closer look at HivelyTracker:
I gave AROS MPlayer a go too - interesting thing I found is that when you insert a USB stick, the Linux side mounts the device and it pops up on a Linux window. If I close that and open the Removable Device icon on the AEROS Workbench, I can then access the USB stick contents from within AEROS - nice.
I then put my terrible graphic design skills to the test in LunaPaint:
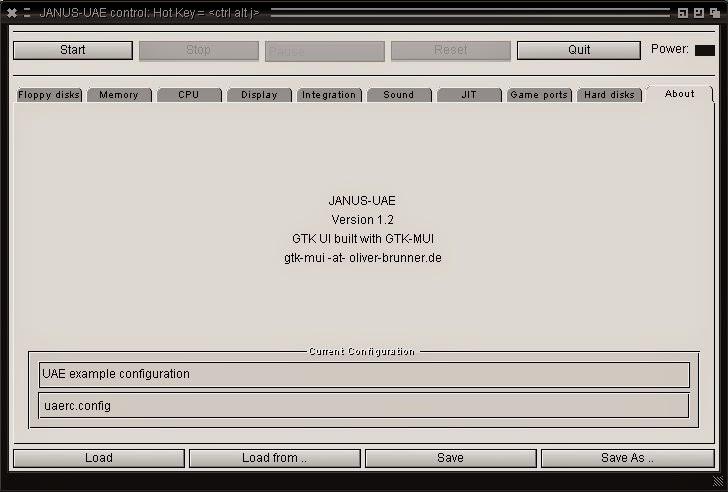
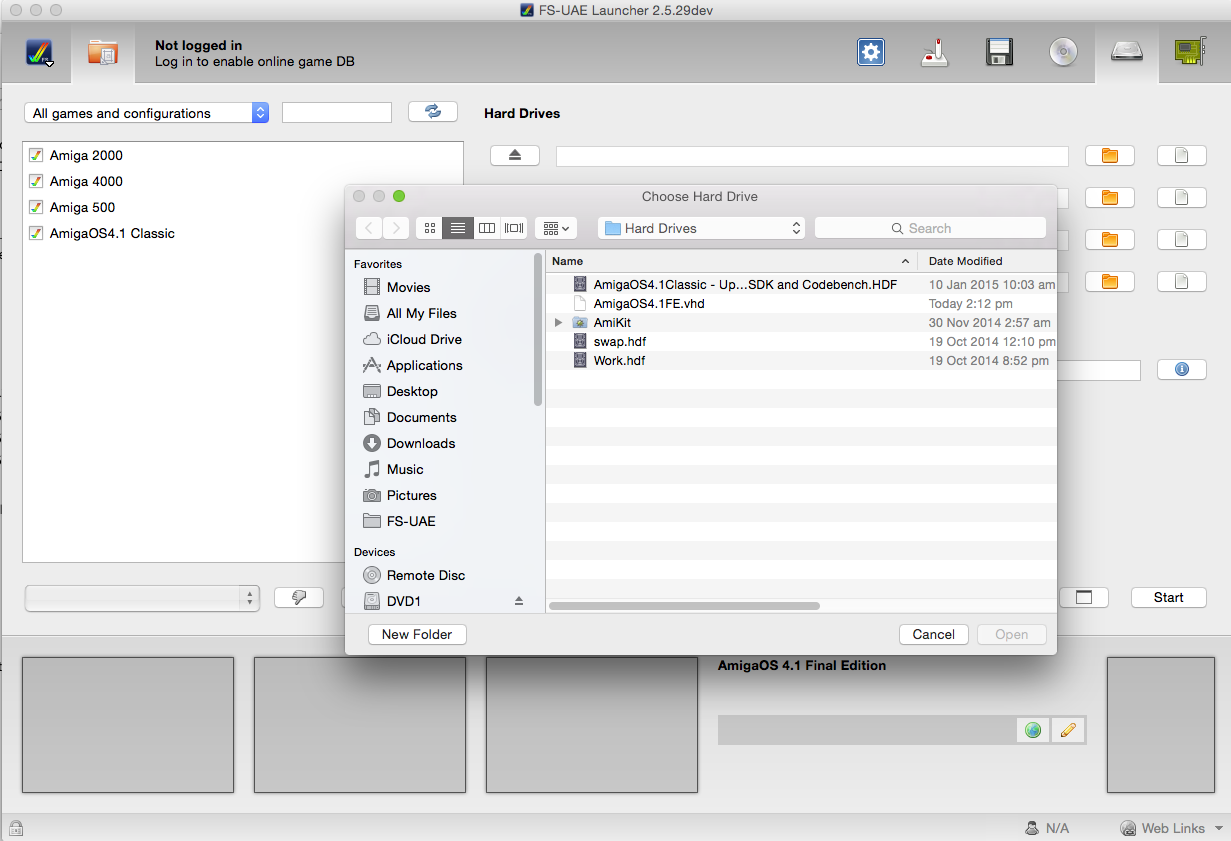
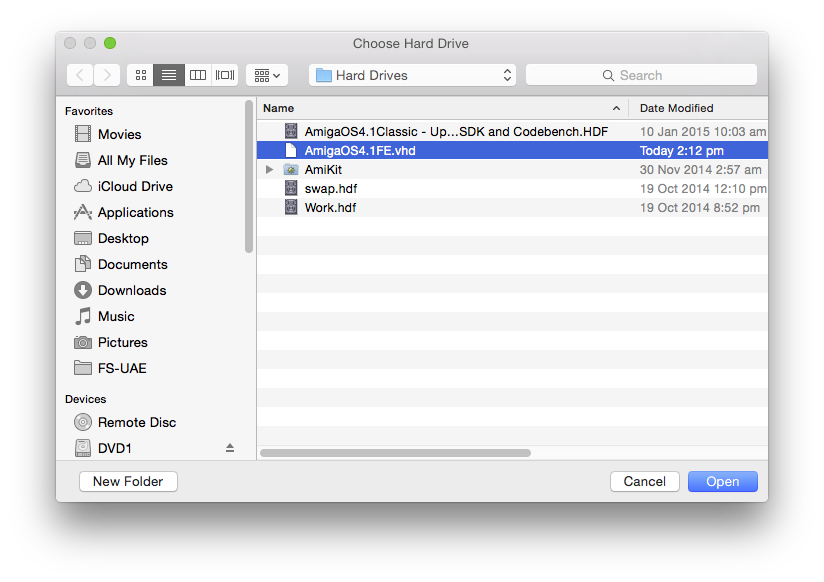
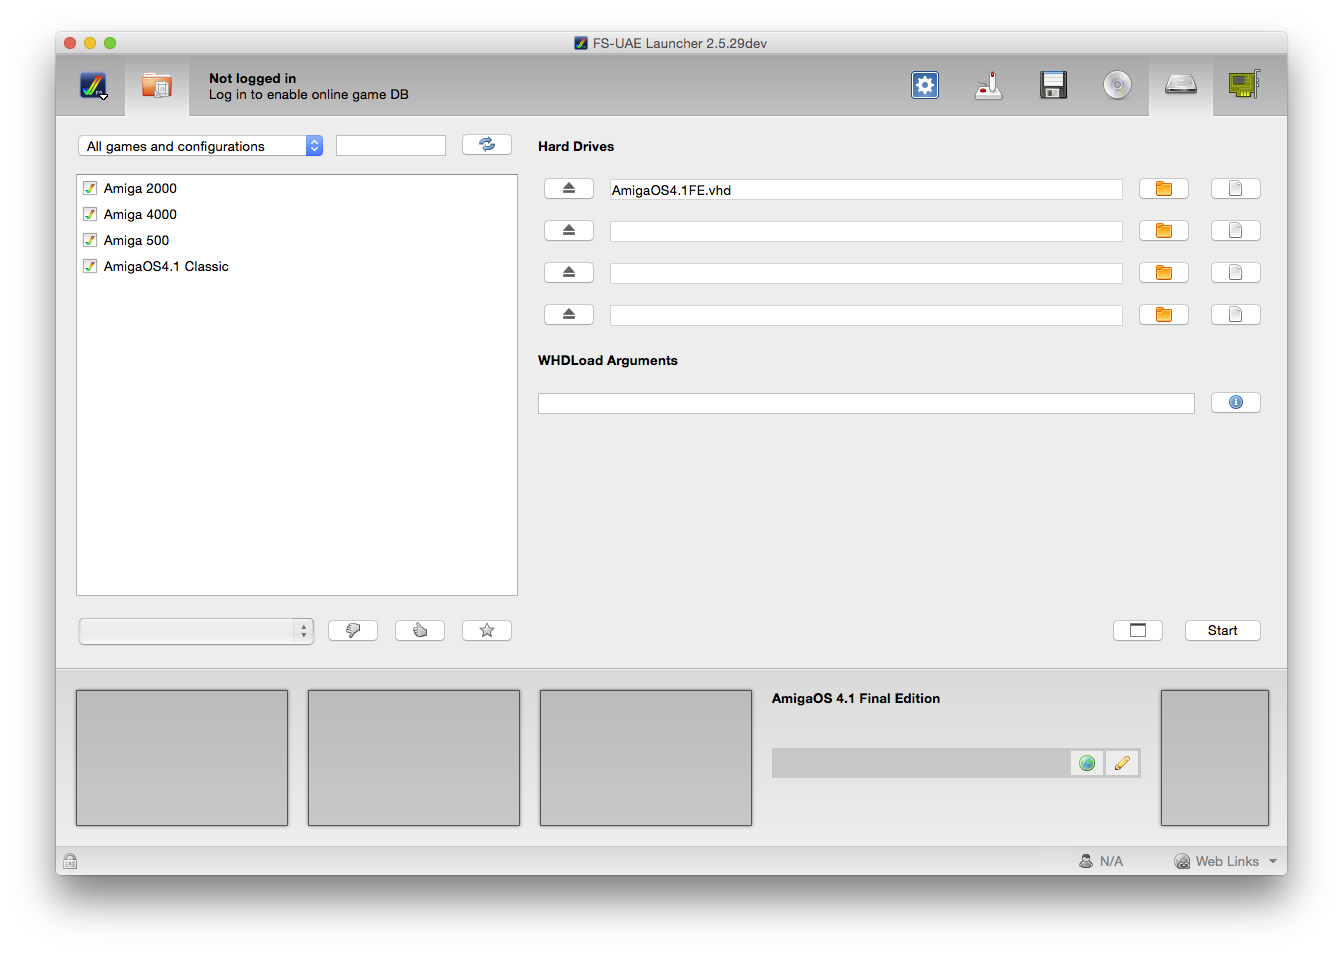
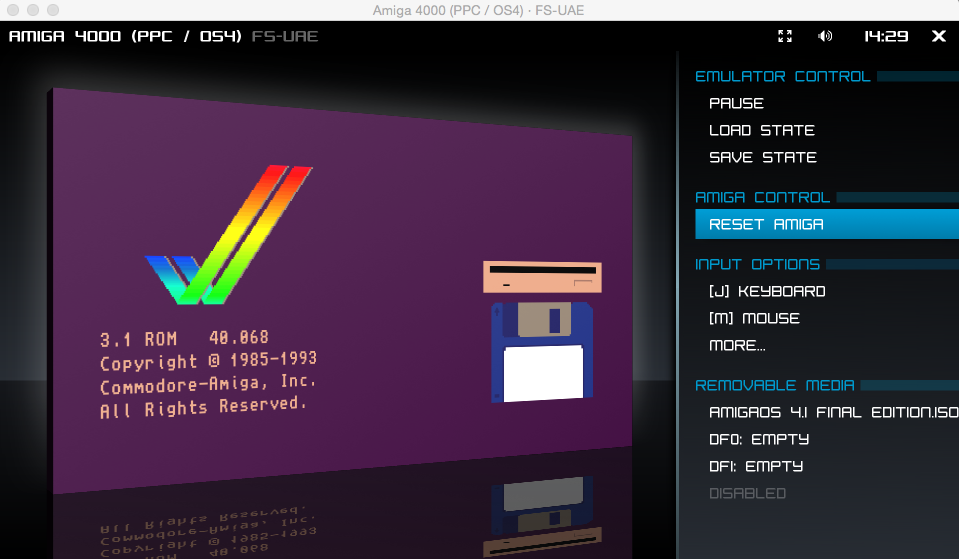
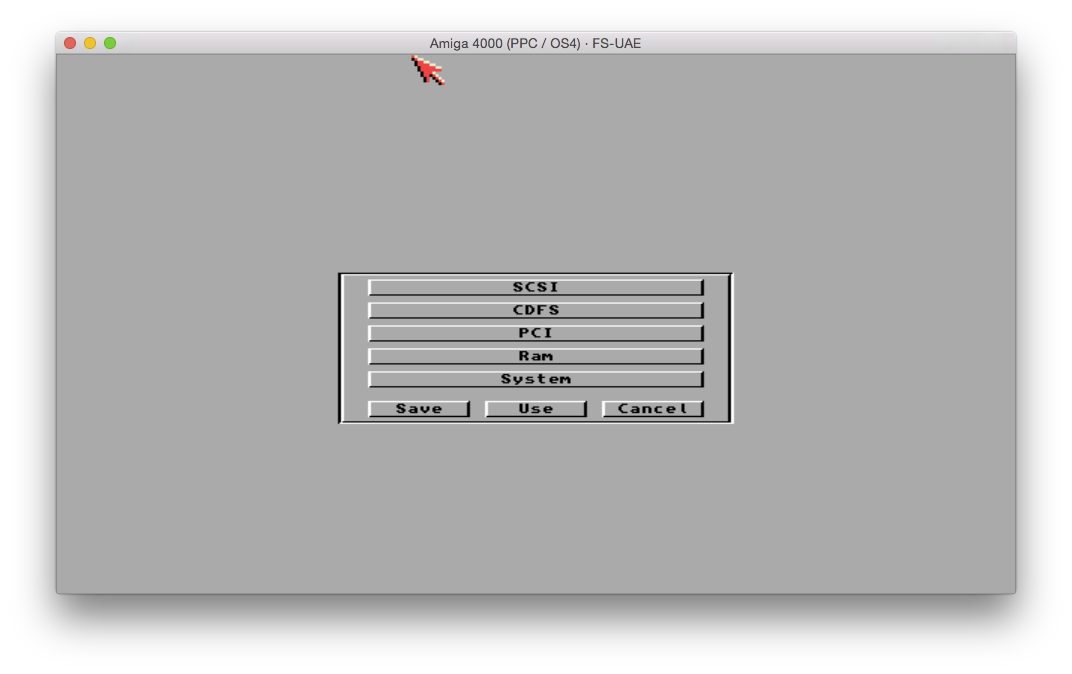
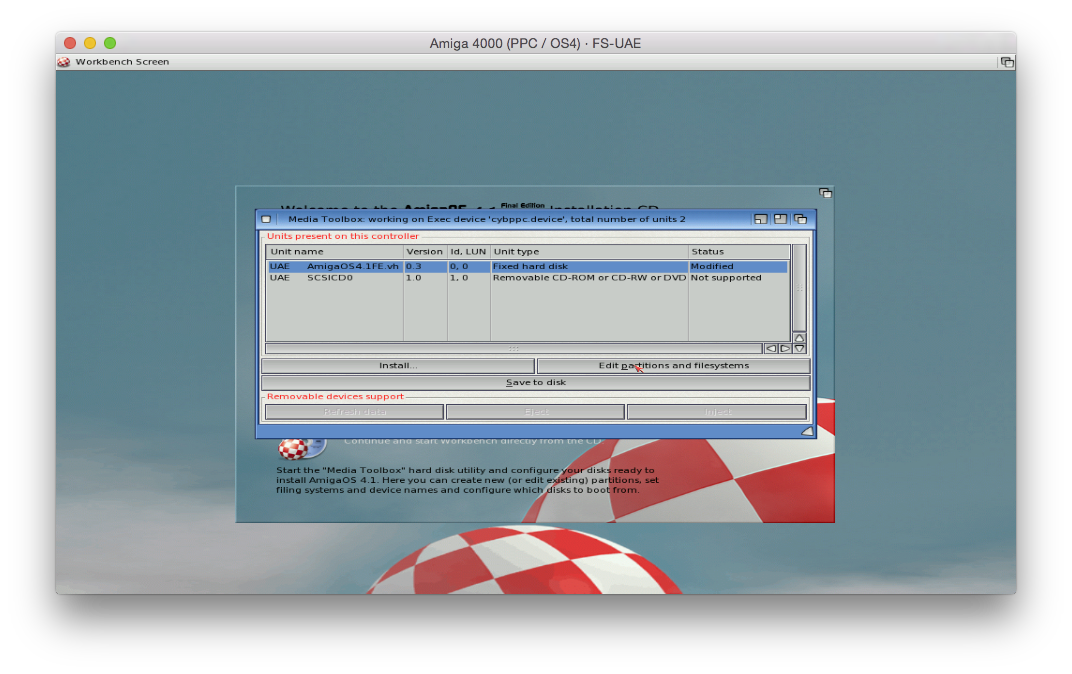
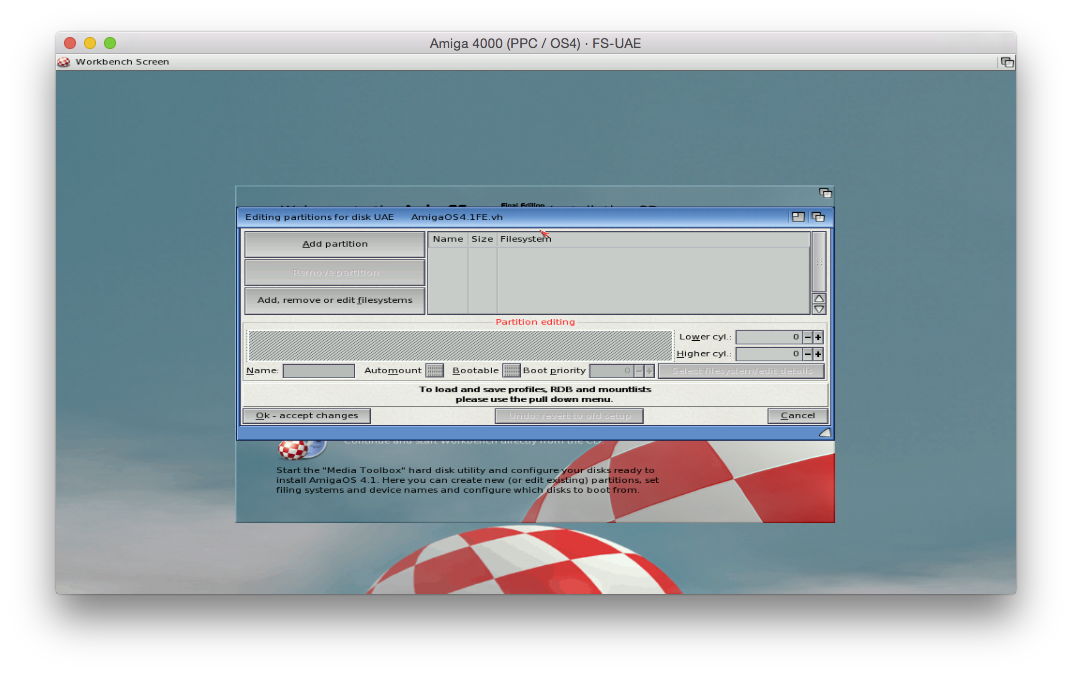
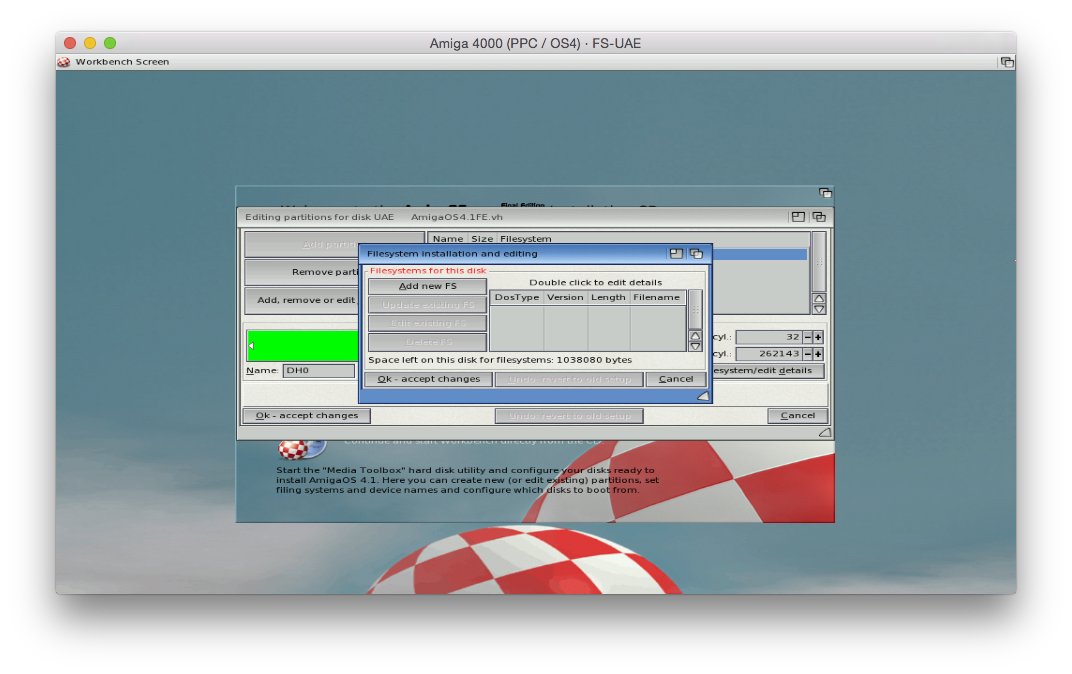
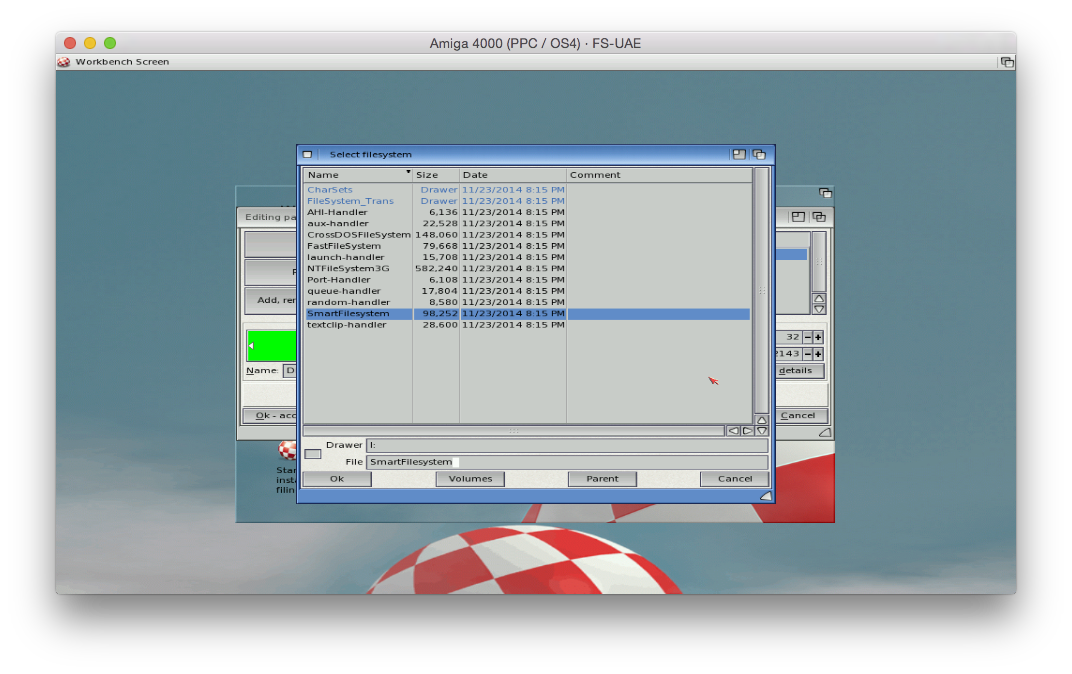
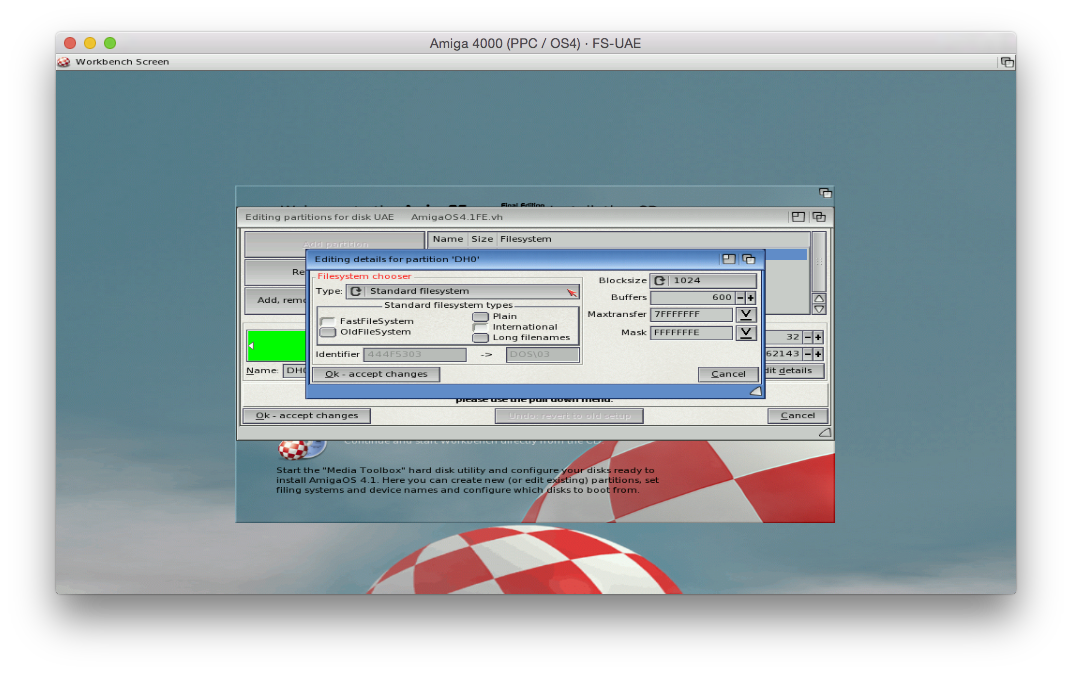
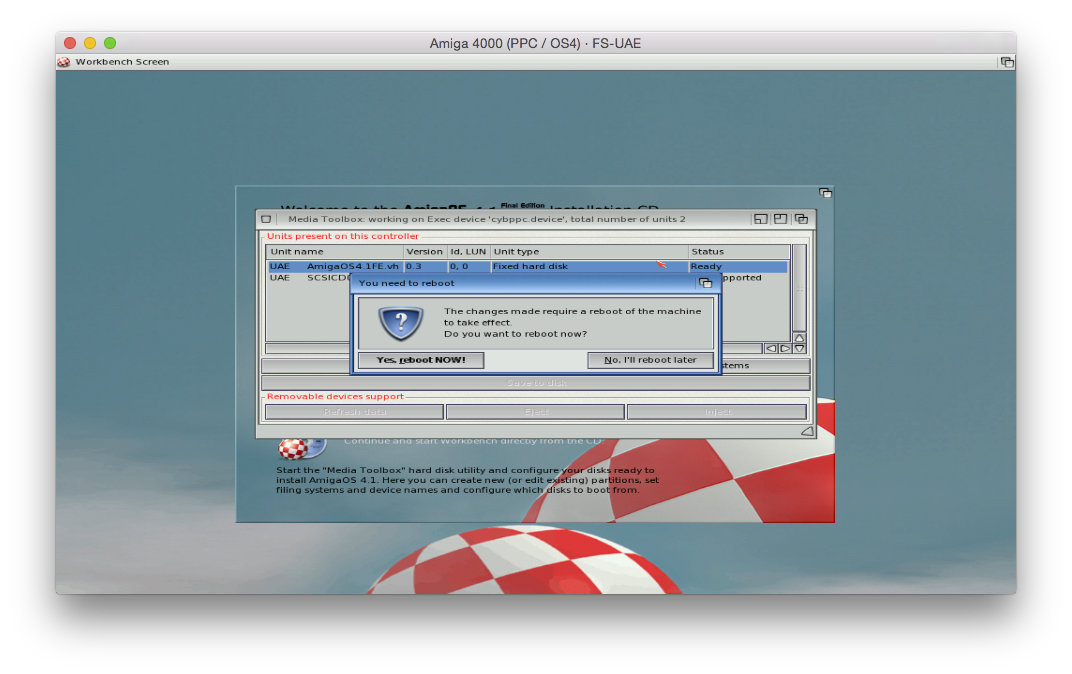
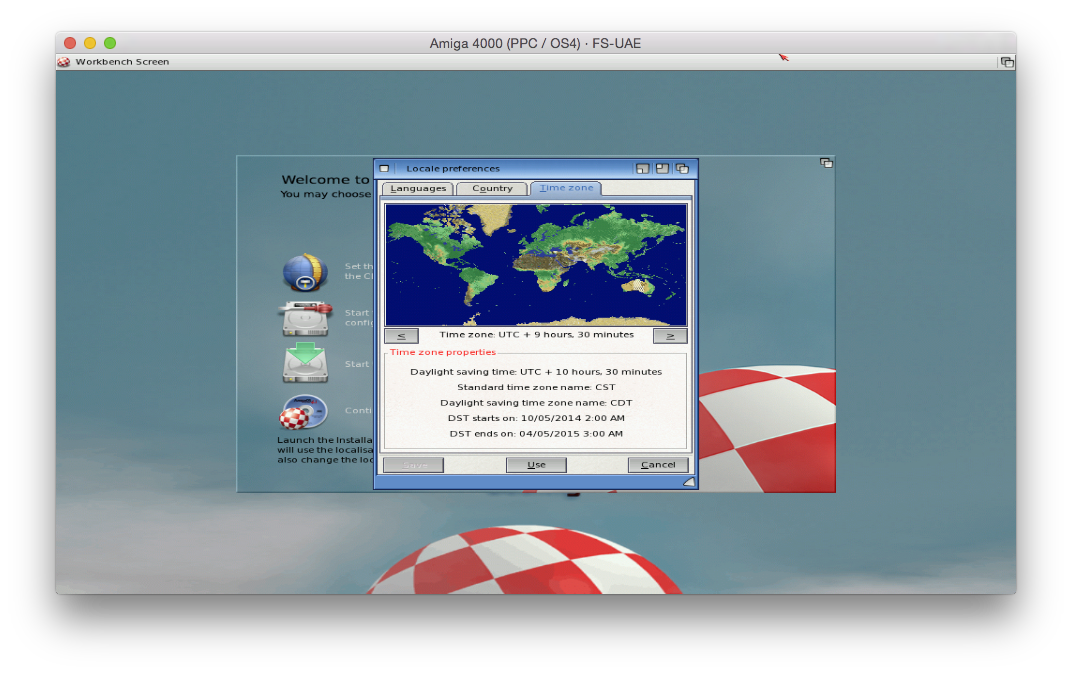
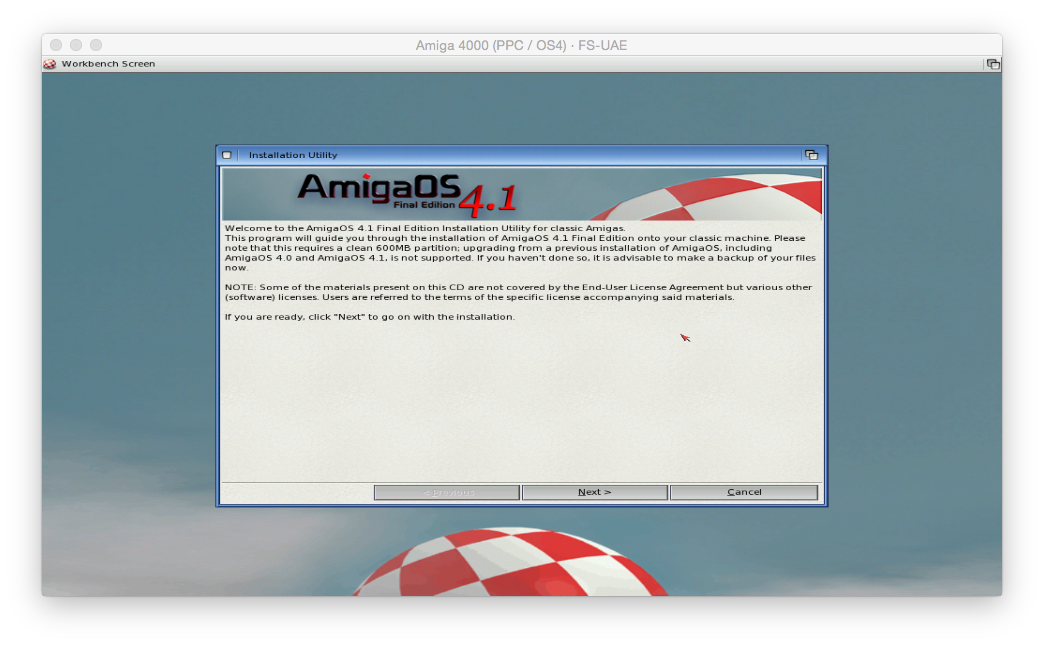
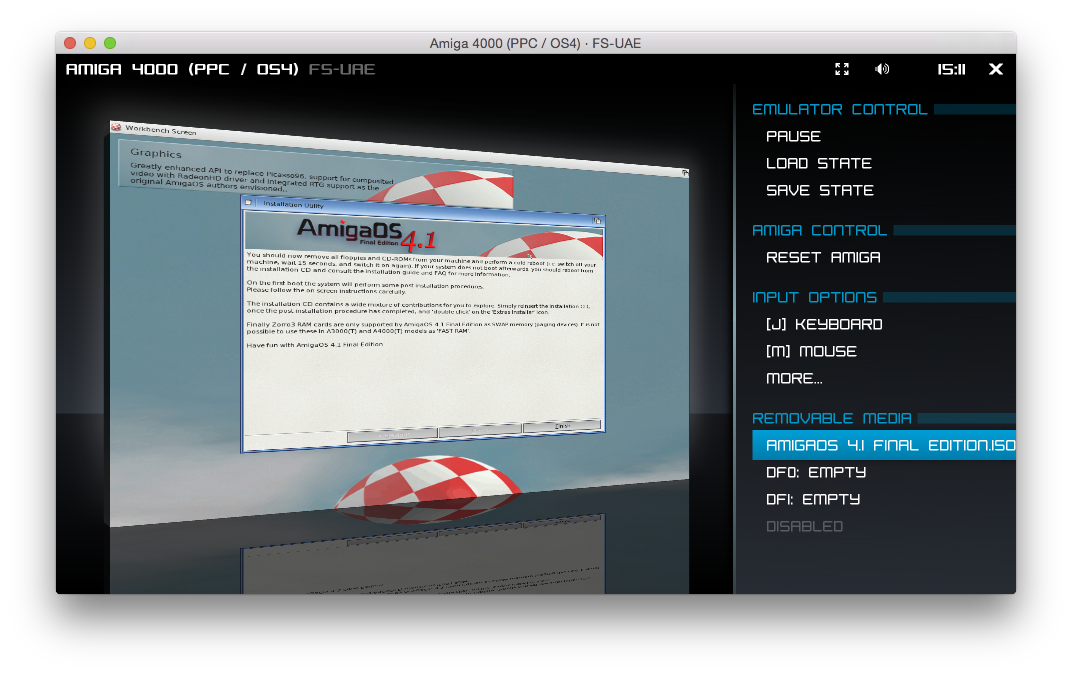
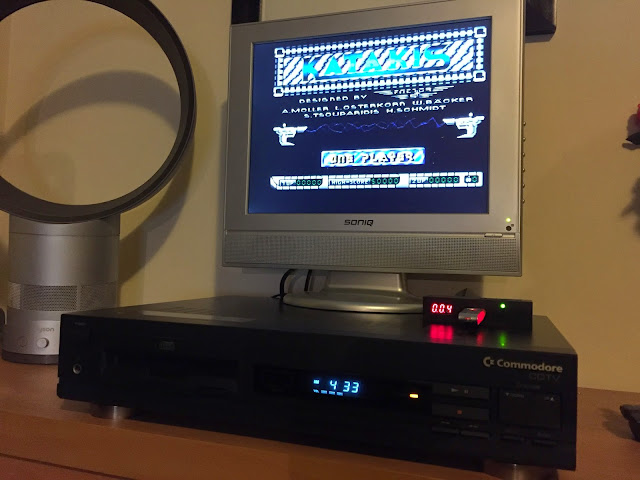
Janus-UAE and FS-UAE (with extra Amiga Forever files needing to be copied from their DVD first) are also available to emulate Classic Amiga systems to run old Amiga programs and games on AEROS - I didn't play around with this yet but I expect it would work similar to how it does on Icaros Desktop:
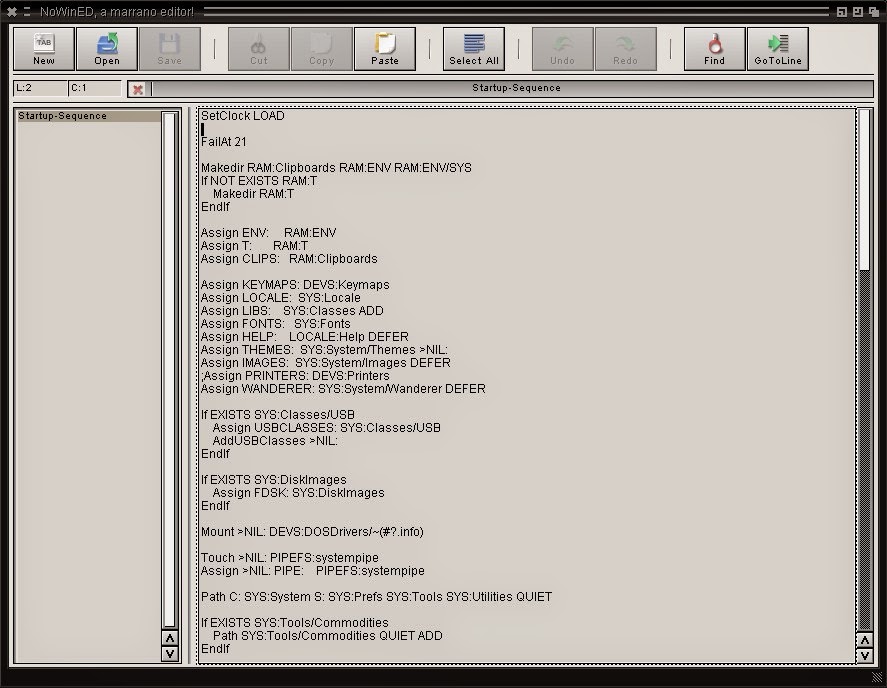
In AEROS, NoWinED is the editor included:
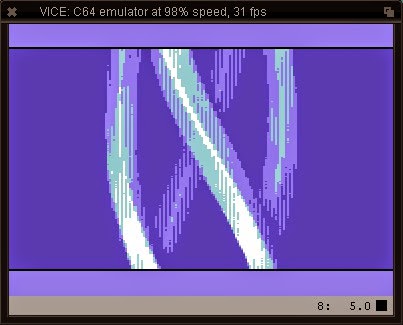
Next up I decided to try the AROS Vice C64 emulator, trying out a demo that was included with it that ran ok:
The MAME emulator:
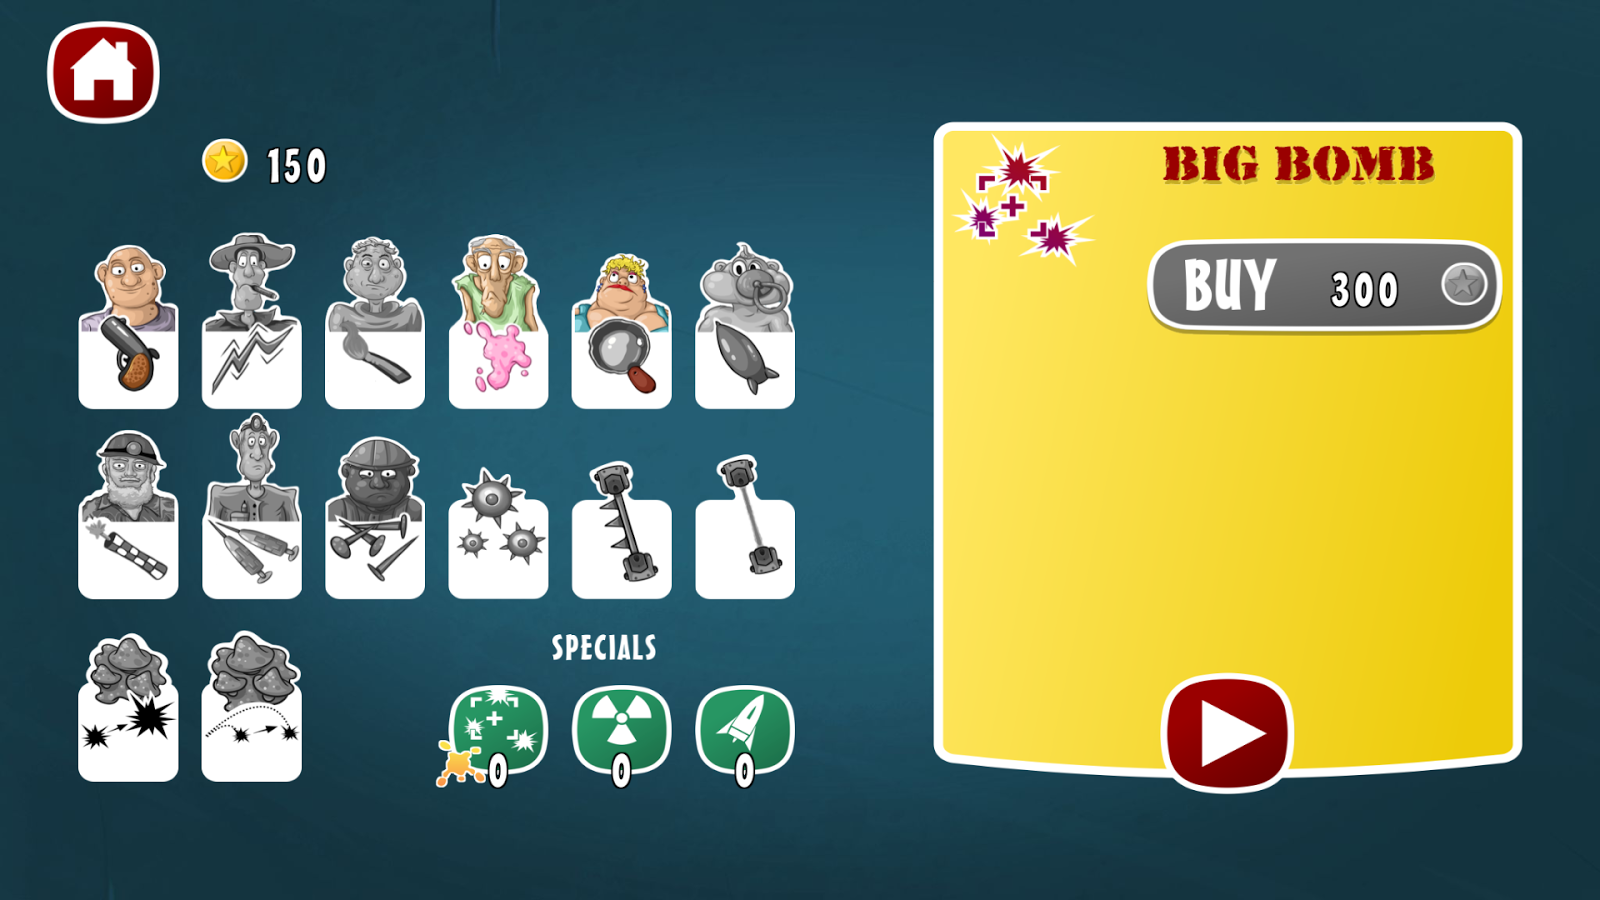
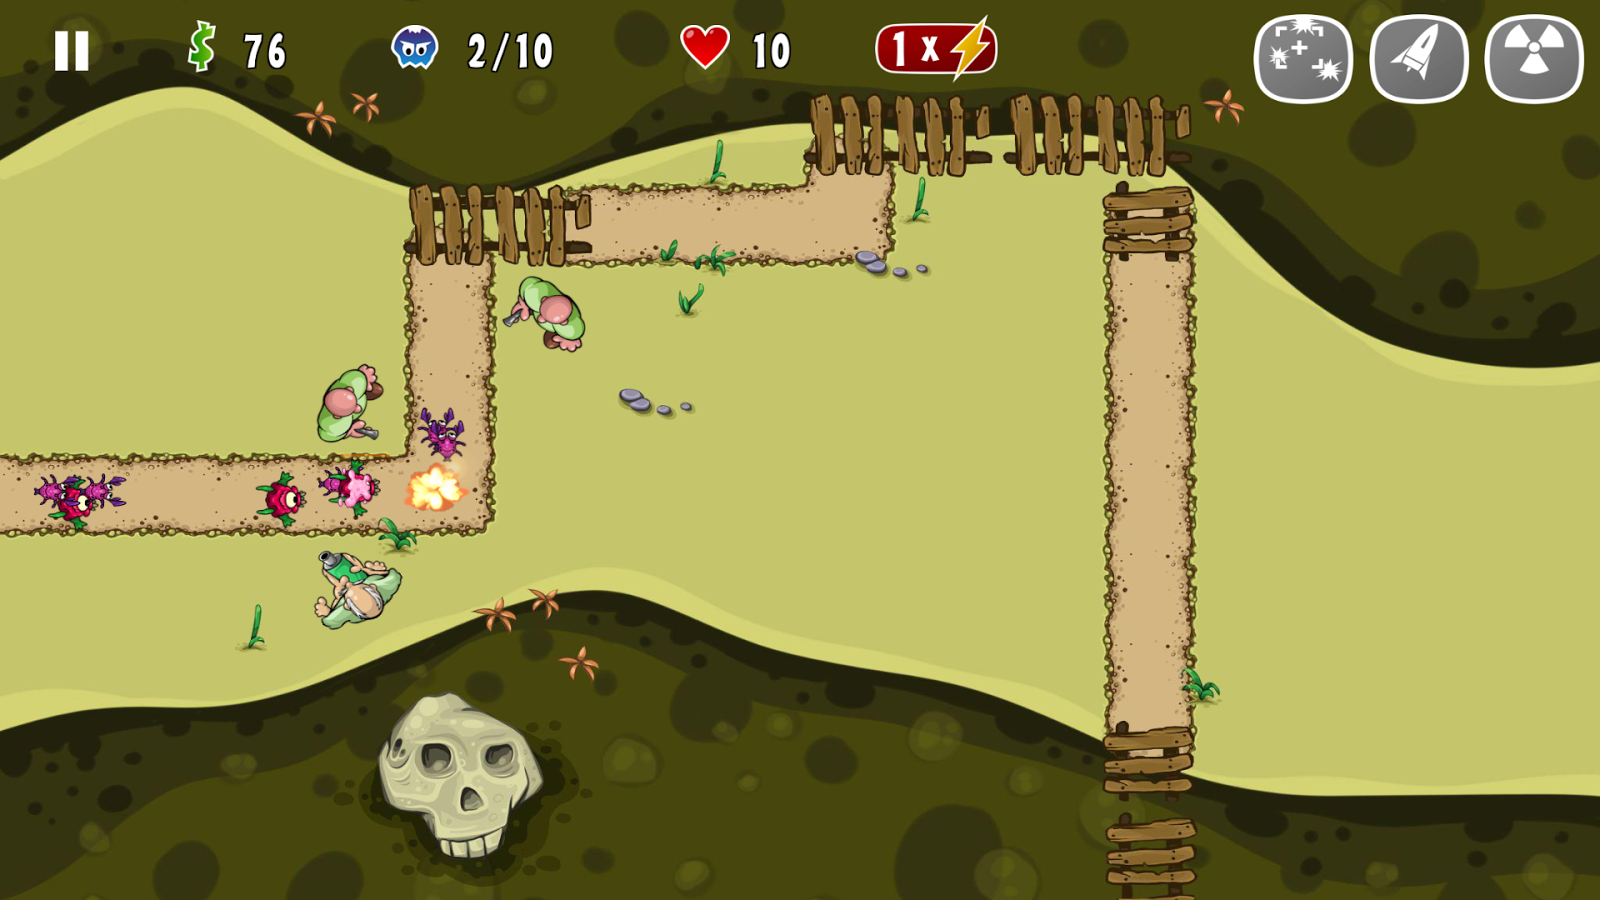
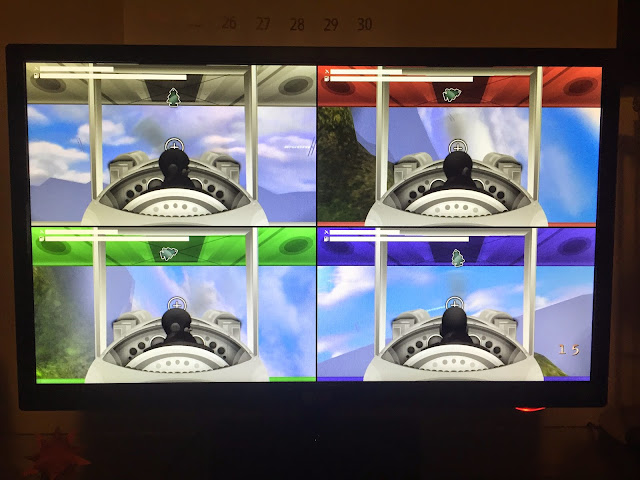
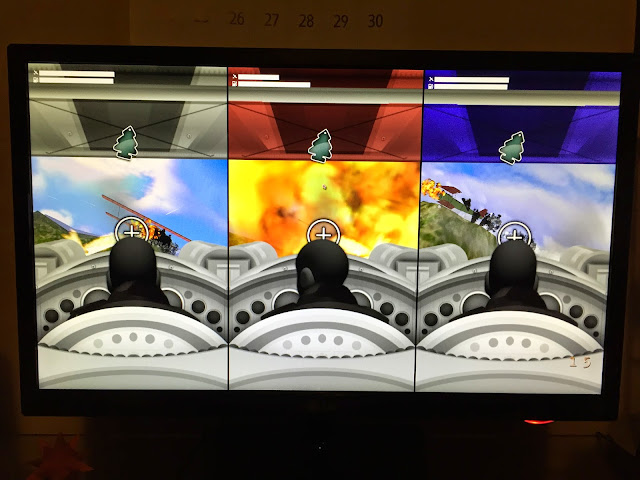
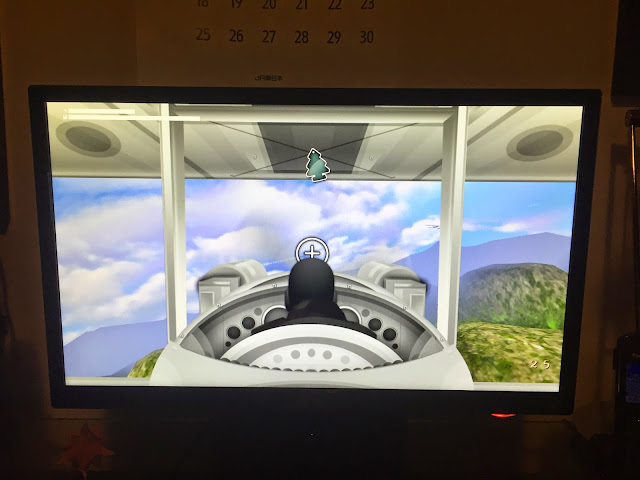
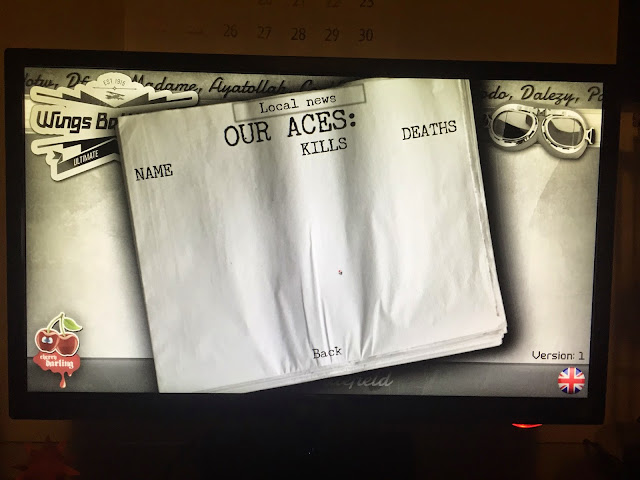
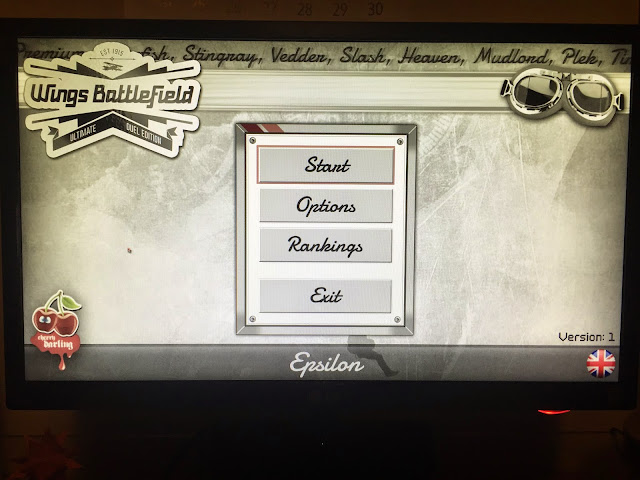
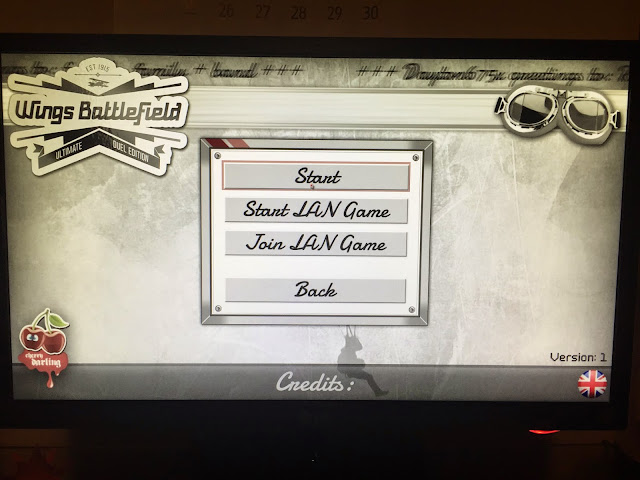
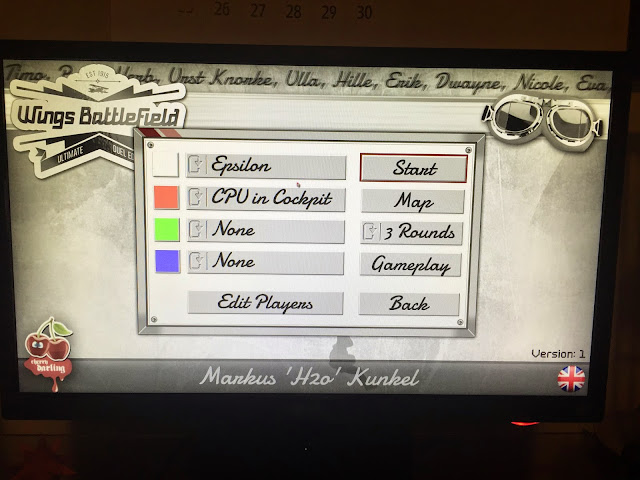
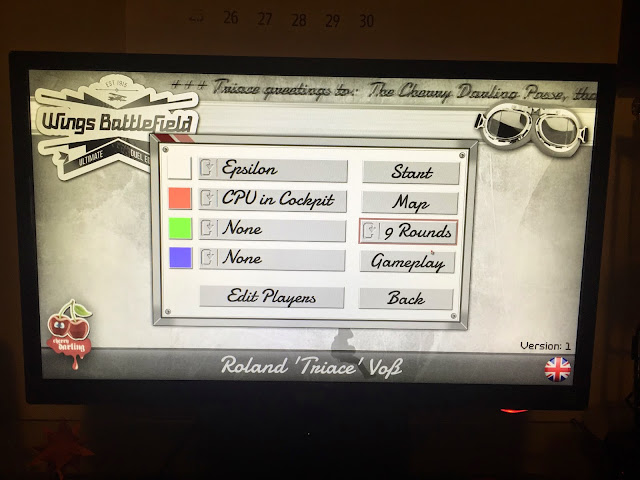
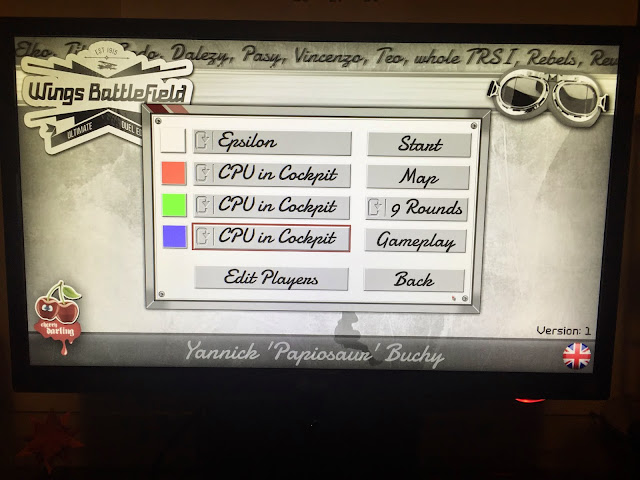
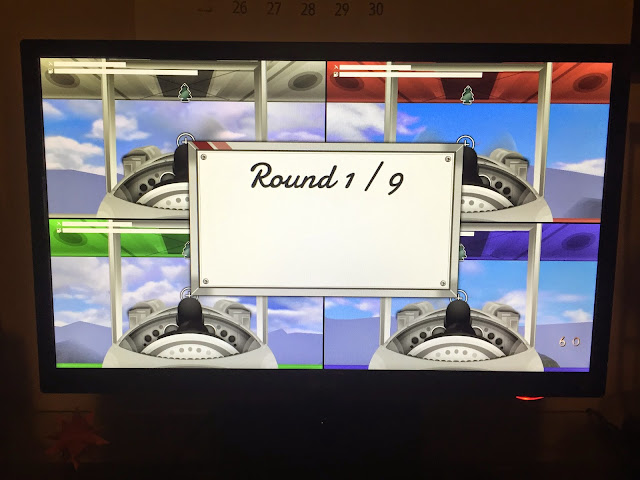
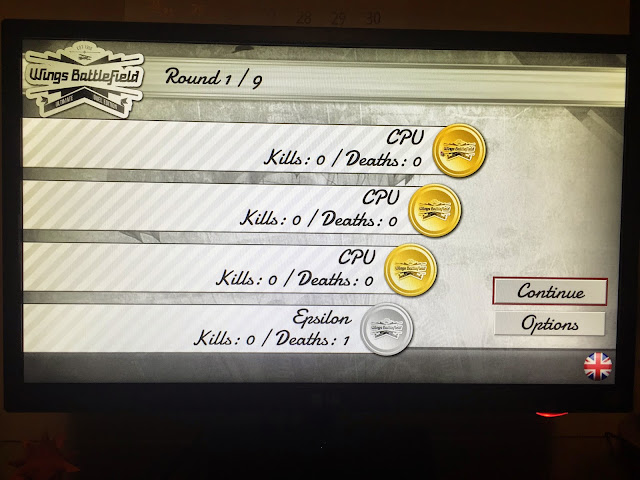
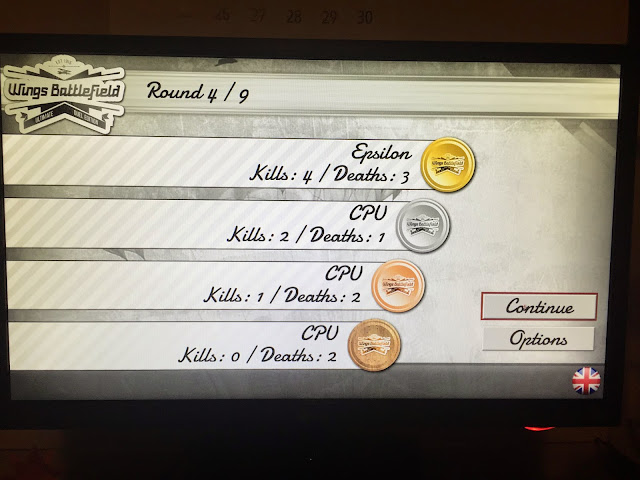
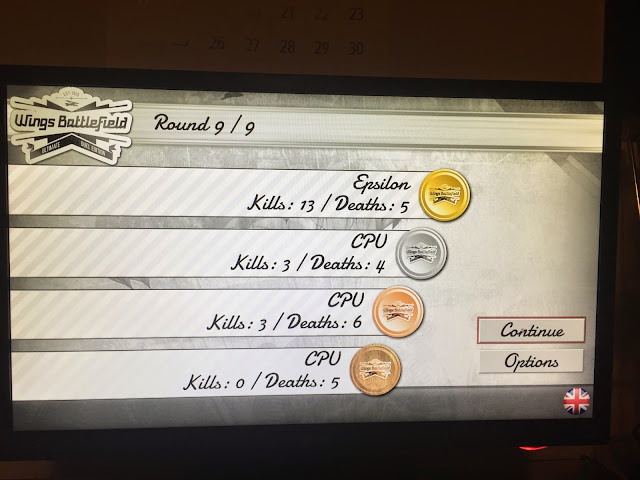
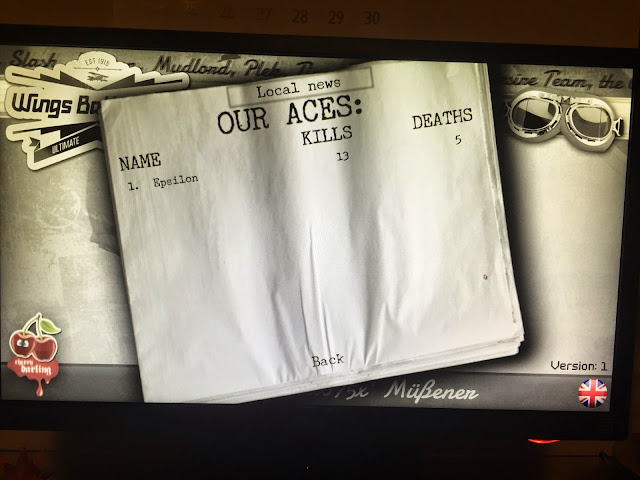
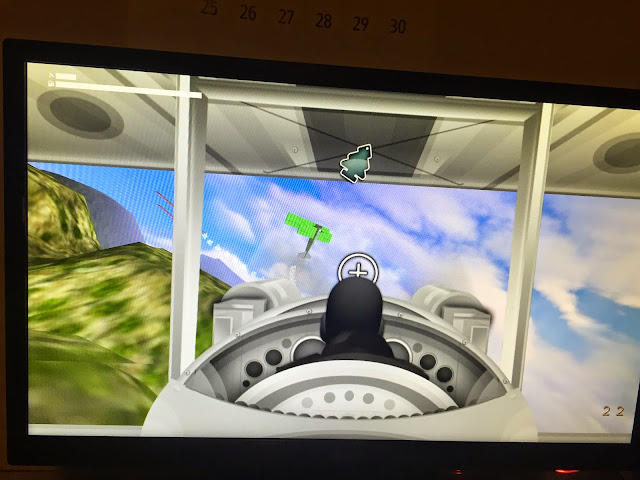
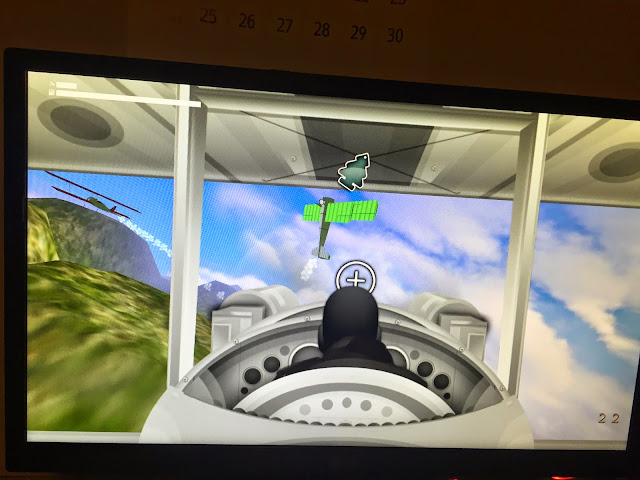
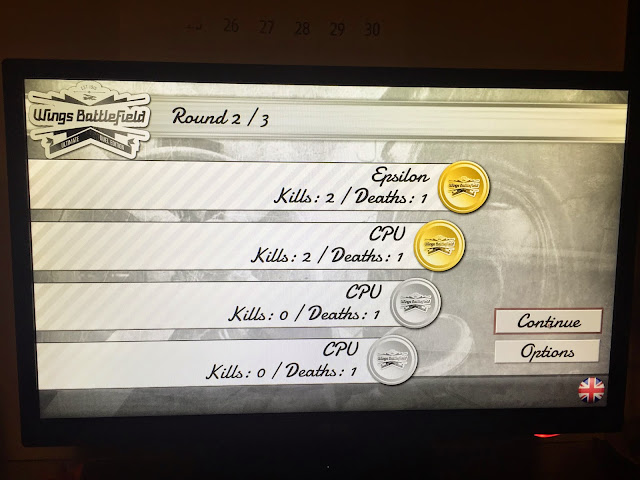
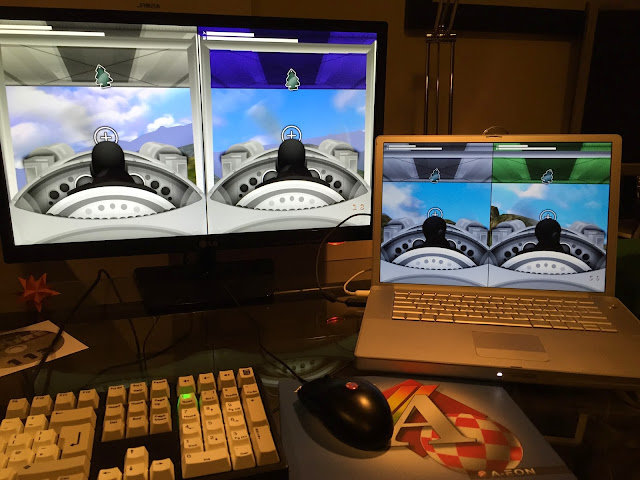
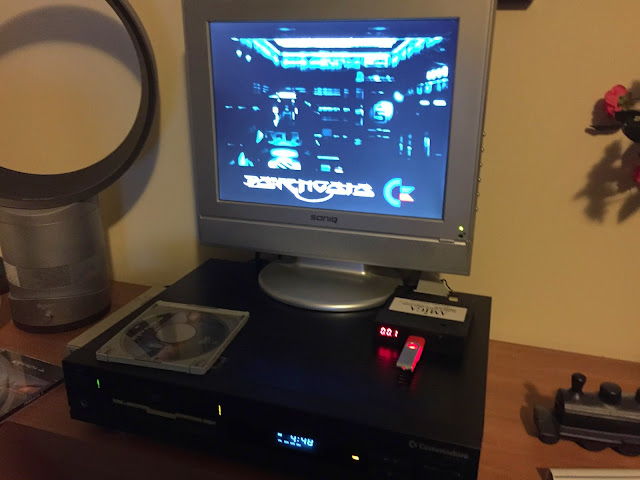
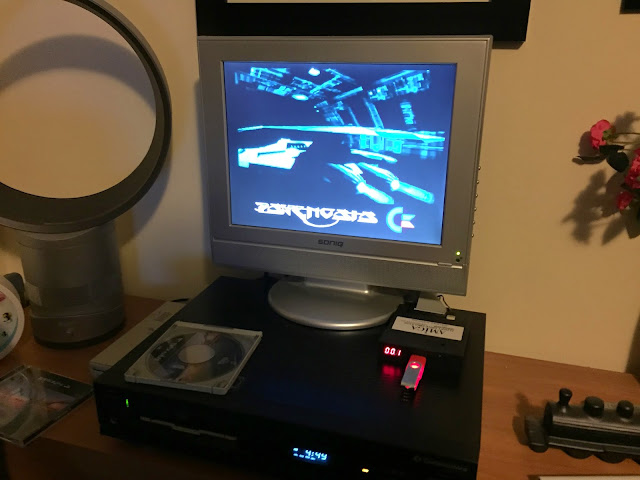
Next I tried running a few AROS games, like 1941 Deluxe 1.0 (HunoPPC) and Open Tyrian, both included in the AEROS installation:
![]()
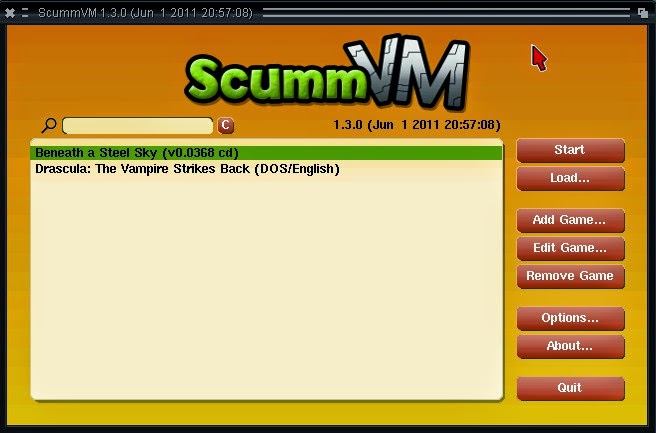
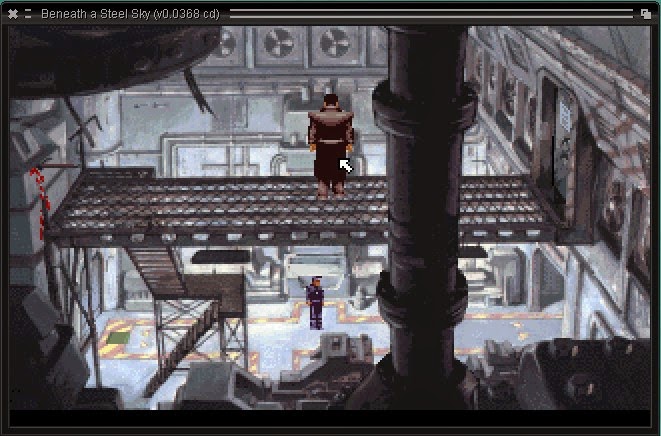
I also tried out ScummVM, running the included game Beneath a Steel Sky, which runs well:
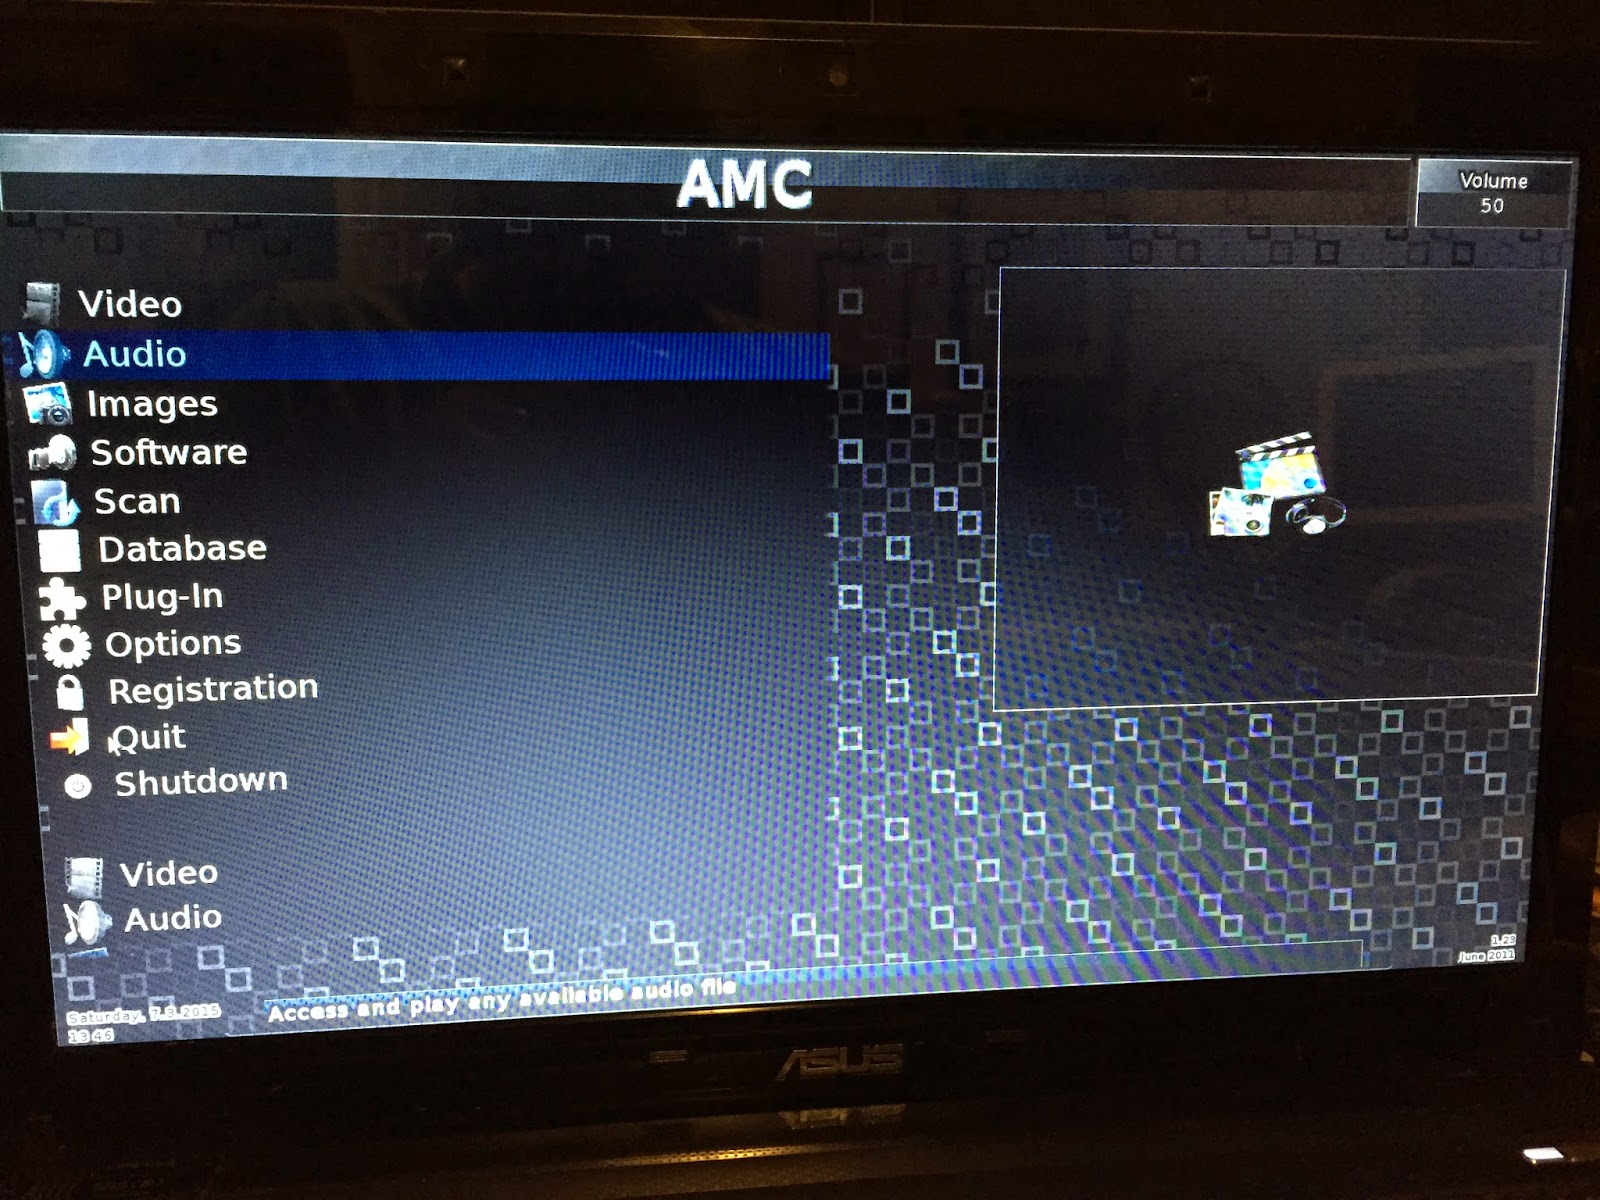
AMC (Media Center software like XBMC on Windows/Linux/Mac) is also installed, albeit in demo mode - it needs to be purchased from ARES Computer
here to unlock all of it's functionality.
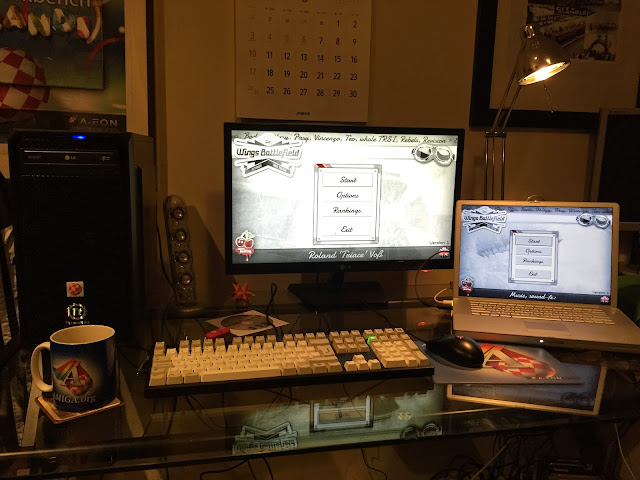
I couldn't work out how to snapshot programs like AMC running on a separate screen to the AEROS Workbench screen (or linux applications running side by side with AROS) so I had to bring out the iPhone again, sorry:
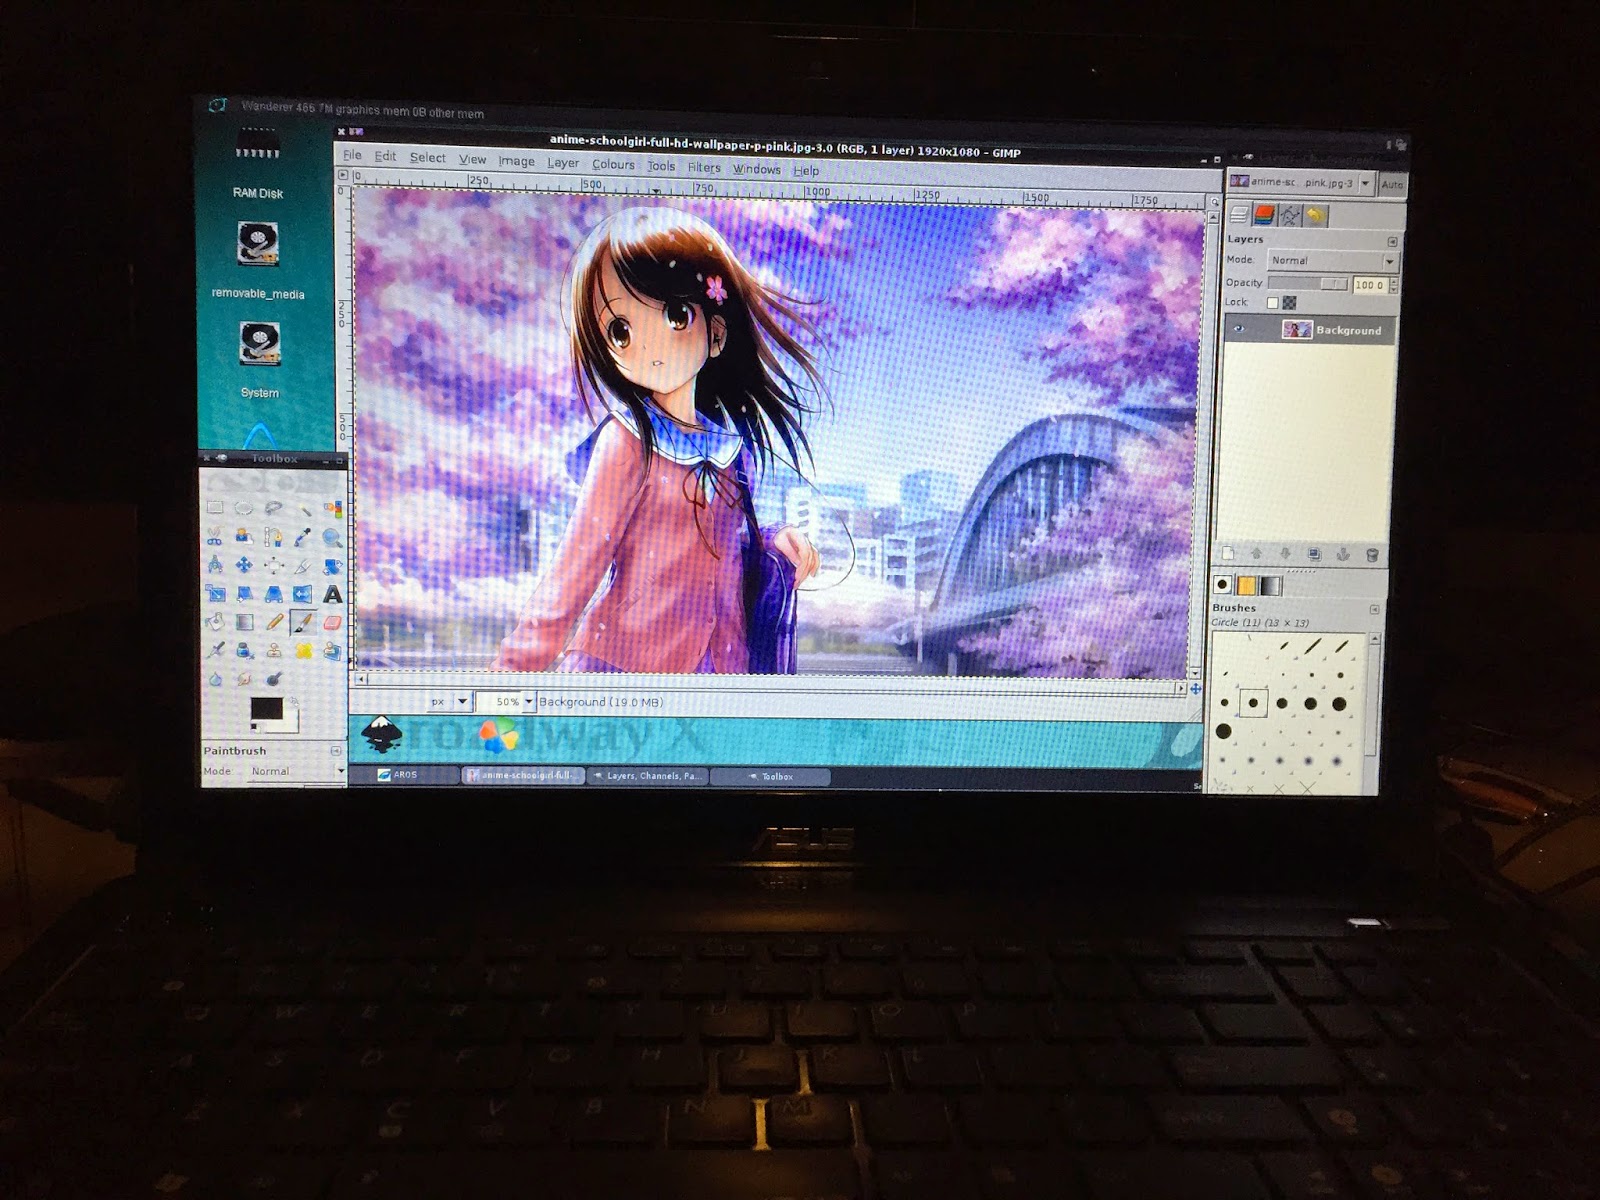
The next two screenshots show Linux applications running side by side with AROS programs:
Linux application GIMP running in AEROS:
AEROS is certainly an interesting concept, trying to play to the strengths of Linux to make up some of the areas where AROS needs help, especially driver support and some common modern applications like GIMP, OpenOffice, Chromium, etc.
I was concerned that AROS would lose it's identity by hosting it on top of Linux, which it does not seem to do with AEROS v3.5.
That said, there is certainly room for improvement - AROS has always been a bit buggy (this is not AEROS specific) and several applications crashed on opening or while I was trying features out.
![]()
Fortunately by being hosted, rebooting the AROS environment within AEROS is very fast indeed as an actual reboot is not needed normally.
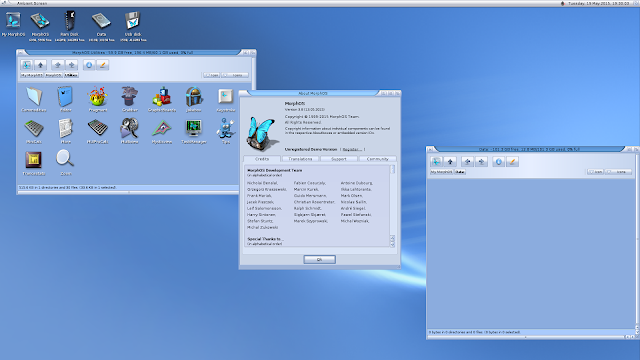
I wanted to play around with the themes to show the Icaros, MorphOS and AmigaOS style themes available. But I couldn't change Themes when I tried this out in AEROS - it kept asking me to insert the Theme: volume for some reason - here are the theme previews anyway:
I think AEROS would benefit from using a newer Linux build (probably the newer AEROS versions requiring registration do - but I haven't tried these yet).
A much simple install process would be also very welcome as it is a bit overwhelming if you have never installed Linux before. I have tried to show what you can expect and how to do the installation process for AEROS.
I will continue to follow with interest developments in AEROS and AROS too - hopefully it will continue to evolve and get better and better!